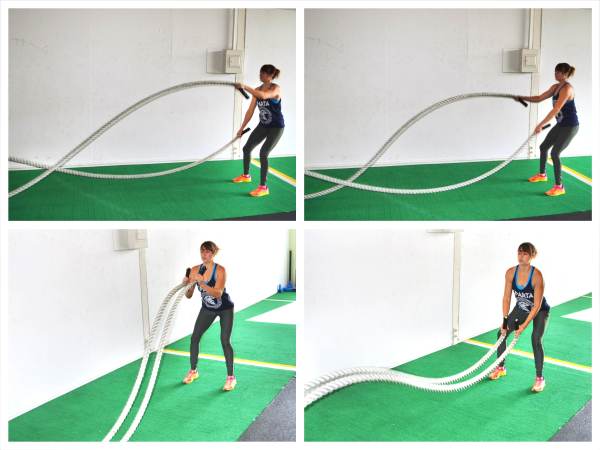

Full Body Cardio Parfait
This content is for members only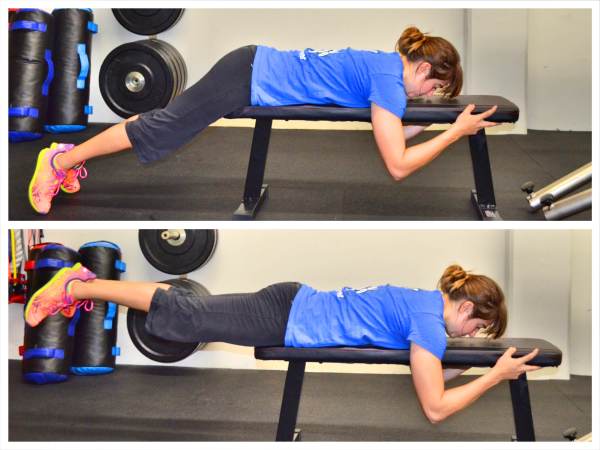
The Sandbag Glute Workout
This content is for members only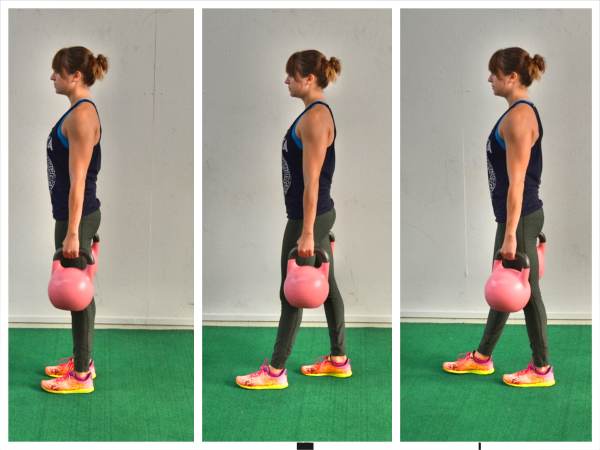
The Full Body Kettlebell Workout
This content is for members only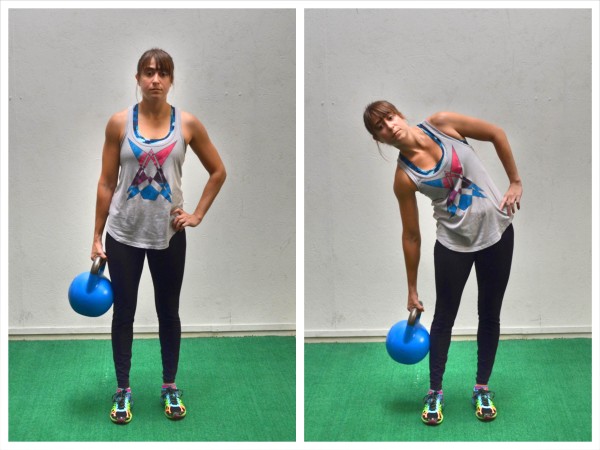
The Standing Kettlebell Core Workout
This content is for members only
Take Action
Ready to Build Strength That Lasts?
Stop starting over. Start building a plan designed for you.
APPLY FOR COACHING
PODCAST
ARTICLES
ABOUT