The Great Glutes Workout
This content is for members only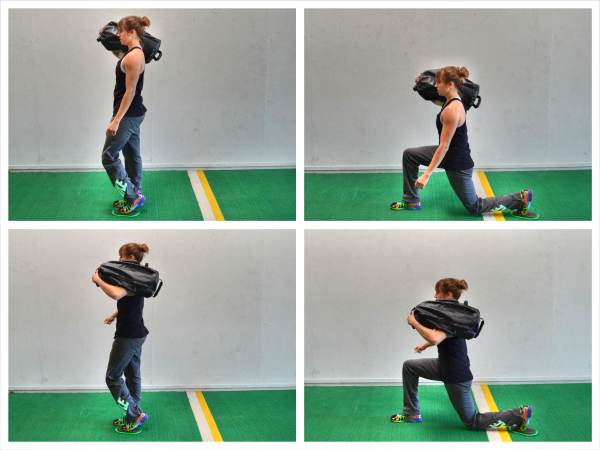
The 15-Minute Sandbag Blast
This content is for members only
The VersaClimber Sprint Workout
This content is for members only
The Back and Butt Sled Workout
This content is for members only
Take Action
Ready to Build Strength That Lasts?
Stop starting over. Start building a plan designed for you.
APPLY FOR COACHING
PODCAST
ARTICLES
ABOUT