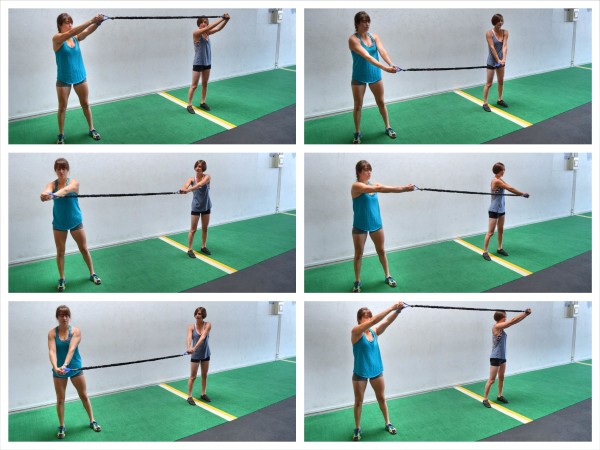
The Partner Resistance Band Workout
WARM UP Stretch and Roll Out: Calves Hamstrings Quads Groin Hips/Glutes Back/Lats Chest/Shoulders Wrist/Forearms WORKOUT Complete 3-5 rounds of the circuit below. Rest for 30 seconds and 1 minute between rounds. Rest up to 2 minutes between the circuit and...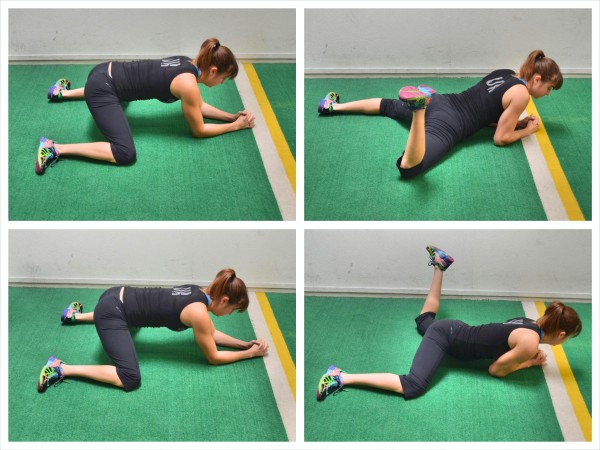
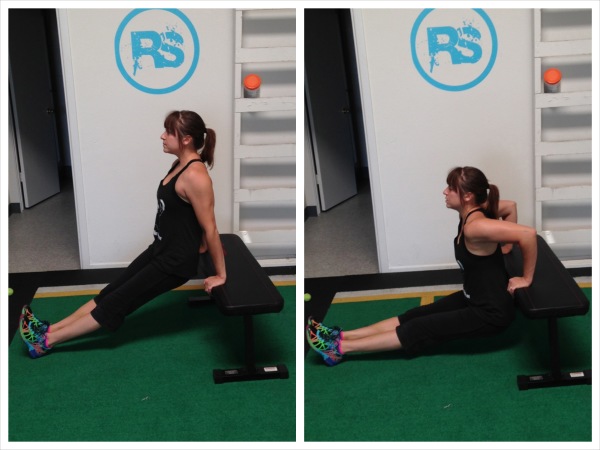
Less Low Back Pain Workout
This content is for members only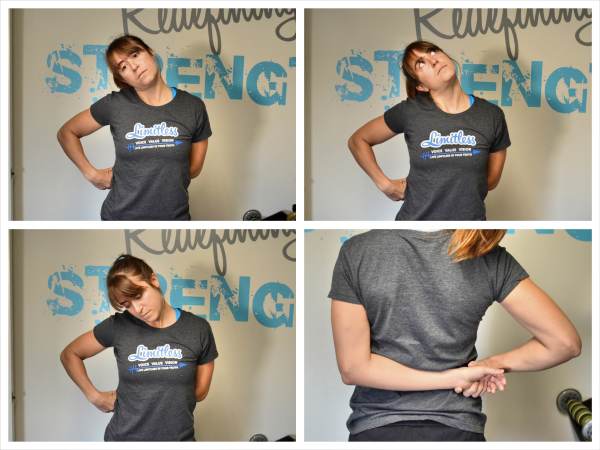
Reduce Your Neck And Shoulder Pain Workout
This content is for members only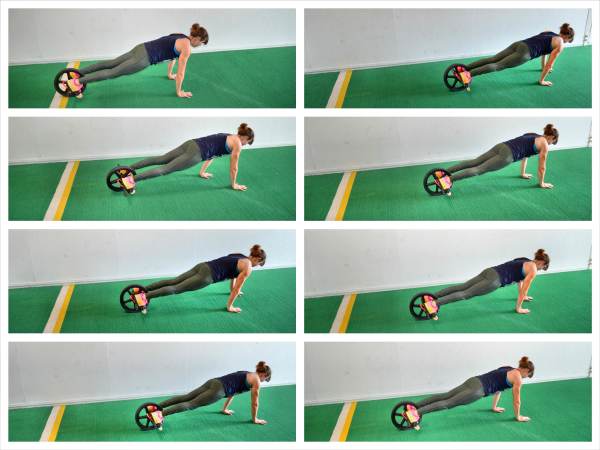
The Power Wheel Isometric Workout
This content is for members only
Take Action
Ready to Build Strength That Lasts?
Stop starting over. Start building a plan designed for you.
APPLY FOR COACHING
PODCAST
ARTICLES
ABOUT