The Most UNDERRATED Lower Ab Exercise
No you don’t have a lower ab muscle.
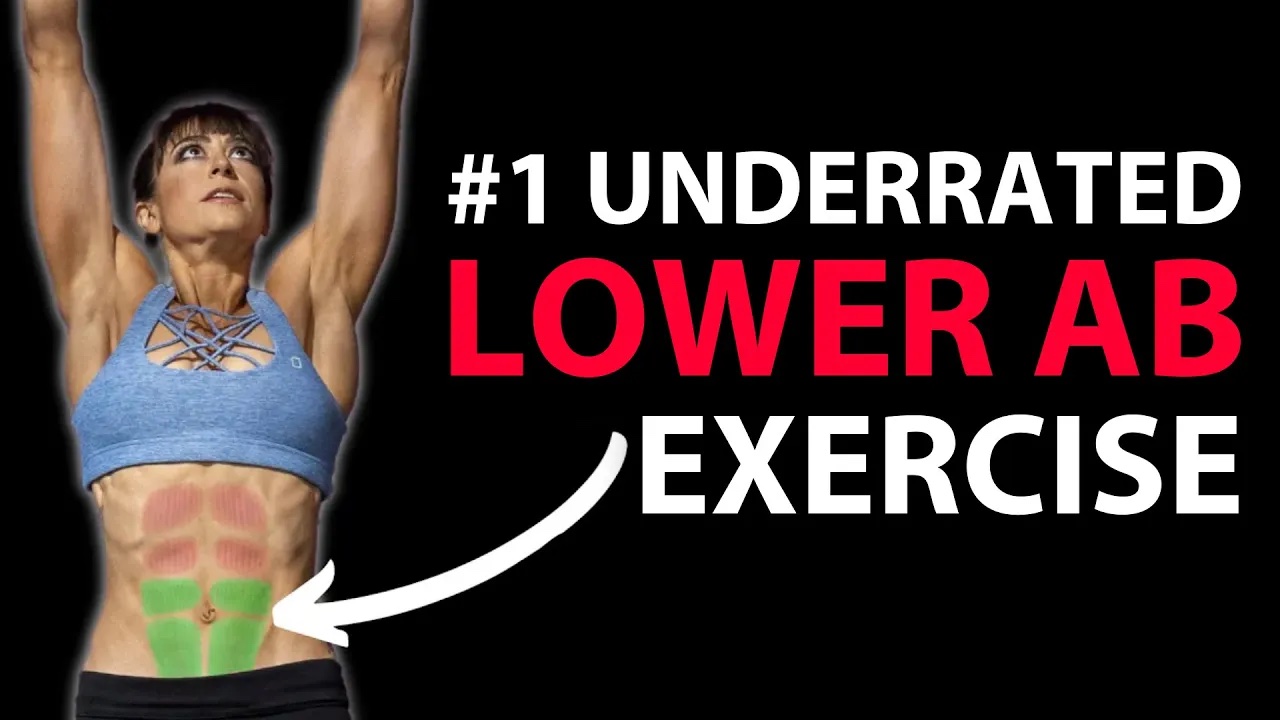
But you CAN target the lower portion of your rectus abdominis or your LOWER ABS to a greater extent based on the moves you include in your workout routine.
And one great way to target that area is with lower body crunches.
They’re simple and effective…if done correctly.
There are also a variety of ways you can regress and progress this move to match your needs and goals.
However, how you do this amazing move can really impact where you actually feel working and the benefits you get from it.
That’s why in this video I want to go over how to properly do this movement and some amazing ways to really feel those lower abs working.
But first I wanted to discuss two areas we often feel compensating during this exercise that can end up overworked and injured, leading to this fabulous move being hated on…
And they are our hip flexors and lower back!

Do you ever feel your lower back or hip flexors taking over when you do a lower body crunch?
This is because you aren’t properly bracing your abs!
While yes, any exercise that involves hip flexion (that bending at the hip) WILL work your hip flexors…
So often we rely on our hips over bracing our abs which ultimately ends up with us only feeling our hip flexors or lower back during this ab exercise!
To prevent this from happening, there are a few things you want to focus on….
Focus On These Tips:
#1: Set up bracing your abs, tucking your hips slightly up toward your ribs.
This posterior pelvic tilt will help you feel those abs engage and even engage your glute max a bit.
This glute max engagement inhibits your hip flexors from taking over as much.
#2: Initiate the crunch of your lower body through spinal flexion.
Too often this move will be cued just as tucking your knees in which leads to us only bending and extending at the hip to raise our feet up off the floor and lower them back down.
But really we want to curl in from our SPINE. This spinal flexion is what engages our abs to power the knee tuck up.
#3: DO NOT SWING OR USE MOMENTUM.
Slowly roll to tuck in and then, one vertebrae at a time, lower back down.
Do not release that ab brace at the bottom.
Keep your abs engaged as you touch your feet down!
By focusing on this ab engagement and spinal flexion you not only protect your lower back, preventing it from arching up, but you disengage your hip flexors through that glute max engagement and use of the abs to curl in over just bending at the hip.
Building off of this focus on engaging your abs even before you start the movement…
I wanted to go over some tips to implement this basic lower body crunch properly before I then dive into some fun modifications and variations to match your needs and goals.
How To Do The Lower Body Crunch:
To do the lower body crunch, you want to set up lying on your back with your hands down on the ground beside you or behind your head.
To help you brace with the posterior pelvic tilt, pushing your palms and arms straight down beside you into the ground can help.
Bend your knees and curls your heels in toward your butt. This active curl in as you flex your feet should even help you feel your hamstrings engage to further prevent your hips from compensating.
Tilt your pelvis, drawing your hip bones up toward your ribs. Press your arms down into the ground.
Then think about curling your ribs up toward your hips as your knees curl in toward your chest.
Do not let yourself just flex at the hip. Really focus on curling your spine to lift your butt up.
Move at a controlled pace, then roll back down to tap your heels down.
Do not fully release engagement of the abs at the bottom.
Then curl back in.
Focus on that exhale as you curl in to help you engage your abs!
Then repeat the move, again focus on that curl starting from your spine over just your hips bending!
Keep that heel pulled in tension to help you avoid only bending at your hips!
Struggling? Try These Modifications!
If you’re focusing on these cues and struggling with getting your abs to engage there are two things I like to do with clients that can help…
#1: Hold on to something overhead.
#2: Use a roller squeezed between your calves and hamstrings.
I’ve even combined these two things as a variation to really isolate those abs.
By holding on overhead as you perform the lower body crunch, you can help engage your lats, which can lead to better glute engagement as well.
This can help you create tension through your backside that protects your lower back during the move.
This pull down can also help you crunch your ribs slightly down toward your hips to better brace your abs.
It can also give you more control as you curl your knees in toward your chest.
And the roller can help you maintain that hamstring engagement to prevent your hip flexors from taking over.
By having to squeeze that roller into your legs, you prevent yourself from extra movement at the hips as well.
Combining both of these techniques may prove a killer combo even to really target those lower abs with a slow curl in and lower back down!
And the great part about this basic movement is there are so many ways you can change it up to match your needs and goals!
If you’re feeling really in control of this lower body crunch, you may still find the modifications provide progression through the same but different.
They can even help you isolate those lower abs in new ways.
Try These Progressions:
But you may also find you want to progress to a double leg lower with your legs straight or even a leg lower plus.
That bonus spinal flexion at the top of the basic double leg lower is a great way to work those abs extra as they are worked by that flexion of the spine!
You can even just simply add weight to the basic lower body crunch.
The benefit of adding weight is not only that the resistance makes it harder but also that, by holding a weight between your legs, you engage your adductors.
Because of the connection of your hip flexors to your pelvic floor, and your adductors are also a hip flexor, you may find that by squeezing a medicine ball between your legs you even feel your core working more with very light weight!
And if don’t have weight and want to work your upper body more, you can even take this lower body crunch up off the ground with hanging leg raise variations or even dip hold leg raises.
But with all of these variations, you want to make sure you target your lower abs by bracing those abs with the posterior pelvic tilt and actually flexing at the spine as you lift.
It is tempting to just let the movement only occur at the hip when you fatigue without your abs engaged.
Remember this will just lead to your hip flexors working, not your abs getting the benefits you want!
So regress if you feel yourself starting to cheat!
Using these tips you can really target your lower abs with the amazing and oh so simple lower body crunch.
Perfecting basic moves like this can help us see better results faster and really target those stubborn areas we want to work!
Try This Ab Burner:
And for a quick and killer burner using this move, try this 100 Rep Ab Burner…
This is great to use once a week in your workout progression.
Completing 1 round through the circuit.
CIRCUIT:
20 Heel Raised upper Body Crunches
20 Lower Body Crunches
20 per side Oblique Crunches
20 Full Body Crunches
For more killer workouts, and even ab burners, join my Dynamic Strength App!
–> LEARN MORE