by Cori Lefkowith | Apr 2, 2016 | Blog, Foam Rolling, Pain Relief
I’m always looking for new tools and instruments to not only improve my personal health and wellness, but also improve the quality of training that I can provide for my clients.
And if those tools come in a nice kit that clients can even get for their homes so that they are doing more things throughout the day to move and feel better, that makes me even happier.
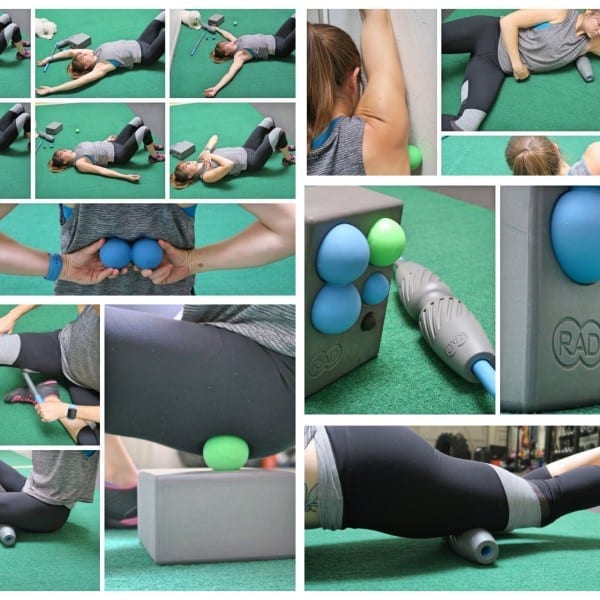
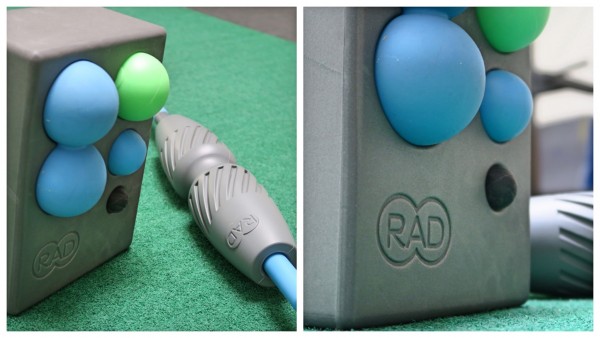
So of course I was super excited when I found RAD Roller at the LA Fit Expo. After seeing their great product, the RAD Roller, which was a nicer variation of the Peanut I teach everyone how to make, I went to their site and ordered my own RAD Kit. I wanted to test out their complete line so I got the RAD All-In Kit.
It was $140, which some may think is expensive but it came with, what I felt, were the tools to roll out EVERYTHING. It wasn’t just a big roller for $70 bucks (although I do love my full-sized Rumble Rollers as well).
I got the entire kit, and here are all the moves and ways I felt you could truly use it to roll out everything from head to toe. And the best part, if you are a messy person like me, it is easy to store everything in one place because the balls have spots in the blocks! WOO HOO! No more random balls all around the apartment!
SIDE NOTE: I have fallen in love with the RAD Roller so much that I’ve become an affiliate of their products. So of course I think you should get their stuff to do the movements below. HOWEVER, if you have other variations of these tools, you still need to do these moves as I’ve found these are some of the BEST to help prevent pain and injury especially if you sit at a desk all day!
(more…)
by Cori Lefkowith | Jul 9, 2014 | Blog, Foam Rolling, Pain Relief
If you suffer from back, hip or SI joint pain (aka if you sit at a desk all day!), then you need to make yourself a peanut.
The peanut is a simple, CHEAP homemade tool you can make in like five minutes and it will alleviate a ton of your desk job aches and pains.
Below are instructions to help you make a peanut and then use it all along your back!
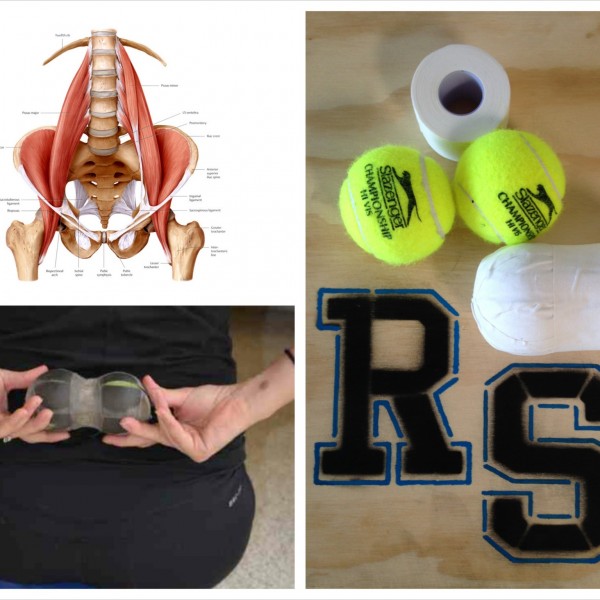
How to make a Peanut:
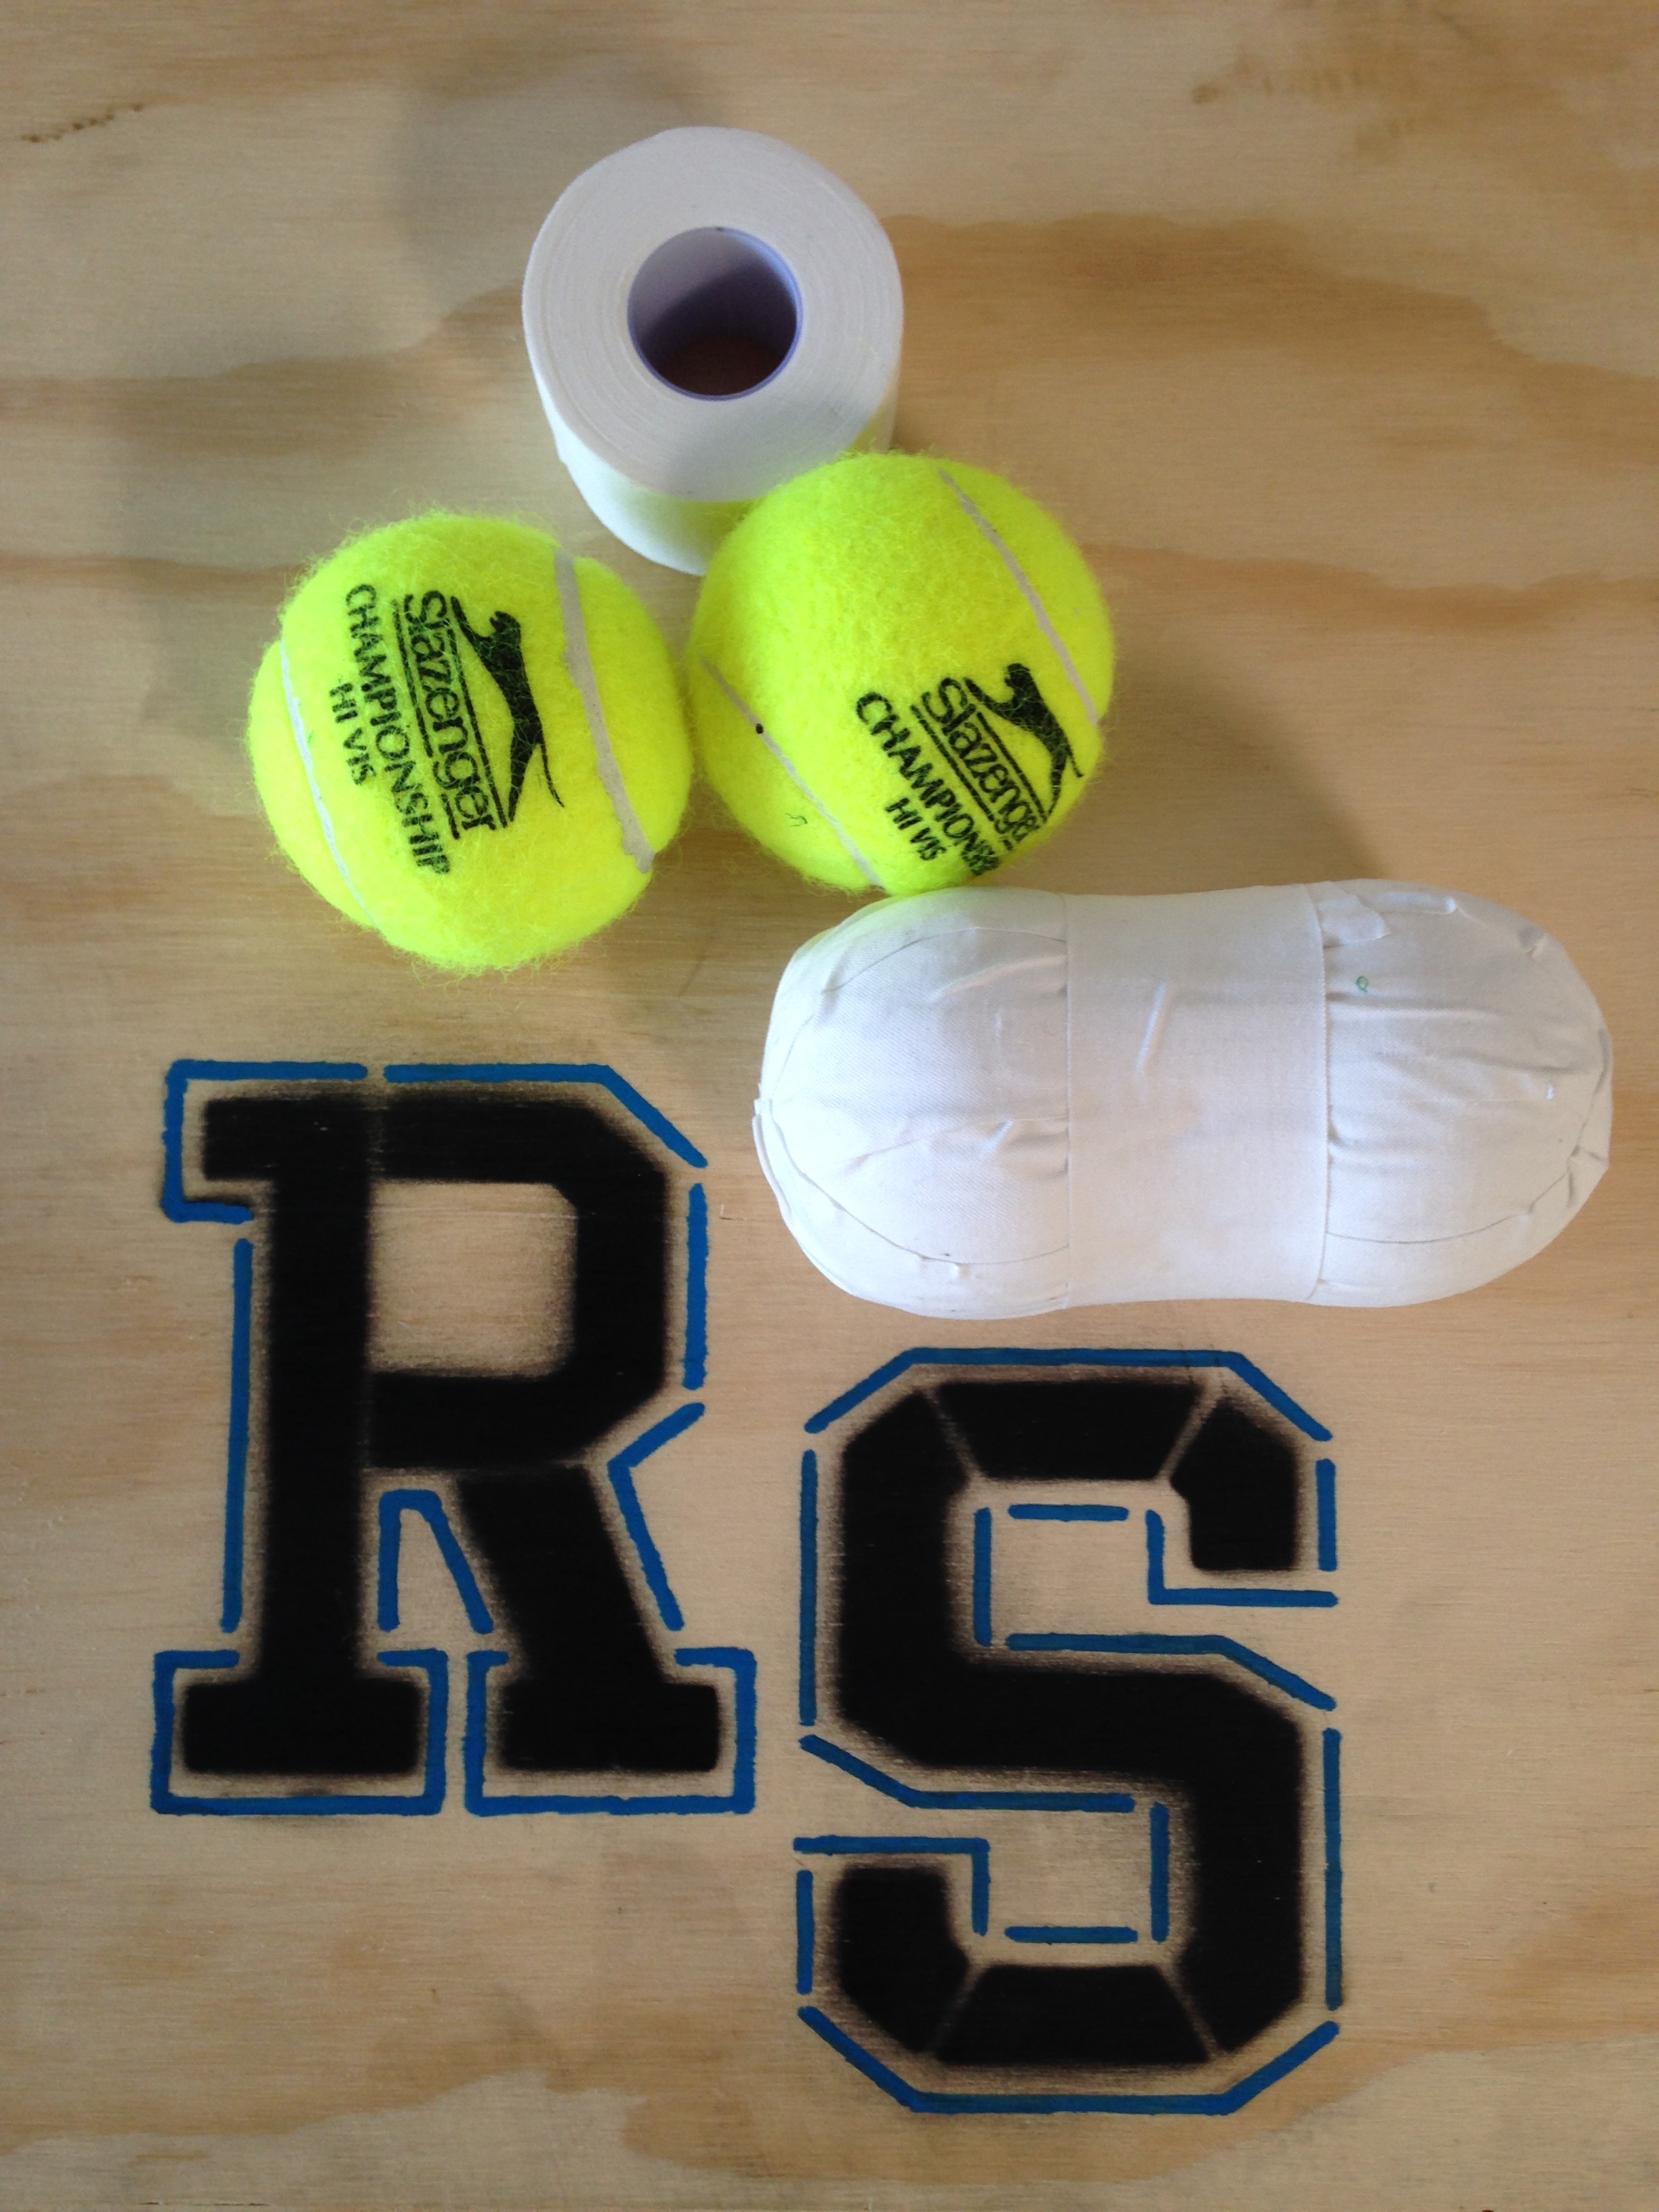
“Ingredients:”
Athletic Tape
2 Tennis Balls
Scissors
Place the two tennis balls together. Wrap them together with athletic tape. Make sure the balls are tightly together as you wrap. Keep wrapping them together until the balls are completely covered.
I like to cover them with two layers of tape.
Make sure all tape edges are covered or firmly pressed down so nothing can catch or come up.
Then cut the tape and press the end down firmly on the side so it won’t come up. Then wrap a piece around the center of the two balls.
Make sure as you wrap you wrap tightly so the balls can’t move around a ton!
Then use your new peanut to roll out!
How to roll out using your new Peanut:
There are a number of different muscles along your spine that can lead to back pain and reinforce tight hips. Therefore you want to not only focus on the area right around your hip, but also along your spine to alleviate pain.
And if you have neck, shoulder or upper back pain, you may find rolling out your thoracic spine with a peanut helps!
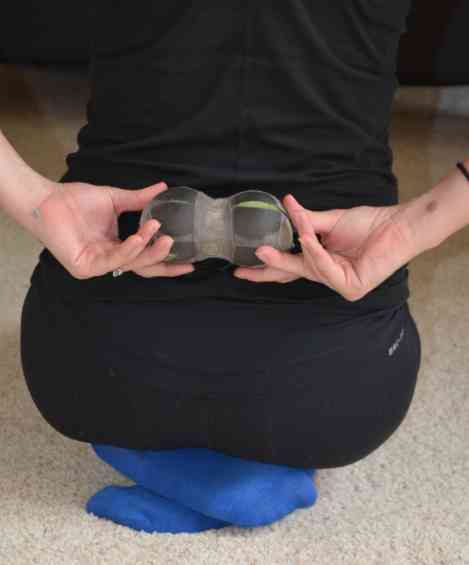
To roll out your entire back using a peanut, place the peanut on the ground and lay over it so that a ball will be on each side of your spine. You do not want the ball to hit your spine. You want a ball to dig into the muscles on either side of your spine. (The picture below shows good starting placement for the ball if you were to be lying on it on the ground.)
Lay on the ground with the peanut starting above your glutes. Tuck your knees into your chest and then relax your feet back down to the ground.
Touch your feet back down and crunch your lower body again, bringing your knees into your chest. Hold for a second and release.
Repeat that lower body knee tuck a few times then move the balls up higher, making your way all the way up your back along your spine.
Move the balls only a little bit up your spine each time. Spend longer on any tender spots. You can even just relax over the balls and breathe.
Tuck your knees while you work up your low back.
As you reach your mid to upper back, start performing a crunch with your upper body instead of tucking your knees to your chest.
Remember to relax over the peanut longer on any super tight spots.
For video instruction on how to use the Peanut (and other trigger point moves to alleviate common aches and pains), check out my RStoration Program!