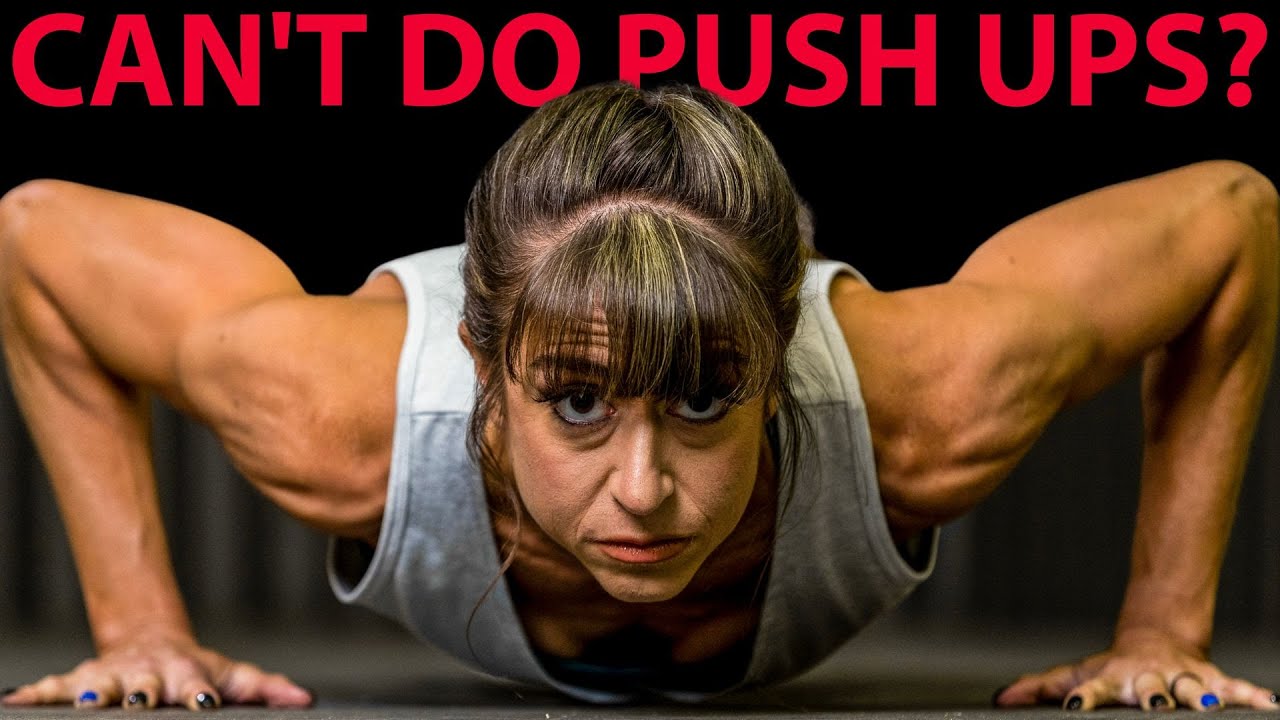
Push-ups aren’t just hard. They’re deceptively hard.
Because what looks like a simple bodyweight upper body move…Is actually a moving plank.
It’s why mastering the full push up isn’t just about upper body strength – it’s about creating full body tension.
It’s a mind-body connection challenge!
So if push-ups have felt frustrating, painful, or even impossible —
I want to walk you through exactly how to build up to that strong, picture perfect push up from your toes with not only the best modification to use but 3 key form cues.
These tips will help you build up to multiple reps in a row without dropping to your knees, compromising form or guessing at what’s actually working.
So what’s the best way to modify the push up to regress to progress?

Stop dropping to your knees…Use an incline!
That’s right. The best modification isn’t off your knees.
It isn’t partial reps. It isn’t powering through fugly reps hoping they get better as you get stronger…
It’s using an incline that meets you where you are at – whether that’s off a wall, counter, bench or barbell in a rig.
An incline works best because you’re not changing the movement – it’s still that full plank off your toes.
You’re just adjusting the resistance.
An incline allows you to scale the difficulty without changing the form.
This allows you to learn to set up in that full plank position and create tension through your core in the right way as you build up strength.
You learn to drive back through your heels.
You learn to flex your quads and use that posterior pelvic tilt, or tuck of your pelvis toward your ribs, to brace your core.
You learn to maintain this core engagement as you have to power the press using your chest shoulders and triceps with proper scapular control.
You learn the form you’ll need even as you lower the incline closer to the floor.
And this is what makes this modification better than the knee push up, where you only learn to engage down to your knees.
Everything moving together is what makes the push up hard and a mind-body connection challenge over just a strength one.
The incline allows you to slowly master that control.
And as you get stronger, you lower that incline.
The wall becomes a countertop. The countertop becomes a bench or the edge of a couch. The bench becomes the floor.
You’re building strength with real push-ups and you can make sure your form is solid before you lower down further.
But with using the incline you have to be conscious to not just add more reps at the incline you’re doing.
Instead lower it if you can do more than 5.
Because too often when we do modified moves, we just make ourselves better at the modification by adding more reps.
While this builds strength endurance, it can also keep us stuck just getting stronger at the modification.
So if you can do 5 reps, lower the incline just a bit!
Better to even do 1 rep at a harder variation and have to rest to do more than 5 in a row at an easier one if you want to master that first full one off the ground!
And as you progress that incline, you need to focus not just on making your push ups look pretty, mimicking proper from – you’ve got to actually make sure you feel the correct muscles working.
That’s why I wanted to share 3 key push up cues to help you focus on having the most powerful and efficient movement possible.
Too often we forget that strength isn’t just brute force but about efficiency. Can we use the correct muscles to the correct extents at the correct times…
Here are 3 cues to make sure you do exactly that…
Cue #1: Drive through your heels.
Even though the push up is an upper body move – your lower body can’t be disengaged.
Driving back through your heels to flex your feet creates that tension all the way up your legs and through your core.
It actually reduces the pressure on your upper body to press, making your body move efficiently move as one unit.
Remember, you’re not just pressing. You’re planking.
This cue is so powerful to focus on as the tension it creates fixes a ton of common form problems.
Struggle with your hips sagging? Worming up from the floor? Butt too high in the air?
All of that starts to clean up when you drive back through your heels.
Cue #2: Grip the ground.
Have you ever really noticed what you’re hands are doing during a push up?
Too often we don’t pay attention to the pressure we’re applying down into the ground.
But your hands aren’t just passive in this movement – they’re your foundation.
You want to push that ground away to properly press and that starts with spreading your fingers wide to grip the ground with your entire hand.
This simple change and focus does two major things:
It protects your shoulders and elbows by allowing you to better engage your back and helps you avoid that elbow flare that can lead to more strain.
It activates your chest for a more efficient press and less overuse of smaller muscle groups.
A little bonus cue to create a more powerful press and better engage your pecs is to imagine trying to drag your hands together on the floor as you push up.
This focus on adducting without moving also helps you avoid rocking out on your hands which further protects your wrists and elbows while working your chest more.
So if you’ve ever struggled with elbow, neck or shoulder pain as you do more push up work, this cue is a game-changer.
And Cue #3: Engage your back.
Yes — your back.
Proper back engagement leads to proper shoulder blade movement, which in turn supports and protects your shoulders.
So your backs…It matters more than you think.
Here’s what proper scapular movement looks like in a push up so you can better use your chest, shoulders and triceps without overloading your neck shoulders or elbows…
As you lower down, engage your upper back to pull your shoulder blades toward your spine, retracting them.
As you press back up, push the ground away, pulling your shoulder blades apart or protracting them.
You’re not trying to lock them in place. You’re guiding them through the movement.
No pinching, no shrugging, no leading jutting your head forward.
Just your back engaged to stabilize your shoulders as your shoulder blades move.
This cue alone can make you feel like your upper body instantly got stronger!
And combining all three cues and the incline modification? Well that’s magic.
Here’s your cue checklist next time you do a push up.
Set up off an incline you can control and drive back through your heels to feel tension through your entire core. Grip the ground or bench or bar as you unshrug your shoulders engaging your back.
As you lower feel your shoulder blades come together.
As you push the ground away (yup that tension through your hands) and drive back through your heels, feel your shoulder blades come back apart.
And then repeat.
Test out a lower incline.
If you can only control the lower down, stop at the bottom and reset and know that’s where you max out for now.
Remember sometimes even a single rep done well at a lower incline can be better than more reps done with a higher one.
It’s not just about doing more. It’s about making our practice more perfect.
Quality reps lead to improvements. We don’t want to ingrain bad habits.
Regress to progress and use that incline as a way to build up.
So stop grinding through sloppy reps. Start training with intention.
And guess what? That picture-perfect push-up may be closer than you think!
Ready to conquer those push ups?


awsome information
Excellent points. I’m looking forward to trying these ideas. Thx
Glad it helps!
So glad they help!