Mistake #1: Doing Only Big Heavy Lifts To Work Your Core.
Yes, those big compound lifts DO strengthen your core.
But those moves alone aren’t enough.
Because your core is truly only being worked in one way during these moves – to brace.
When really our abs, and the other muscles of our core, have so many different functions we can and should be addressing.
By including focused core work and isolation exercises for the different muscles of your core, not only can you create better muscle hypertrophy for more defined abs but you can truly strengthen any weak links.
The stronger your weakest link, the more you can lift. And the more you can lift, the more muscle you can build which will only further improve your body comp results.
WIN WIN!
Many of us even do this already with other areas. We include leg extensions to further strengthen our quads after lunges or squats.
We do bicep curls after back exercises to further target our arms.
The same thing needs to be done for our abs.
So stop just only focusing on compound moves.
Include isolation work for your abs and core and address ALL of the functions these muscles perform from spinal flexion and lateral flexion to twisting and even anti-extension and flexion.
Yes this means doing things like crunches, leg raises, and russian twists…the things so often demonized as not being functional.
But strengthening movements those muscles are MEANT to perform is actually ESSENTIAL if we want to be functionally strong and see the definition we want!
Which actually brings me to Mistake #2…Fearing Moves Because You’ve Heard They’re “Bad.”
I know I ruffled some feathers when I mentioned crunches and russian twists already.
Because over the last few years these have gathered more and more hate.
And 100% NO MOVE IS RIGHT FOR EVERY PERSON.
But just because YOU have an injury that may make a move not right for YOU because you can’t control it, doesn’t make it wrong for someone else or even dangerous.
I can also tell you, too often it wasn’t the move that caused the problem even if you got hurt during it.
It was improper recruitment patterns or us doing a move that wasn’t yet really earned which we couldn’t fully control that led to the issue.
Often the move we get injured on is even simply the straw that broke the camel’s back as overload had already built up without us fully realizing.
And moves like crunches and russian twists can actually be amazing exercises to target our abs and obliques and build that definition because of how isolated their focus is.
Because they isolate those muscle groups so well, it can allow us to really learn to engage and activate those specific muscles to prevent overload to our spine.
Learning to control that proper spinal flexion and rotation is a key to avoiding aches and pains.
So instead of demonizing these isolated movements, we need to use them more. And that focused activation of those core muscles will help you improve your definition.
The more stubborn an area, the more we want to include moves that really hone in on it and isolate it by working it during a movement pattern it controls.
Add more crunch variations where you can really feel your abs working in isolation.
Include moves that work on lateral flexion to target your obliques like plank hip dips or the often also hated teapots.
Learn to CONTROL these movement patterns as you focus on isolating those muscles to work so you can have not only a sexy looking core but a strong one!
And then as you include these moves, realize that you will need to progress them as you go if you want to build that definition.
(Ready for some killer core routines to get that defined 6-pack? Check out my Dynamic Strength App!)
Mistake #3 Is That We DON’T Create Progression In Our Core Work.
If you’re repeating the same few ab exercises and never making them more challenging, even though you may feel a burn when you do them, you’re not going to keep getting better and better results.
You NEED to find ways to progress those basic exercises.
Whether you add resistance, change tempos, change up the range of motion, adjust training volume or even simply tweak the exact posture or positioning for a move, you need to progress things as you go.
It’s not good enough that it just “feels” hard.
You need to advance the exercise over time or you’re not forcing the muscle to build back stronger.
So if you’ve been doing the basic crunch, try holding a dumbbell to add resistance or increase the range of motion by doing it over a bosu.
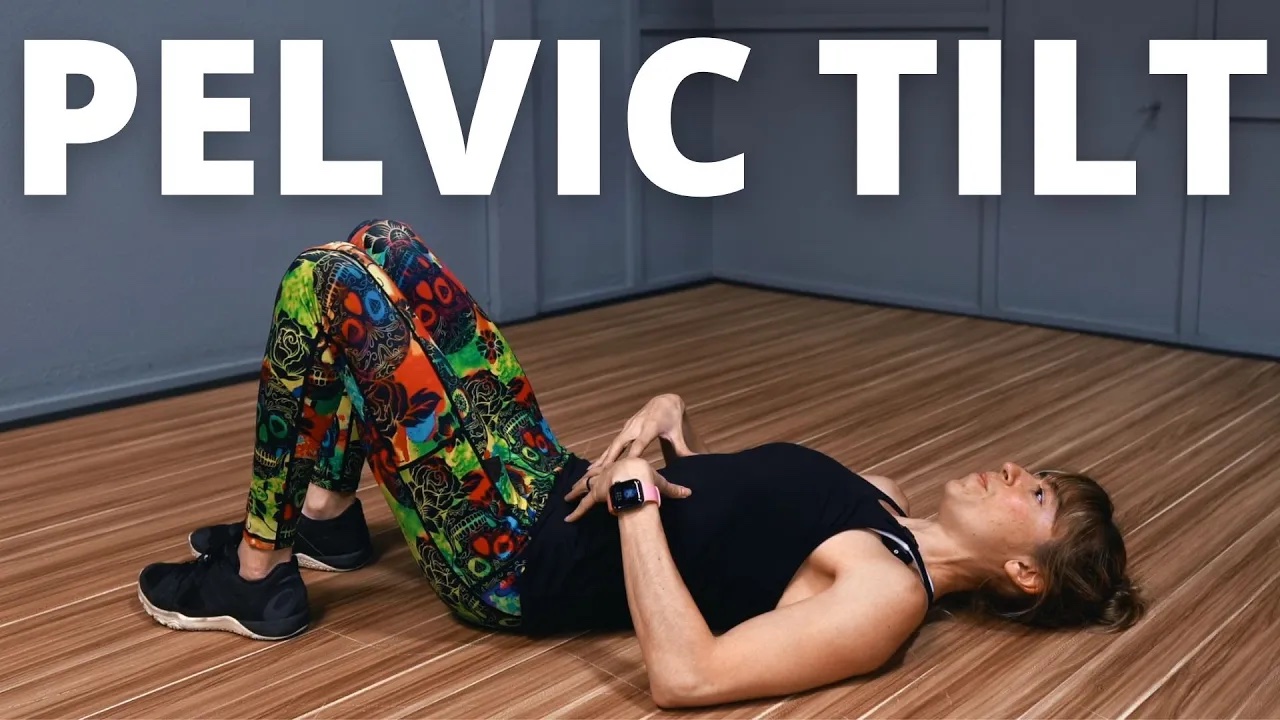
Or if you’ve been doing hanging knees to elbows, try toes to bar or just the pelvic tilt to change the range of motion and exact body positioning.
If you’re shooting for 10-15 reps of a move and only able to do 10 with a weight one week, shoot to do 11 or 12 then next.
Even try just a slightly different variation of the same basic movement can be progression through the same but different!
But focus on trying to make the move just a little bit harder over the weeks to build that definition. Don’t just go through the motions doing the same moves day after day after day!
Which is part of the 4th Mistake I often see people making – Not Including Diversity In Their Routine.
We can not only create progression through the same but different, but even small tweaks in how you perform a move can impact exactly how they benefit you.
When we include a diversity of exercises we can address all of the different functions the muscles of our core have.
It’s why it is key we don’t only work our core by using it to brace for big compound lifts like deadlifts or squats or rows.
We also need to include moves that work on spinal flexion, rotation and lateral flexion not to mention even strengthen muscles to AVOID unwanted extension, flexion or rotation.
Yup both exercises that power movement, but that also help us prevent it!
And then not only do we want to use a diversity of movements to address all of the actions the muscles perform, we want to use different moves to target muscles to different extents.
Through using a variety of exercises, you can target different aspects of your abs more or less.
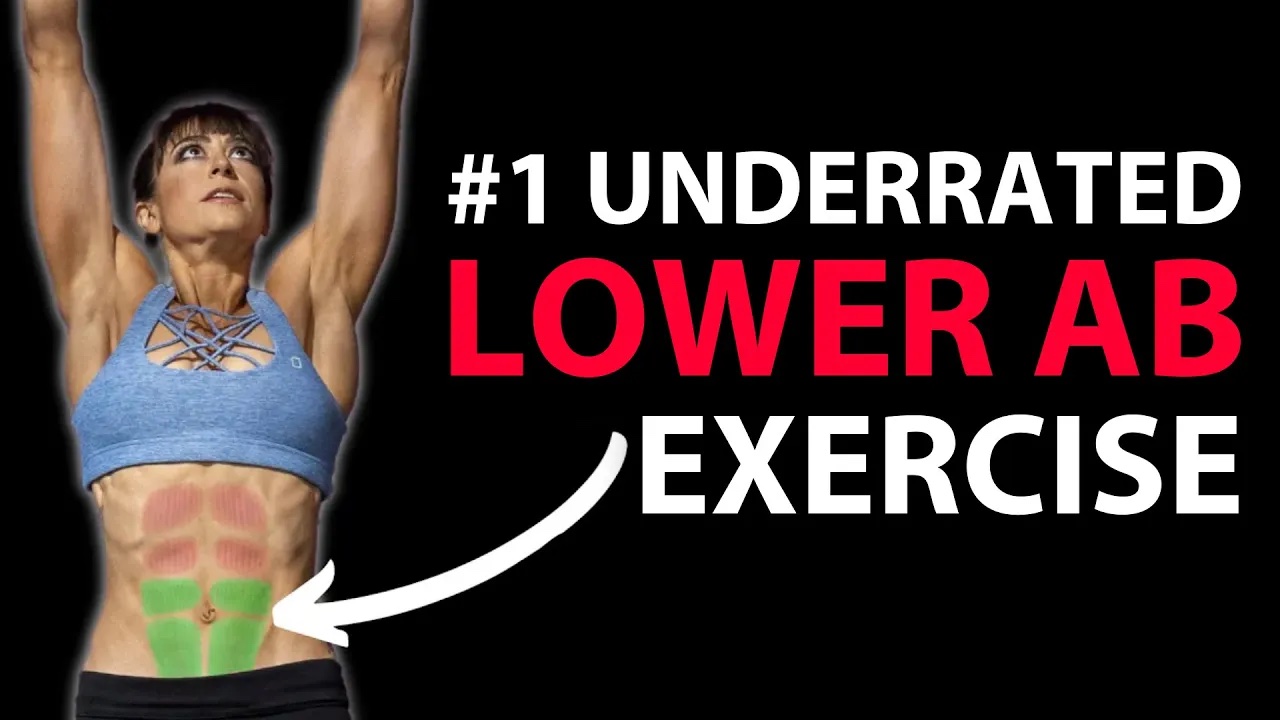
While we don’t have a lower ab muscle, you can target the lower portion of your rectus abdominis to a greater extent through long lever plank variations and lower body crunches instead of doing the traditional crunch.
Studies have shown that slight changes to our postures and positions can elicit better activation in different areas of the same muscle!
This can help us make sure we are truly getting the fully defined six pack we want!
But just make sure that whatever moves you include, you feel the correct muscles working.
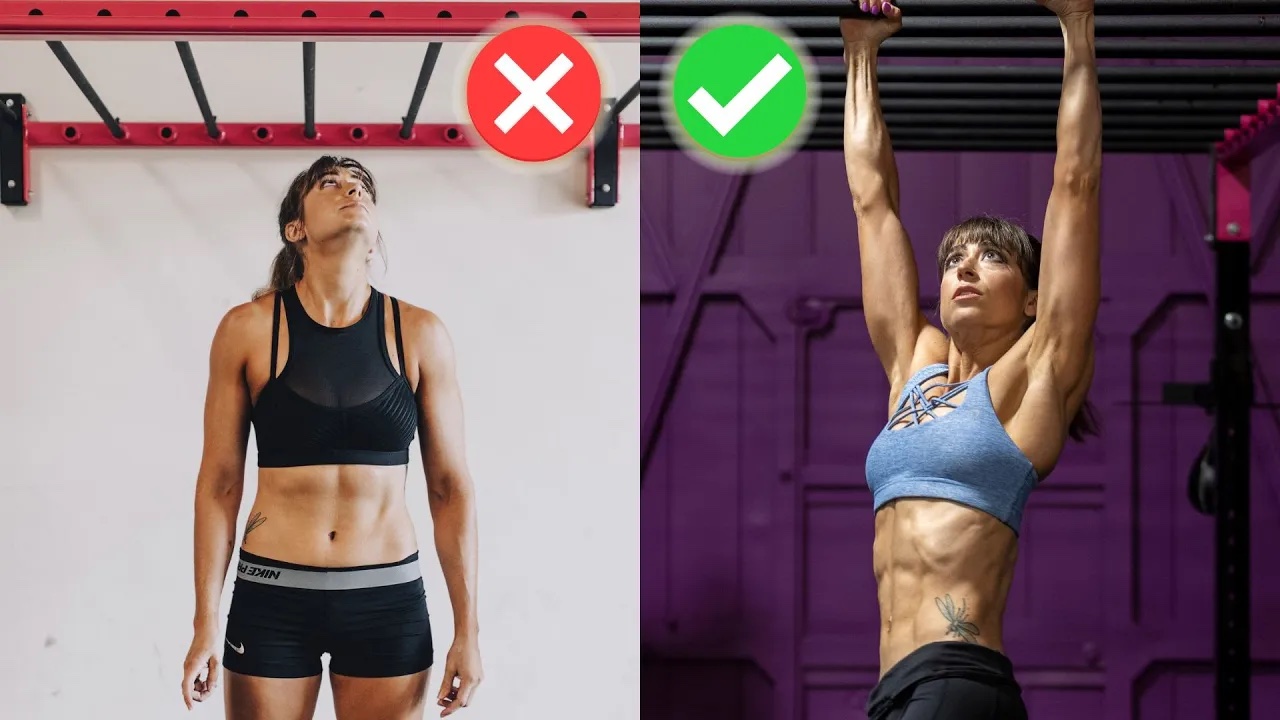
This is where Mistake #5 comes into play…Letting Other Muscles Compensate.
When you do an ab exercise, ask yourself, “What do I feel working?”
Because whatever you feel working is actually getting the benefit of that exercise.
If you feel your hip flexors or your lower back taking over, instead of your abs doing the work, those other muscles are therefore getting the “benefit” of the move.
This is often not only what leads to injury and us demonizing certain moves, but us also not seeing the ab definition we want resulting from all of our hard work.
If you don’t feel your abs or obliques working during a movement like they should be, regress to progress.
Maybe you need to modify a movement, reducing the resistance or strain on the muscle group as you earn that harder variation.
This could mean bending your knees and tapping your feet down during a full body crunch over extending your legs out straight if you can’t control that posterior pelvic tilt to avoid your lower back becoming overworked.
Or it may mean implementing a different variation of an exercise, like using a resistance band around your heels during a sit up to remind yourself to push down into the ground and engage your hamstrings as you roll up so you feel your abs and not just your hip flexors working.
Sometimes you have to change the exact way you use a move to make sure you can feel the correct muscles working.
But don’t just push through using a move someone else said was amazing if you don’t feel the correct muscles working.
Bonus Tip:
The final bonus tip I wanted to include to help you adjust your ab training to see amazing results was to be conscious of how frequently you’re doing core work and when you’re including it in your workouts.
I find often ab training is used in one of two ways…
Either it is done every day for a bazillion reps.
Or it is done every once in a while as a complete afterthought.
Just like you want to design a clear weekly schedule to build results for other muscle groups, you want to do the same for your ab training.
Consider including ab exercises 3-4 times a week at the end of your sessions, especially if this is a stubborn area for you.
Working your abs with isolation exercises at the end of your workouts is helpful if you are including heavier lifts earlier on.
You don’t want your abs fatigued for those moves because that puts you at greater risk for injury.
Also by doing more frequent sessions over the week, you don’t have to go crazy destroying your core each and every time. The volume of work will still add up though over the week.
This can help you not fatigue your abs so much that your following workouts suffer.
You want to get in the greatest volume of quality work you can to see the best results as fast as possible!
Like any stubborn muscle group you want to build and see amazing muscle definition in, you need to create a plan of action and not just randomly add in moves that feel hard.
A clear plan so you can create progression and constantly challenge that muscle group is key.
And use that diversity of movement over your workout progressions to your advantage to not only keep things fun but create that killer defined six pack!
For more tips to help you see that ab definition, especially for the first time, check out this video!