How To Do The Pelvic Tilt Exercise (And SHOULD You?)
The pelvic tilt…
How can you use this amazing move and progress this exercise to build a stronger core?
And why has this move received some hate in recent years?
Let’s break down the pelvic tilt progression and when and how to use it!
This exercise is a great way to learn to brace your abs and protect your lower back during core work
If you’ve ever felt your lower back or hips during crunches or leg lowers, Leg Raises you want to master this movement.
It will even help you better engage your glutes during moves like the glute bridge or other activation exercises. And it is a great way to target that lower portion of the rectus abdominis even more aka work those lower abs!
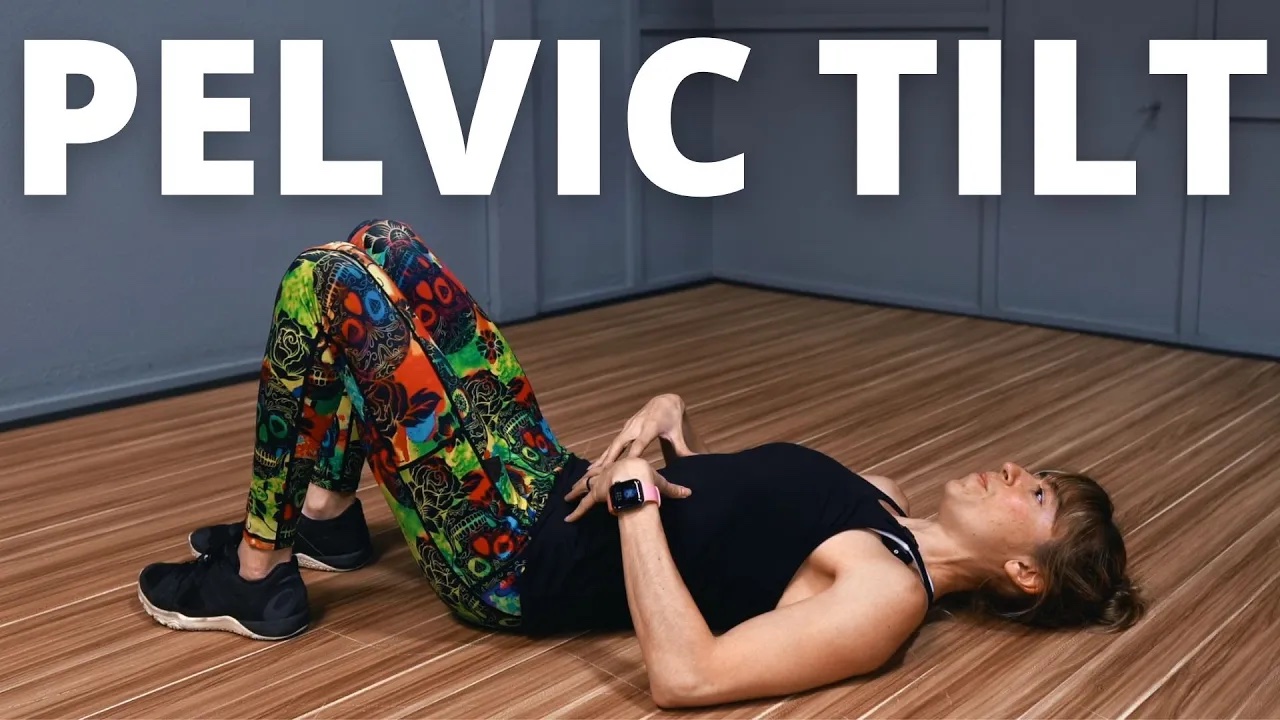
To learn the basic pelvic tilt engagement…

Lie on your back on the ground and take a deep inhale.
As you exhale, tuck your hips up toward your ribs, focusing on pulling each side of your pelvis in toward each other and up toward your ribs.
You want to focus on engaging those abs through that exhale as you tuck. You will feel the space between your lower back and the ground go away.
You should also feel your glute max engage with the tuck.
Hold here for a 3-5 count then relax.
Learning this engagement is key.
It helps you learn to control that spinal flexion as you progress to leg lower exercises and even progress your planks.
And if you’ve ever had lower back pain and feeling your back during glute bridges, hip thrusters or other glute activation movements, using the pelvic tilt can help you better engage your glutes during these moves without your lower back taking over!
Now, before I go over the full progression and how to master that double leg lower exercise we see in so many workout routines…
I want to touch on why people are against using the pelvic tilt exercise.
And it relates back to bracing during lifting and even the ability to maintain a neutral spine.
During lifting exercises, such as the squat and deadlift, you do not want that posterior pelvic tilt. This can lead to overload of your lower back.
And daily excessive posterior pelvic tilt posture can have a negative impact just like excessive anterior pelvic tilt can.
But this doesn’t mean the move is bad.
It just means you have to understand WHY and WHEN to use it.
Improper implementation of any exercise, using a move we haven’t earned even, can lead to issues.
While you may focus on that forceful exhale like you’re being punched in the gut to brace during heavy lifts, you do want to know how to engage through that posterior pelvic tilt to better use those intrinsic core stabilizers and even activate your glutes during prehab work and those floor core moves.
Our spines are MEANT to flex and posterior pelvic tilt is an action we want to know how to control using our abs while disengaging our hip flexors and back.
This is why you want to focus on building up through the posterior pelvic tilt progression instead of just jumping into those double leg lowers you can’t control.
So how can you progress the pelvic tilt and what are three of my favorite moves using it that aren’t part of this progression?
To progress the posterior pelvic tilt, you will want to start with a march Single Leg March from this basic position. From here you can progress to a double knee tuck.
Then you can go to a single straight leg lower Single Leg Lower before a full double leg lower.
You only want to progress though as you can truly control the move.
If you start to feel your lower back lifting or your hip flexors are doing all of the work, stop and reset or regress the move.
While the leg raises and lowers are going to involve your hip flexors since they are movement at the hip, you want to feel your abs bracing the movement.
To help yourself check your engagement through this progression, place a towel under your back and hold the other end in your hand.
You can then give it a slight tug to see if it stays pinned as you progress. This helps you double check you’re maintaining that tilt.
And make sure you don’t hold your breath. You want to exhale to help you brace as you lower a leg down or both down.
Once you’ve gone through this progression, you are never above those foundational variations but you may find you start to include other leg lower variations like flutters or criss crosses or even that full hollow body hold I love to call the banana!
Three other uses of the pelvic tilt I love are…
The dolphin plank, the hanging pelvic tilt and the glute bridge.
Dolphin Plank:
The dolphin plank is a great variation to add movement to your basic forearm front plank and will help you learn to engage your abs to power spinal flexion but also avoid unwanted spinal extension.
You will use the posterior pelvic tilt as you round up in the plank and then you will fight the urge to extend your lower back as you allow your hips to sink toward the ground.
This is a killer anti-extension plank option. And you can modify it by holding a plange plank or by doing what I like to call the vomiting cat from your hands and knees.
This is NOT that cat cow stretch.
The reason I call it the vomiting cat is you want to round up and draw your abs in as if coughing up a hairball. That hollowing out of your stomach is what really engages your abs.
Hanging Pelvic Tilt:
The hanging pelvic tilt is a great way to advance the pelvic tilt and really learn to control hanging ab exercises like knees to elbows.
Too often with knees to elbows and even leg raises, we let our hip flexors take over or really start to swing and lose control.
By first learning to do the hanging pelvic tilt, we can learn to start that engagement with our abs!
Really focus on pulling down on that bar as you tuck your pelvis toward your ribs!
Glute Bridge:
I want to mention the glute bridge as well because of the impact that the posterior pelvic tilt can have on our glutes.
That pelvic tilt can help us better activate our glute max which is key if we are struggling with feeling our lower back or even our hamstrings take over during our glute work.
So if you even feel your lower back when trying to do weight glute bridges or hip thrusters, make sure you aren’t arching but instead starting the move with this tilt.
This helps you also focus more on true hip extension.
Too often with bridging we lift up higher and don’t realize we are actually getting the extra range of motion from our backs, not by actually fully extending our hips.
When you start with the pelvic tilt, you help yourself focus just on true hip extension using your glutes!
And learning to use the pelvic tilt during moves like this is especially a win win if you’re rebuilding post-partum.
Bonus Tips:
I did also want to include just a few extra tips, especially if you are using this move to rebuild after lower back injury or pregnancy…
If you are rebuilding your core strength after having a baby, make sure you roll onto your side before lying on your back over just lying back.
And make sure you only progress the pelvic tilt as you are able to control your abs and avoid them doming out.
You may also find it easier to engage your ab and even your pelvic floor by also engaging your adductors.
If you’re struggling with that brace, consider squeezing a ball or block between your knees.
This squeeze can really help you stay focused on that tension.
And do not hold your breath!
Use the pelvic tilt exercise to better brace your abs and build a strong core!