The Right Way To Get A Strong Lower Back (4 exercises)
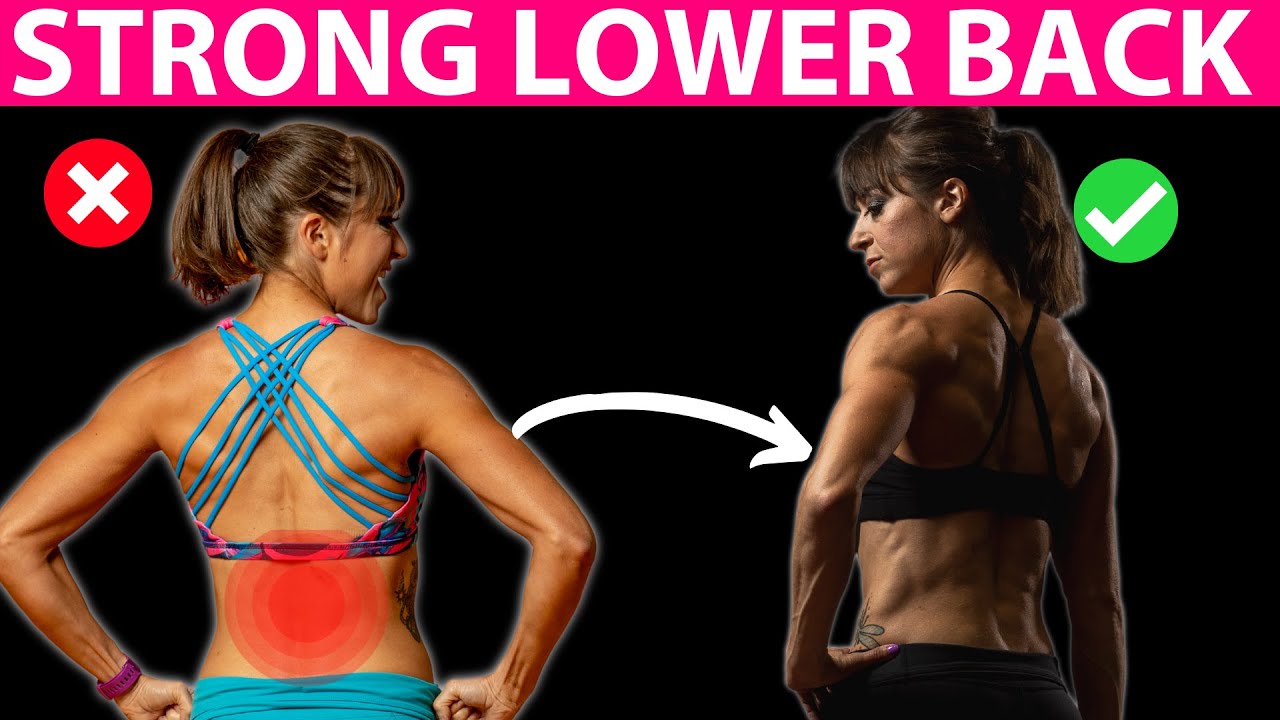
Many of us have thought to ourselves, “My lower back is so weak” when we’ve been suffering from lower back aches and pains.
We feel it during ab movements or deadlifts and think that we feel it because we need to strengthen it.
But what if the problem isn’t that your lower back is weak?
What if the issue is that it’s actually OVERWORKED?
This is all too often the case when it comes to our lower back.
The muscles there become overworked due to our daily postures which have created mobility restrictions and underactive abs and glutes.
So all of that strengthening you’re trying to do, all of those superman you’re doing, may actually be perpetuating the issues making them worse instead of better.
Instead you may need to be working on your hip and thoracic mobility while activating your abs and glutes to protect your lower back from being overloaded.
Remember the point of pain isn’t always where the problem started. And feeling a muscle work during a move may not be because it is weak. Instead it may be working when it shouldn’t and become overloaded.
So if you’ve been feeling your lower back during moves and thought, “I need to strengthen it,” try including these 4 moves in your warm up routine instead! And stop overworking your already overloaded lower back more!
Exercise #1: Thoracic Foam Rolling
If one area is lacking in mobility, we will seek out mobility from another area to compensate.
Because we often lack proper thoracic extension due to hunching over our technology or driving in our cars, we tend to compensate for this lack of extension by arching our lower back during exercises.
If you’ve ever felt your lower back during overhead pressing movements or bent over rows or back flyes, you may be arching your lower back in an attempt to maintain a neutral spine because of your limited thoracic extension.
That’s why it’s key we work to improve our thoracic extension to avoid seeking out mobility from our lumbar spine to compensate.
That’s why I love peanut foam rolling. It’s a great way to relax those muscles that may become tight along our spine while improving our thoracic extension.
To do this move, you can use a peanut, which can easily be made by taping two balls together or tying them in a sock. Lie on your back placing the peanut in your mid-back with a ball on either side of your spine.
Place your hands behind your head, pulling your elbows open as you relax over the peanut.
Breathe and hold for a second, then crunch up and relax back down. Do a few of the crunches, extending back over, before moving the peanut up your spine.
You can also reach your arms up overhead and sweep them open and out to your sides before crunching up to stretch out your chest further.
But focus on breathing to relax as you hold and allow your spine to extend over the roller.
To progress this move, you can use something like the Simple Mobility tool which has a larger diameter and will require more spinal mobility to relax over.
Exercise #2: Bench Hip And Quad Stretch with Rotation
Tight hip flexors, and a lack of hip and spinal mobility in general can lead to you overusing your lower back as you then aren’t able to properly engage your glutes or even your upper back and abs.
That’s why stretches to improve your hip extension and spinal mobility are key.
Too often if our hip flexors are tight, we end up feeling moves that should be felt in our glutes in our lower backs and quads. Not to mention we can develop hamstring synergistic dominance where our hamstrings start to become overworked instead of our glutes working when they should!
To address both limited hip and spinal mobility, I love this Bench Hip and Quad Stretch With Rotation.
To do this move, place one foot up on a bench or chair behind you and half kneel on the ground with that back knee down and front foot flat on the ground. Move out far enough that you can squeeze that back glute to drive your hip into extension while keeping that front knee aligned over that front ankle.
In this half kneeling position, place both hands down on the ground even with your front instep.
In this position it is key you squeeze that back glute to drive that hip into extension or you lose out on the hip flexor stretch. Having your back foot up on the bench flexes your knees to stretch your quads at the same time.
Then lift your hand closet to your front foot to rotate toward that front leg. As you rotate your chest open, don’t just move at your shoulder. Focus on engaging your upper back to rotate your chest open.
Reach up toward the ceiling then place that hand back down on the ground. Then lift your other hand up to rotate away from that front leg. You may find it harder to rotate one direction, especially away from the front leg.
Make sure to keep that back glute engaged the entire time to stretch your hips and engage your upper back to help you twist and rotate.
Do not let yourself rock out on that front foot and cheat, seeking out mobility from other areas!
Move slowly and work for about 30 seconds per side even before switching legs.
To modify, you can place your back foot on a block instead of up on a bench. You can also place that back foot on a wall if you don’t have a bench.
If you can’t kneel due to knee issues, do this from a runner’s lunge position, even modifying with your hands up on an incline.
Exercise #3: 3-Way Hip Circles
The best way to protect your back is to strengthen your glutes and your abs so they brace to help protect your spine so your lower back isn’t doing all of the work!
That’s why this 3-Way Hip Circle activation move is so important to include. It not only helps mobilize your hips, but also works on your core engagement, activating your glutes, abs and even obliques.
Avoid leaning away or rotating your pelvis as you focus on moving just at the hip joint.
In this drill you want to pause in each position as the donkey kick will target your glute max while the fire hydrant will target your glute medius and the knee tuck will engage both your hip flexors, but especially your abs if you focus on drawing in your belly button as you pull in to tuck.
By also fighting the urge to lean away you’ll feel those obliques working to keep your hips level toward the ground.
To do the 3-Way Hip Circles, start on your hands and knees with your hands under your shoulders and your knees under your hips. Flex your feet.
Then, keeping your knee bent to about 90 degrees, kick one leg back like into a Donkey Kick. You may slightly abduct the leg to better engage the glute, but do not let the knee rotate open. Focus on stopping the move with your glute over arching your lower back to lift up higher.
Pause here even assessing if you feel your glute. If you feel your hamstrings, relax your foot or even kick slightly out. And make sure your hips stay level to the ground.
Then, without bringing your knee back down, circle it out to the side into a Fire Hydrant position. Do not bend your arms or lean away to try to get the leg up higher.
Pull your knee in line with your hip, keeping your knee bent to about 90 degrees. Focus on keeping your lower leg about parallel to the ground. Do not let your foot flare up higher. Feel the side of your butt working to hold the leg up.
Pause here then tuck your knee straight in toward the elbow on the same side.
Pull your abs in as you crunch and don’t be afraid to flex slightly through your spine. Focus on those abs working as you drive your knee into your arms.
Pause then repeat the move kicking back into that Donkey Kick position.
Move slowly focusing on avoiding rotation or arching of your lower back as you kick back.
Complete all reps on one side before switching.
You can not only modify this move but also simply add variety to it and a balance challenge, by doing this standing. You can also do a straight leg kickback if you really struggle with arching your lower back or your hamstring compensating.
The key is making sure you actually feel the glutes working. Because doing the right moves, without feeling the correct muscles working may only perpetuate the problem over correcting it!
Exercise #4: Pelvic Tilt Balance March
Improving your pelvic stability to properly be able to brace your abs during movement is key if you want to avoid lower back overload and injury.
It’s why the Pelvic Tilt Balance March.
It is far from an easy move but it is a great way to engage your TVA or transverse abdominis while working your rectus abdominis and obliques to stabilize.
Just make sure you advance it slowly over rushing it.
You don’t want your lower back to take over or your hip flexors to be doing all the work.
To do this move, place a larger foam ball or pilates ball right under the top of your butt.
You want to balance on this ball, pressing down into it with your arms down by your sides, palms pressing into the ground.
Then bend your knees to about 90 degrees, bringing them into that tabletop position. Better to have them slightly out than to tuck them more into your chest as that will make it easier.
Balancing here, slowly touch one toe to the ground, fighting the urge to rotate. Raise that leg back up then touch the other toe down.
Focus on bracing those abs and not letting your abs dome out or your lower back arch. If it feels like too much, bring the ball up slightly higher.
To advance from here, you may bend your elbows or even raise one or both arms off the ground. This will give you less of a base to assist with stabilizing.
But only progress as you’ve earned it. Better to modify and really feel those abs working!
Move slowly with this move and even consider starting without the ball to master that posterior pelvic tilt progression if you haven’t!
SUMMARY:
Too often our lower back becomes overworked due to hip and spinal mobility restrictions and weak or underactive abs and glutes.
But because we consistently feel our lower back during moves, we assume it is actually weak and instead try to do more to work it.
This only perpetuates the problem.
So make sure you’re also working to improve those mobility restrictions while strengthening supporting muscles so your back doesn’t become overloaded.
Remember where the point of pain is isn’t always where the problem started! And injury doesn’t only mean an area is weak!
Use these 4 moves in your warm up, even just spending 30 seconds per move to start to help you avoid those lower back aches and pains!
Want more workouts, exercises and tips? Join my daily newsletter:

