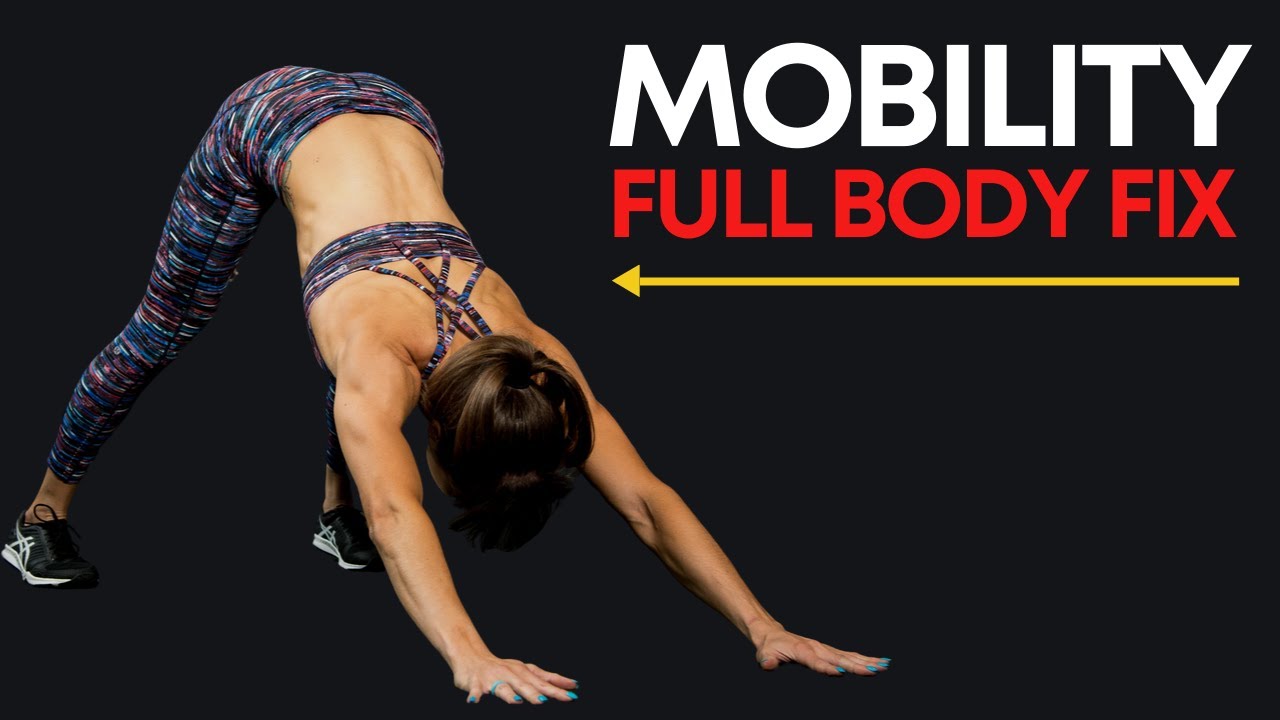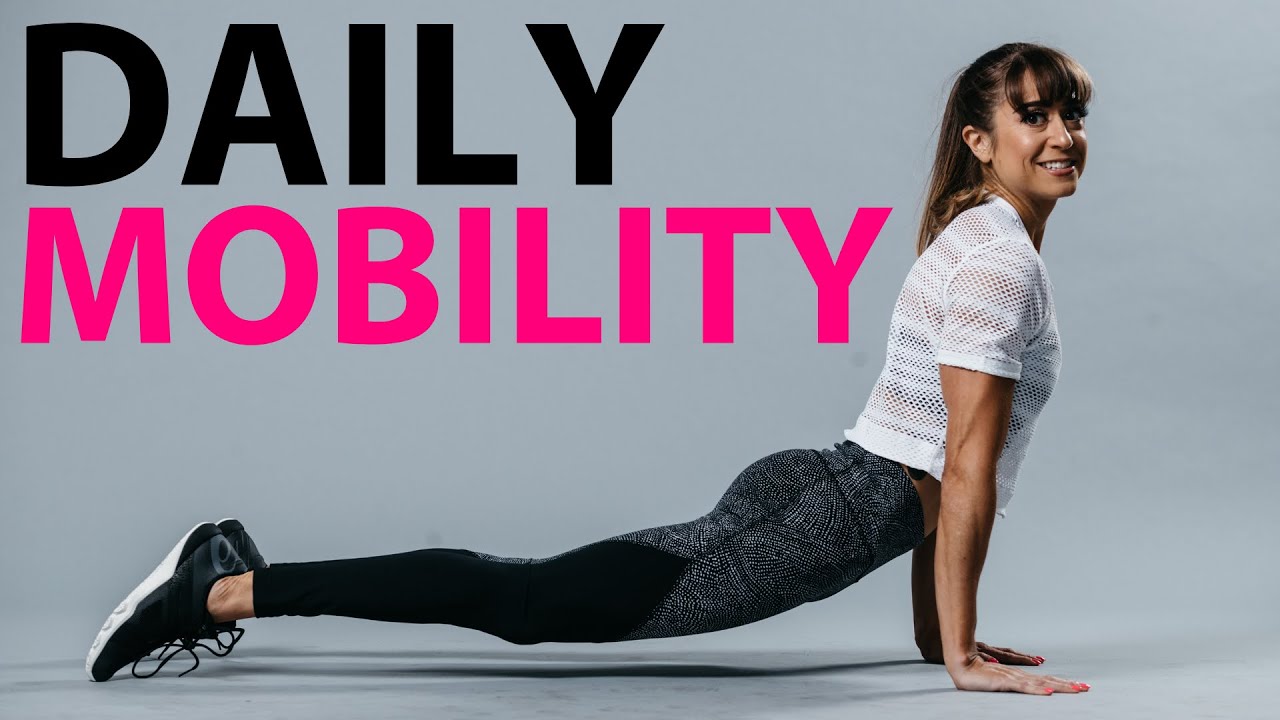
5 MOBILITY Moves To Do Every Day
Use it or lose it.
If we want to move well, we need to be intentional with our training. We need to do things to restore proper joint range of motion, flexibility and even stability.
We can just constantly smash our bodies into the ground and expect not to get injured.
That’s why it is key at points we not only regress to progress but focus on getting the correct muscles working while addressing postural distortions, limitations caused by previous injuries and even areas of immobility from our repetitive jobs and often sedentary lifestyles.
That’s why we need to include mobility work in our daily routine, even simply as part of our warm up before our workouts – whether we are lifting, doing interval training, running or cycling.
Our warm ups should include a 3-Part Prehab Process of Foam Rolling, Stretching and Activation.
This way we can relax overactive muscles, improve our joint range of motion and activate underactive muscles to be able to move better and use the correct muscles more efficiently when we train.
This can not only help us avoid compensations, overload and injury but even help us get better benefits from our actual training sessions.
So what are 5 amazing mobility moves you can do every day?
5 Amazing Mobility Moves To Do Every Day:
Move #1: Foam Roller Snow Angels
We spend so much time hunched over a computer, driving in the car or texting on our phones.
Not to mention neck and shoulder pain are an all too common complaint.
That’s why it’s key we work on reversing the constant forward flexion and stretch out our chests while improving our shoulder mobility.
The Foam Roller Snow Angels are a great way to do that!
This is a great move to use even before bed to relax after a long day.
To do the Foam Roller Snow Angels, lie on a roller with it straight down your spine and your head supported.
Let your arms fall open and swing them up overhead into a Y position. Feel a nice stretch through your chest.
Then slowly sweep them own and out to your sides and down toward you feet. Hold in any place and relax the backs of your hands toward the ground to feel a nice stretch.
Even actively engage your back to stretch your chest as you sweep your arms down toward your feet and back overhead.
Move #2: Teres Minor Foam Rolling
Rotator cuff injuries are an all too common issue.
And one rotator cuff muscle that can often become overworked and lead to shoulder pain is the Teres Minor. Trigger points in this muscle can lead to shoulder pain and even referred pain down your arm.
Especially if you are working to improve your shoulder mobility, or planning an upper body workout, it can be key to roll out this muscle prior to help prevent it from compensating during your training.
To roll out your Teres Minor, a ball works best. You are basically going to be rolling out the back of your armpit as you reach your hand overhead on the ground. You want to be able to relax into the ball so make sure you aren’t holding up your weight with that arm.
You can do this against a wall to reduce the pressure if needed, reaching your arm overhead.
As you hold, breathe into it. You aren’t rolling quickly. You can move your arm down and back overhead as you hold.
Move #3: Superman Wave
Activate the muscles of your backside with this amazing move. The Superman Wave is a great move to improve your shoulder and scapular mobility and stability as well as your thoracic extension. It is even a great glute activation move that works to improve your hip hyperextension.
The key is correctly working to extend your thoracic spine as you engage your glutes to NOT overload your lower back.
Too often when we do moves like this or the basic superman, we try to rely only on our lower back. But we want to make sure muscles, like our glutes, are doing the work they should to actually prevent our lower back from becoming overworked.
If you’ve been doing the basic superman, take the move to the next level and garner even more shoulder and scapular benefits by adding in the wave.
To do this move, set up as if doing the basic superman. As you lift your chest and quads up off the ground, focus on using your glutes to lift as you extend your mid back. Do not rely on your lower back.
Squeezing your glutes to lift your legs, feel your upper back working to lift your arms. Holding this superman position, sweep one arm out to the side and down. Then bring it back overhead and switch to sweep your arm down on the other side.
Keep everything engaged to stabilize and hold yourself up as you feel that scapular movement as you sweep your arm.
Feel the backs of your shoulders working as well as your entire upper back. Remember to also feel those glutes working to extend your hips over relying on your lower back!
Beginners may modify if they feel their lower back taking over by keeping their legs down.
This is a great move to use as part of your activation in your warm up routine after you foam roll and stretch.
Move #4: Posterior Adductor Rolling
When you’ve attempted to do glute moves, have you ever felt that area under your butt and toward your groin working instead?
Or do you constantly have piriformis issues you can’t seem to clear up?
You may need to pay attention to those posterior fibers of your adductor magnus.
When we think of our adductors, we think of movements where we are adducting (or drawing our legs together). And we may even think of hip flexion since they do contribute to that joint action.
That is, except for the posterior fibers of the adductor Magnus which can contribute to external rotation and hip extension on top of adduction.
This puts these muscle fibers in a unique position to become overworked if our glute maximus and medius are underactive.
So to help yourself better activate your glutes, try rolling this muscle before your activation moves.
To do the posterior adductor foam rolling, a ball works best up on a bench or box. Place the ball toward your groin under your butt. And sit on the ball. Hold and breathe, don’t roll quickly.
You can also extend your leg out and then relax your leg to help the muscle relax and release as you hold.
You can do this on a roller or off the ground, you just won’t be able to apply as much pressure. This is good if you find you can’t fully relax when sitting on the ball. You do not want to tense against the pressure.
Move #5: Mini Band Glute Bridge with Abduction
Activate your glute maximus and medius with this one amazing bridge variation. Bridging is a great way to isolate those glutes and work to improve your hip mobility and stability.
By adding the band and abduction, you help activate your glute medius better to improve your hip stability. And it can also help you activate your glute max better to prevent your hamstrings from compensating.
If you have lower back, hip or even knee pain, this is a must-do warm up move to include before your lower body lifting sessions, runs or rides.
To do the Mini Band Glute Bridge with Abduction, place a mini band around your legs above your knees. Lie on your back and place your feet together on the ground, just beyond your fingertips when your arms are down by your sides.
Bend your elbows and press your upper arms into the ground. Your legs should be together as you even create tension through your upper body.
Perform a posterior pelvic tilt, pressing your lower back into the ground as you tuck your hips toward your ribs.
Bridge up, driving your knees toward your toes. At the top of the bridge, press your knees open against the band.
Press open to feel the sides of your butt working then bring your legs back together and lower down. Do not let the band pull you.
Bridge back up. Make sure not to arch your lower back but focus on your glutes driving the hip extension. And really feel your glute medius working to press your knees open against the band.
SUMMARY:
Using these 5 moves you can work to improve your mobility and stability from head to toe.
They are great moves to use even as part of your warm up or as a separate prehab routine.
You can even include them as a series, performing even a single round through, working for 30 seconds per move or side.
–> Foam Roll + Stretch + Activate = The COMPLETE Prehab Process