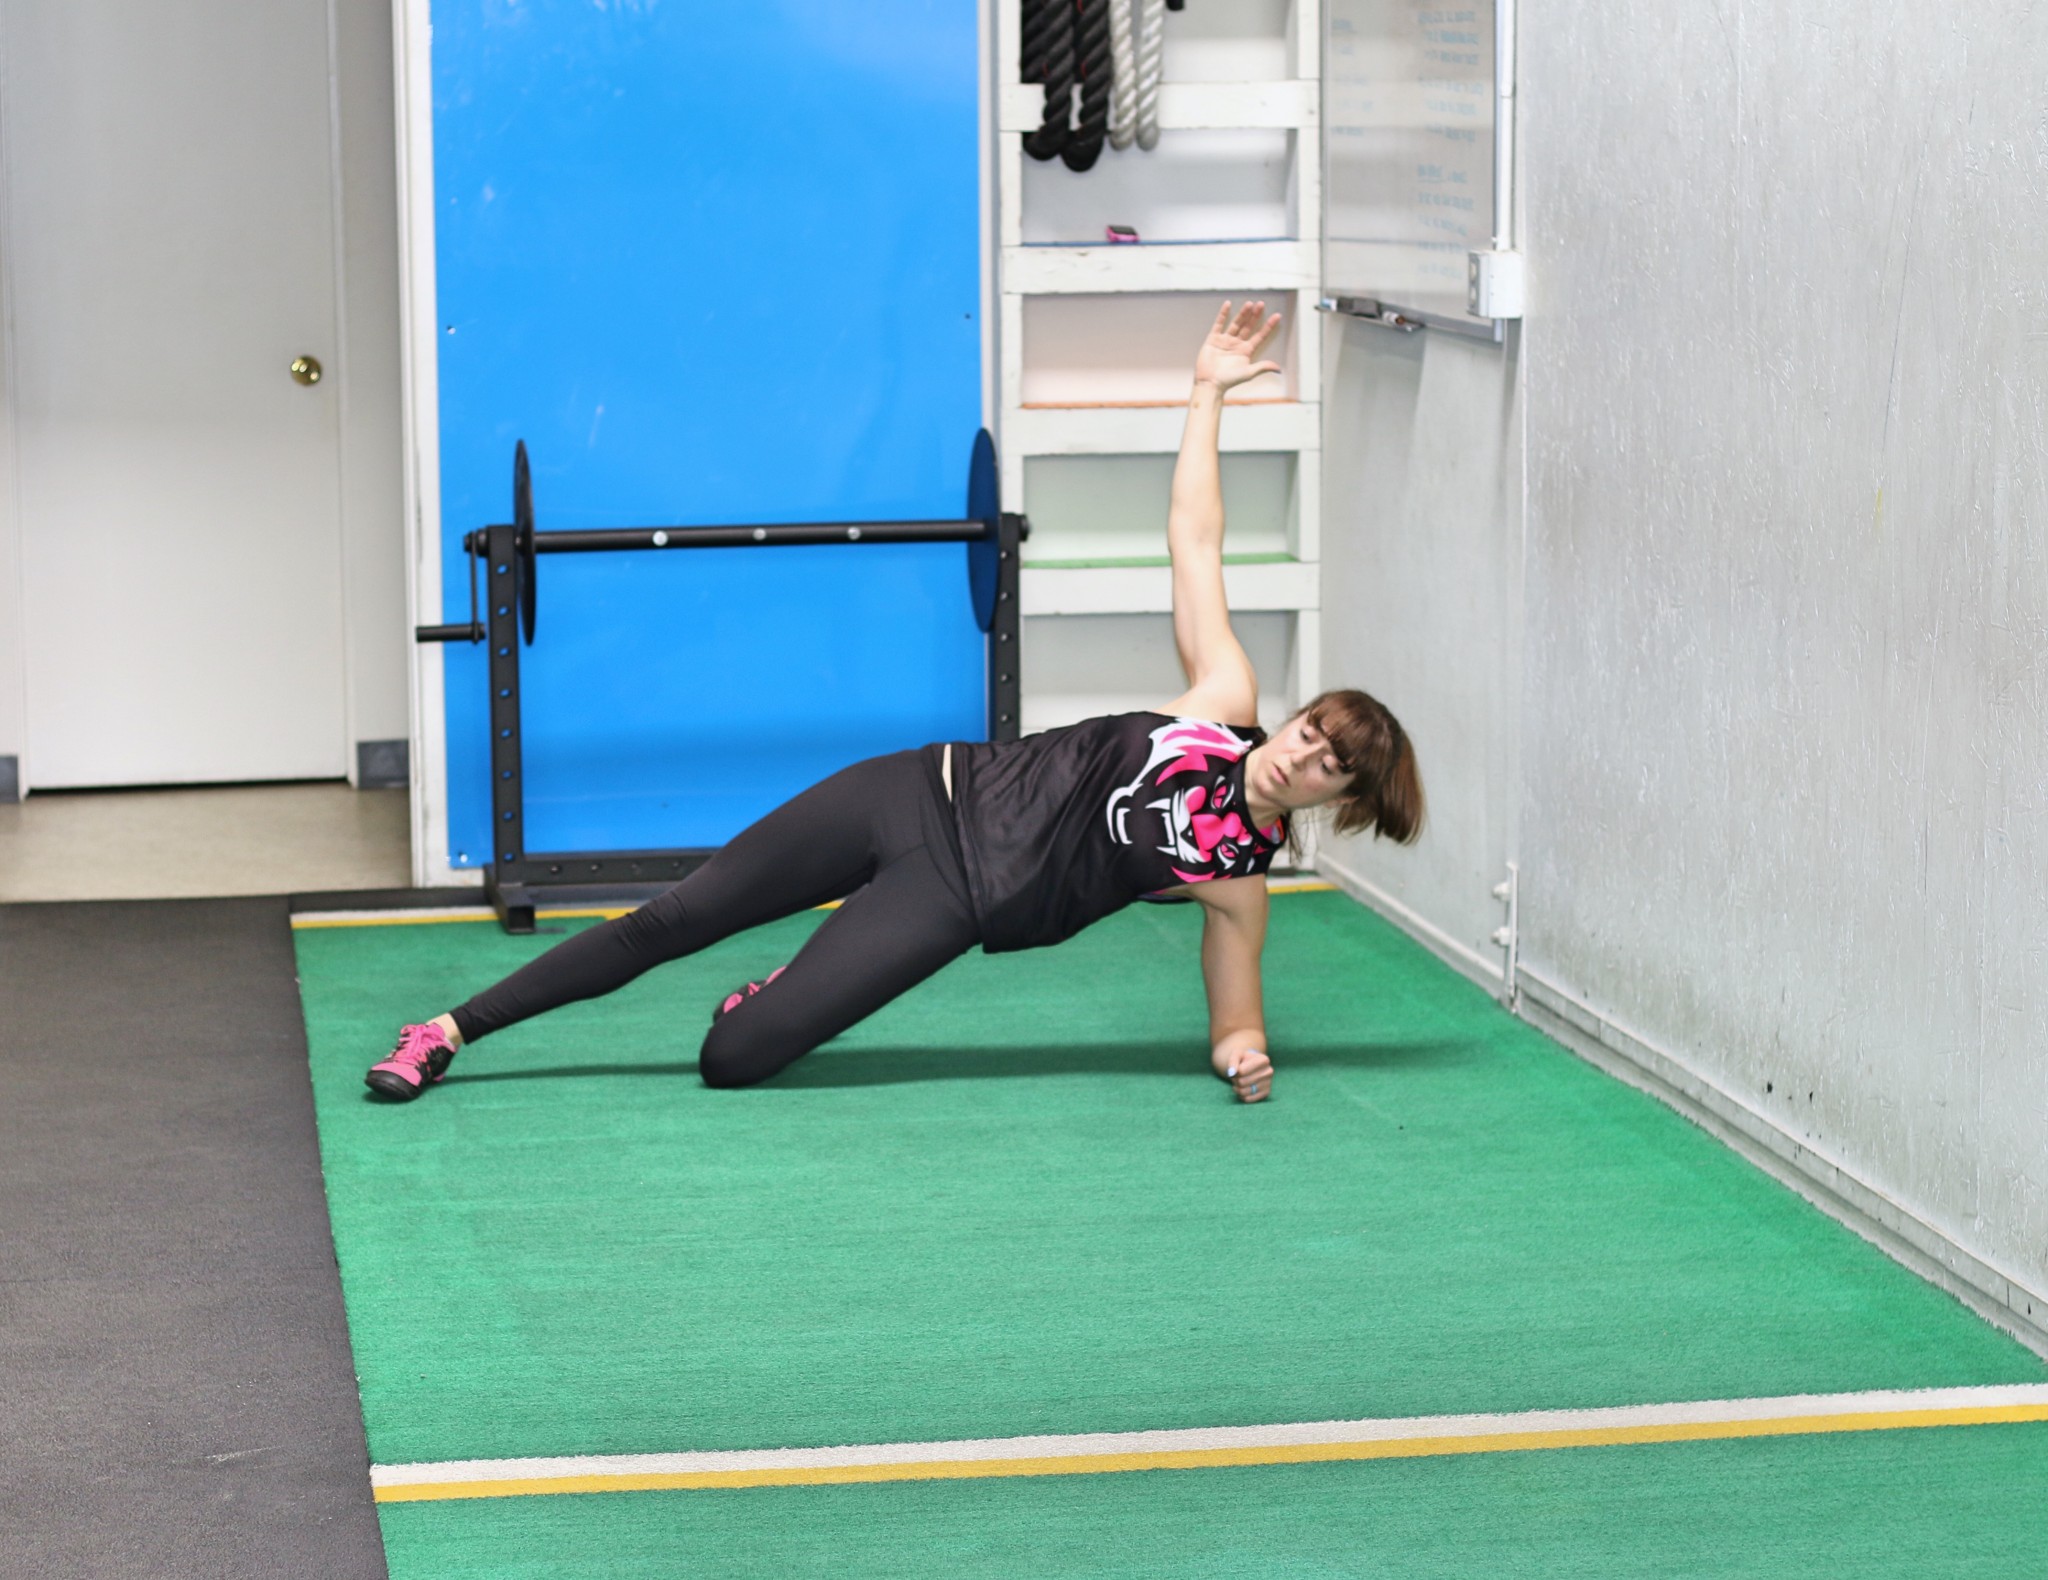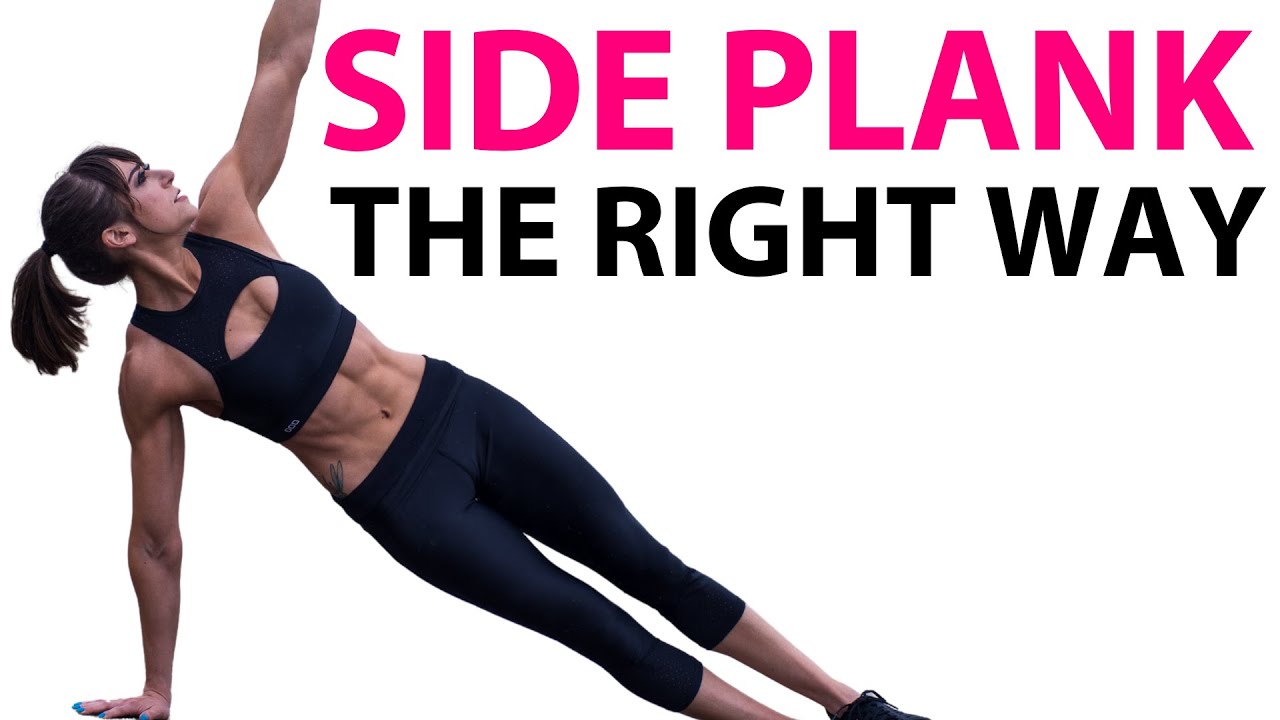
The Side Plank – How To Do It The Right Way
Isometrics are key exercises to include in your routine to improve your stability and mind-body connection. They are a great way for you to target underactive muscles and really get them firing correctly.
They are a great way to make sure that you’re using muscles efficiently and effectively to work together to perform a movement.
Because we have to remember that part of getting stronger is learning how to quickly and efficiently recruit muscles to work together in the right order, each carrying the load they were meant to carry!
But so often these seemingly simple moves are taken for granted.
We simply try to get through the hold, or hold longer, instead of really focusing in on engaging muscles correctly as hard as possible.
That’s why I wanted to discuss one amazing core isometric, the Side Plank, and not only why this move is so key but also how we can get more out of it to not only strengthen our entire core but also avoid knee and shoulder aches and pains.
What The Side Plank Works:
The side plank is an amazing unilateral core move that can help you improve your shoulder, spinal, pelvis, hip, knee and even ankle stability when done correctly.
Because it’s a unilateral move and works each side independently, it an help you even correct imbalances. If you do have an imbalance, you may find you do an extra round or even only rounds of side planks on one side.
It is a great anti-lateral flexion, or anti-side bending, exercise to include to help you learn to brace to protect your spine.
While the primary focus of the side plank is to strengthen your obliques, it will also work your glute medius, glute max, lats, shoulders, and QL (quadratus lumborum) to name a few of muscles involved.
It really is a full core move and can help you build stability from your shoulders to your feet.
But to get all of these benefits, you need to focus on what you actually feel working as you perform the hold and, at times, even concentrate on engaging each of the muscles involved a bit harder.
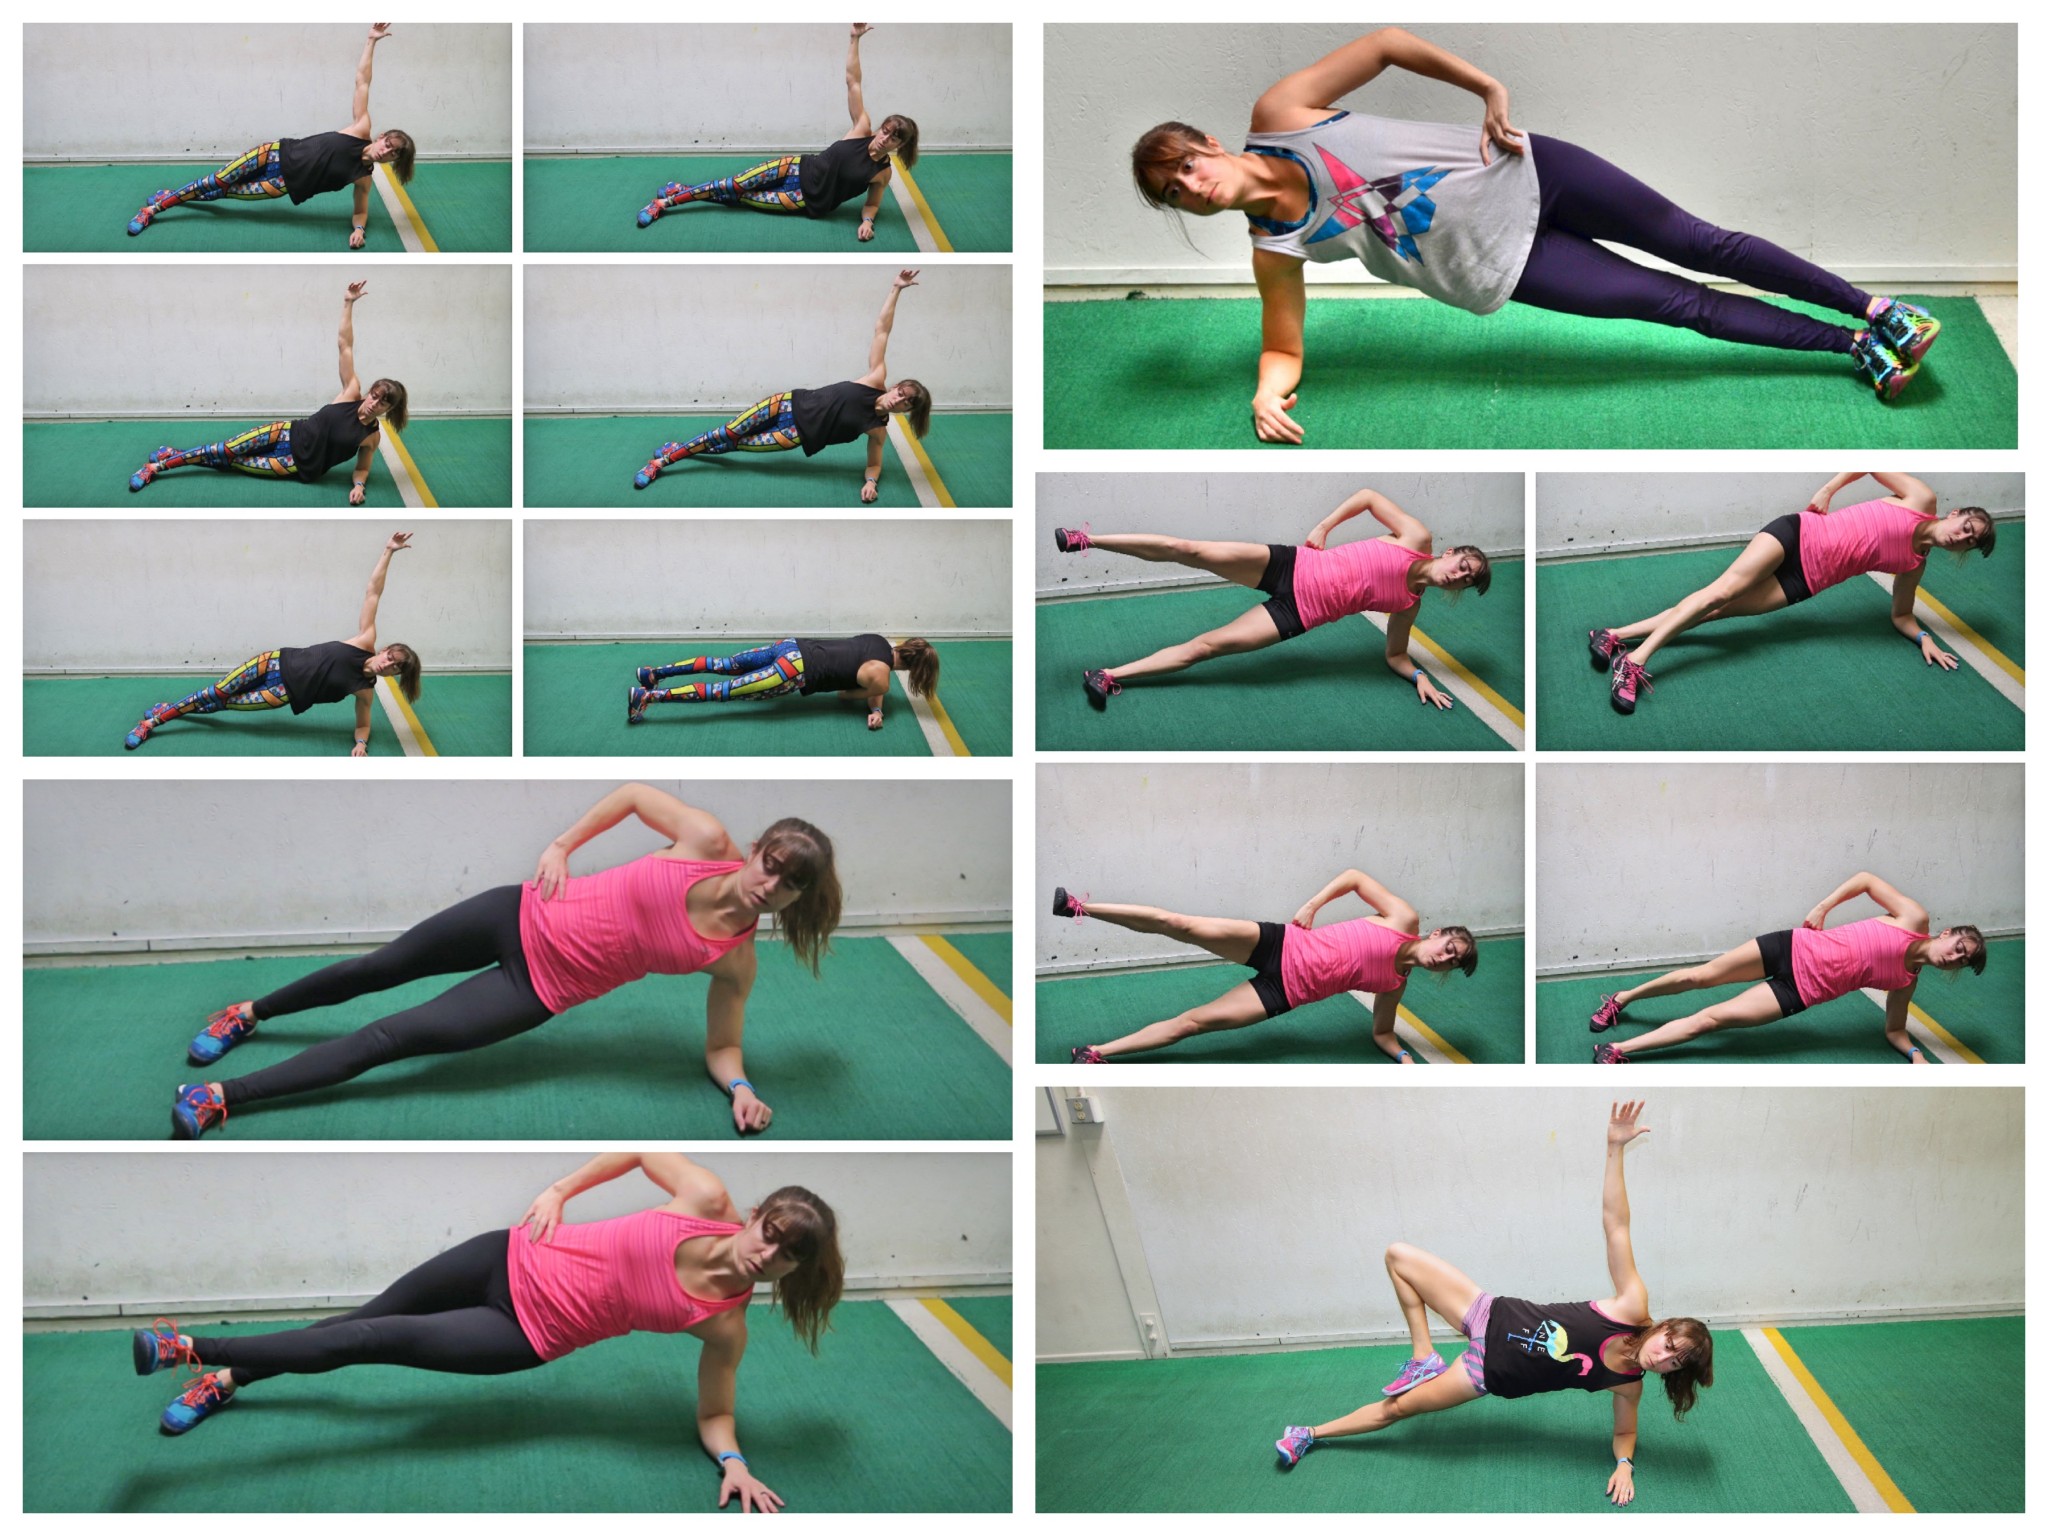
3 Form Cues To Improve Your Side Planks:
That’s why I wanted to share these 3 Key Form Cues to help you really proper engage the correct muscles as you hold.
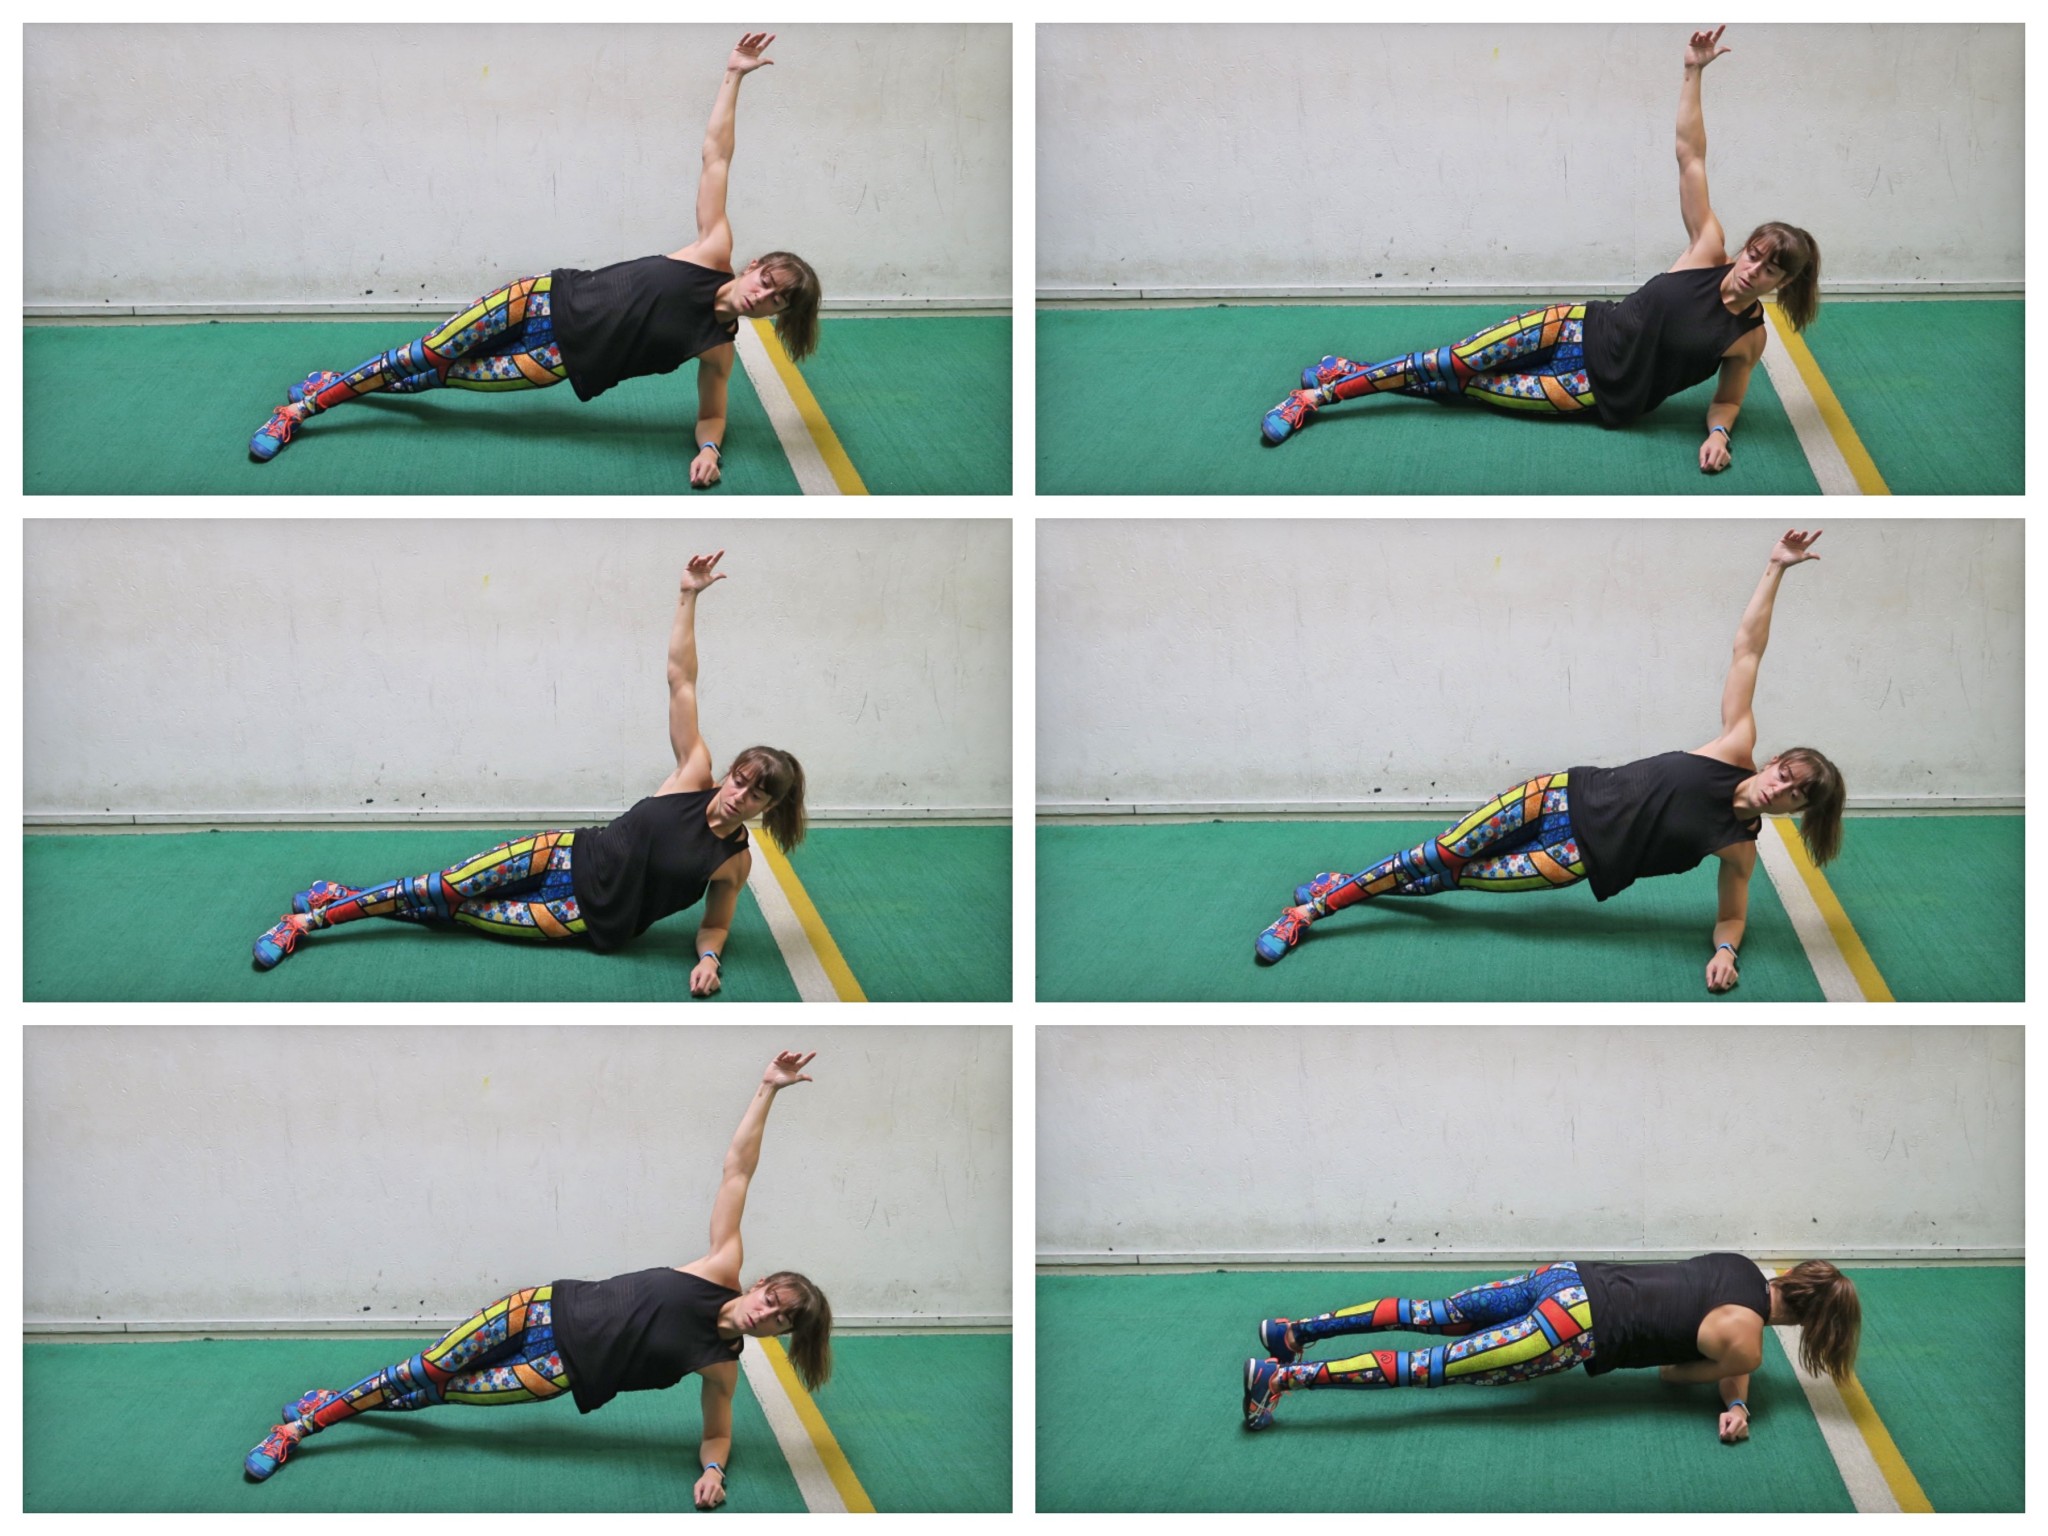
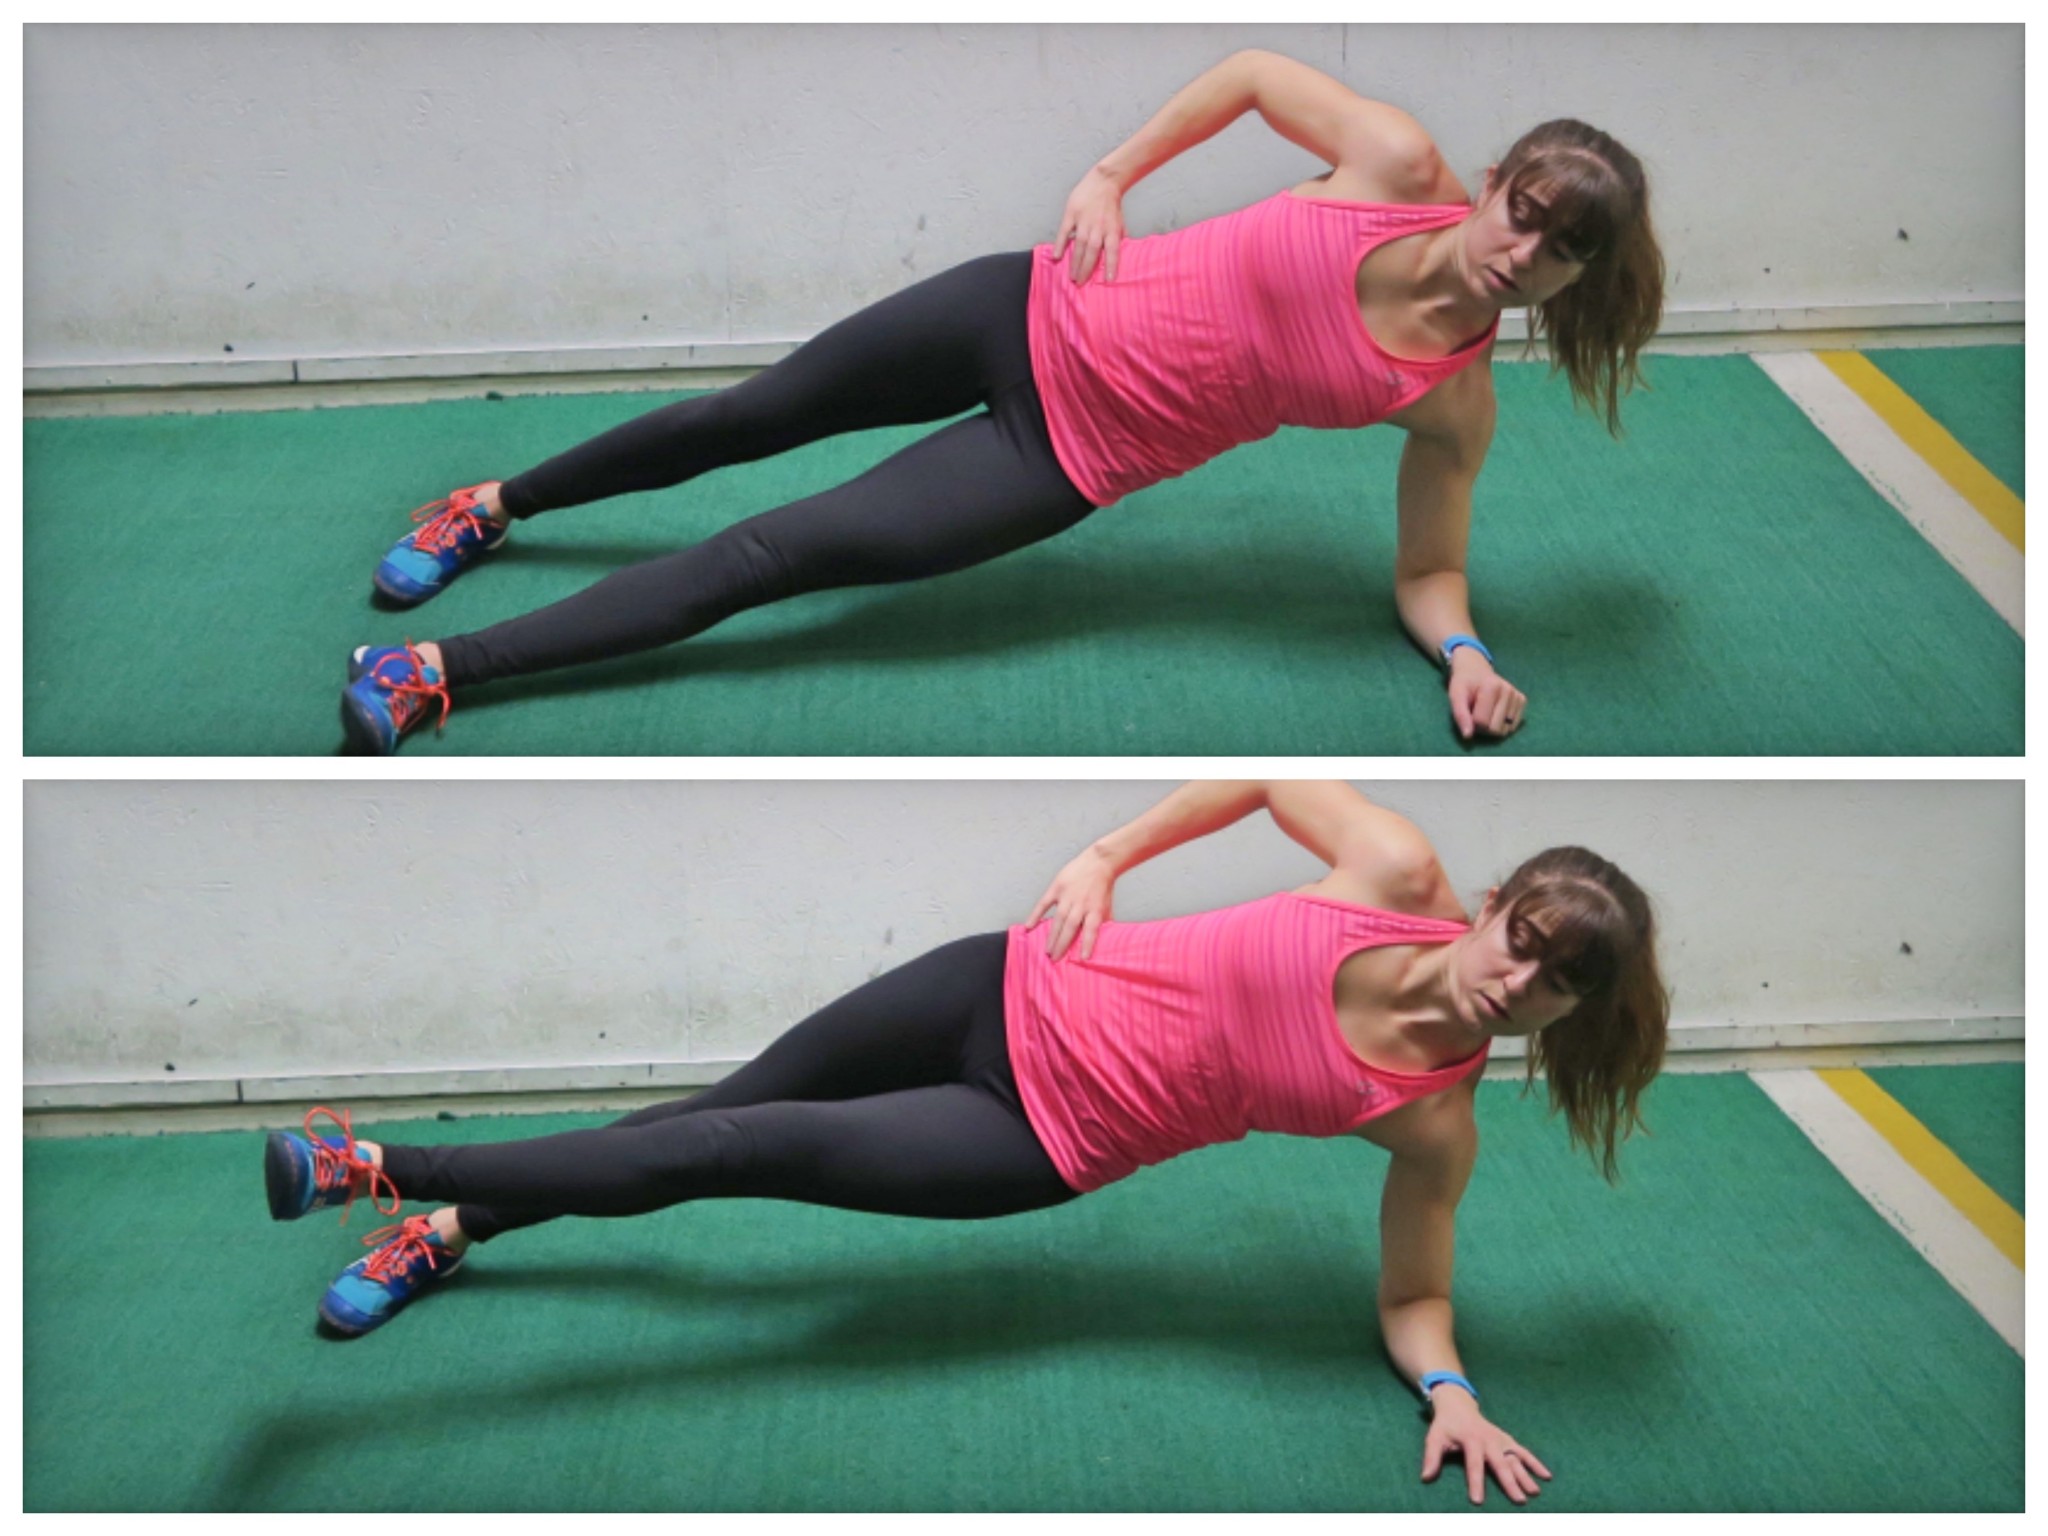
#1: Flex your foot to create tension through your lower leg.
If you want to get the full benefit of the side plank and even help protect your knees and ankles, you can’t ignore the importance of creating tension through your lower leg as you hold.
This will not only improve your efficiency with the movement, but it will help engage the muscles from your ankles to your hips, including your glutes.
To flex or dorsiflex your foot, pull your toe up toward your shin to engage your lower leg before you even lift up into the side plank. Then really focus on pushing the side of your foot down into the ground as you hold to keep that tension.
You don’t just want to lift. You want to create that tension.
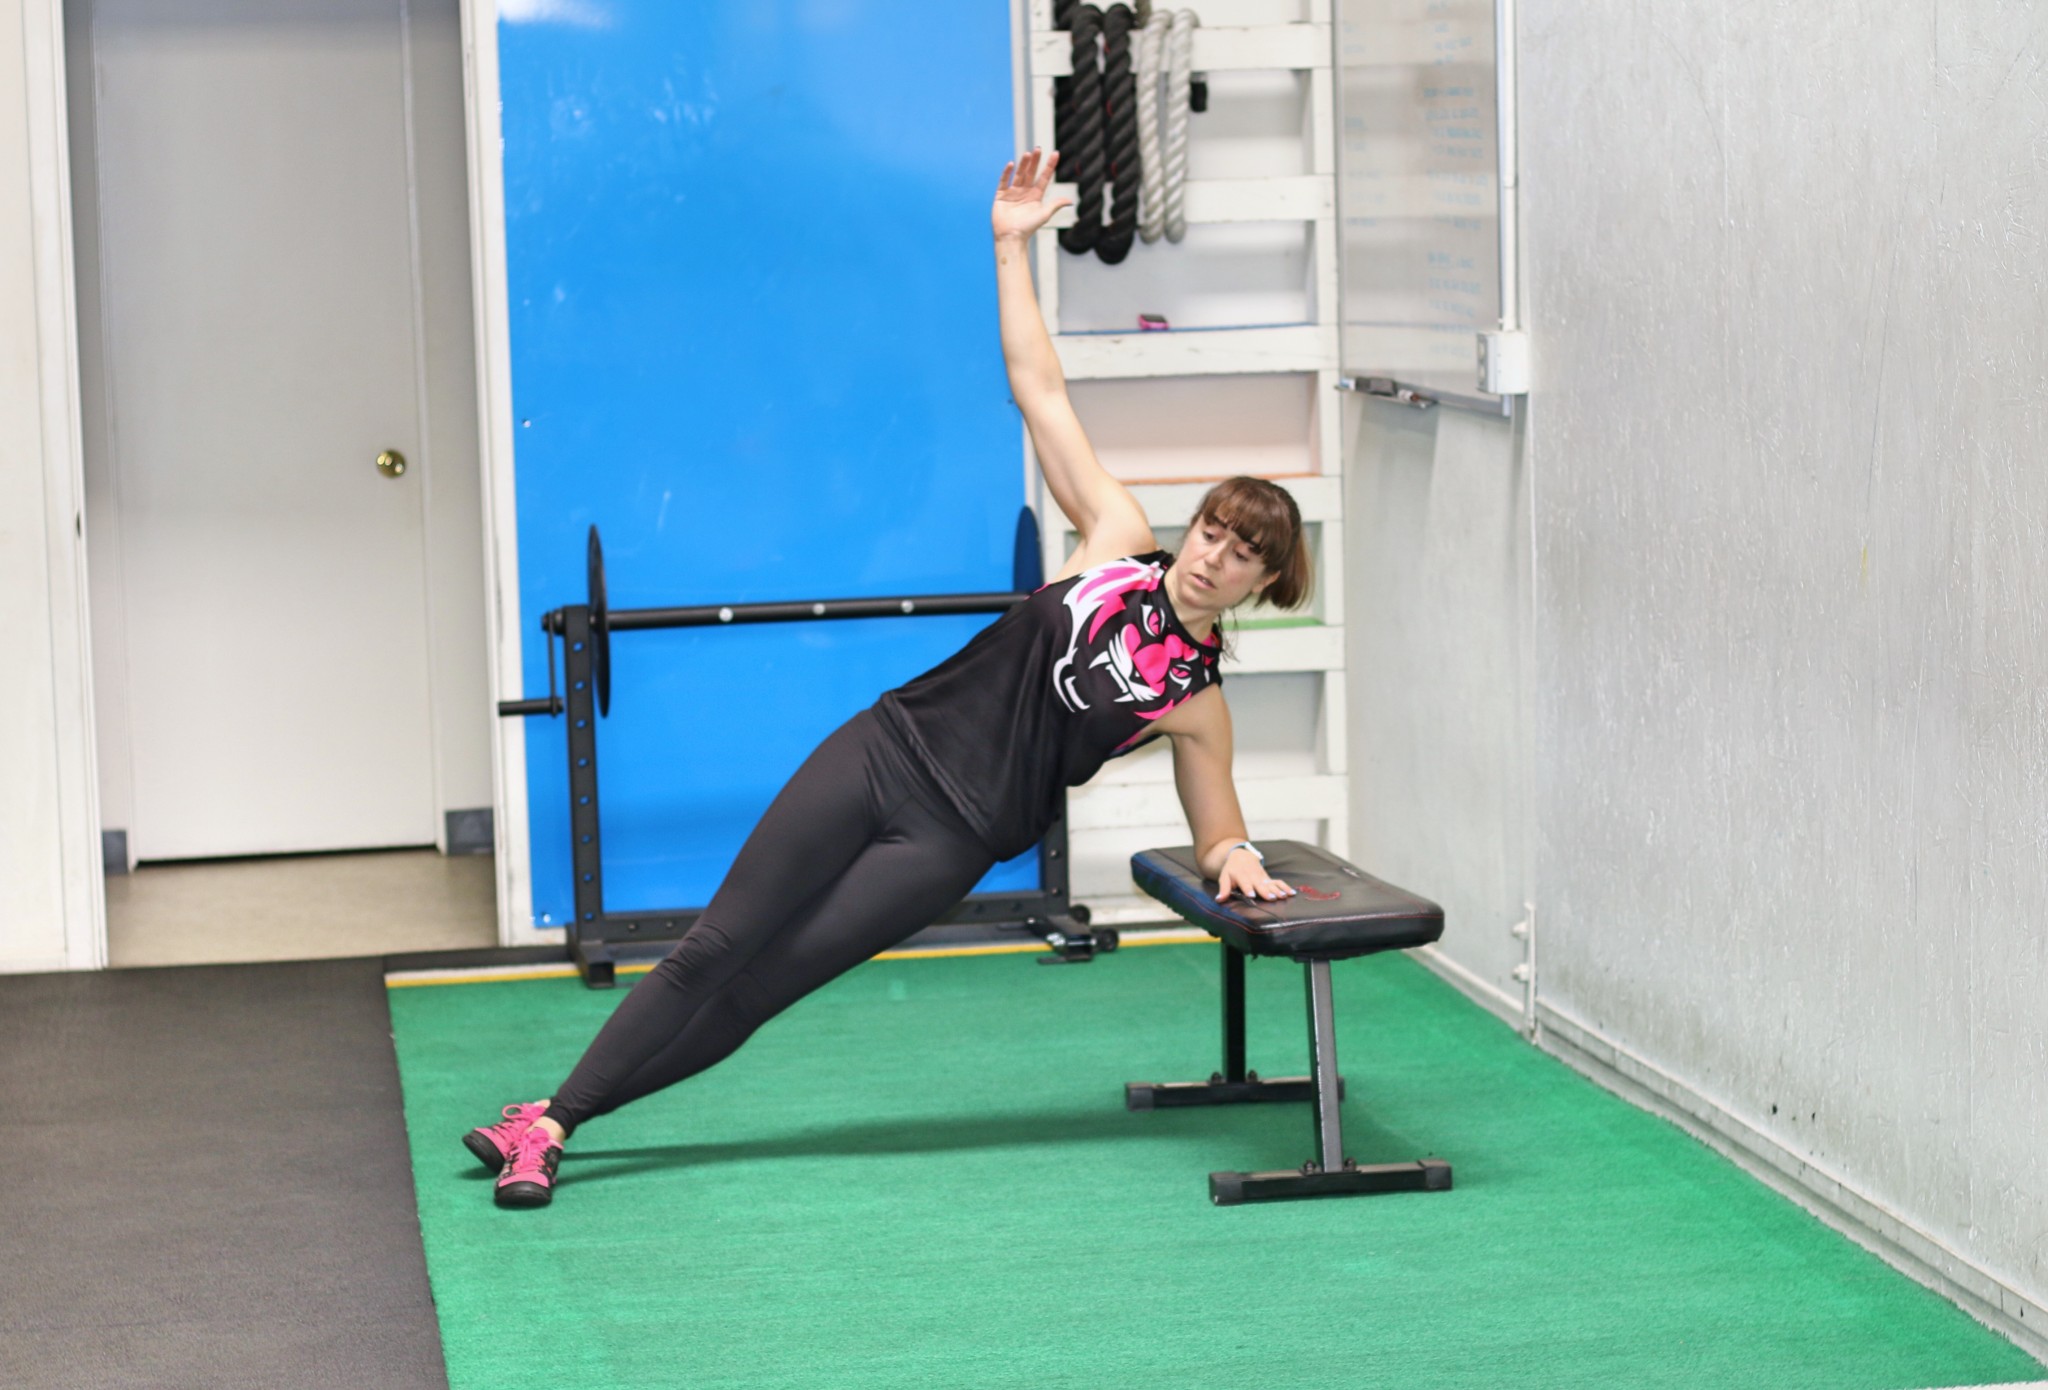
You can then either stack, or stagger your feet. Neither is technically bad and both can have their benefits.
Some argue that stacked is harder as there is a smaller base of support while others will argue the staggered is better to create tension and be able to better transition from front to side plank variations.
The key is truly creating the tension through your lower leg to improve your knee and ankle stability and even better engage those glutes!
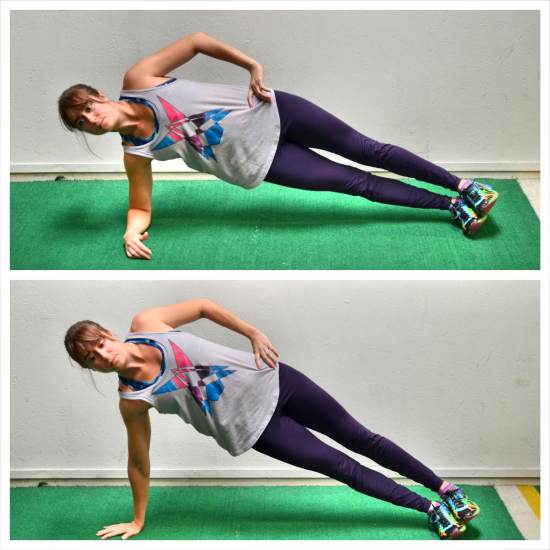
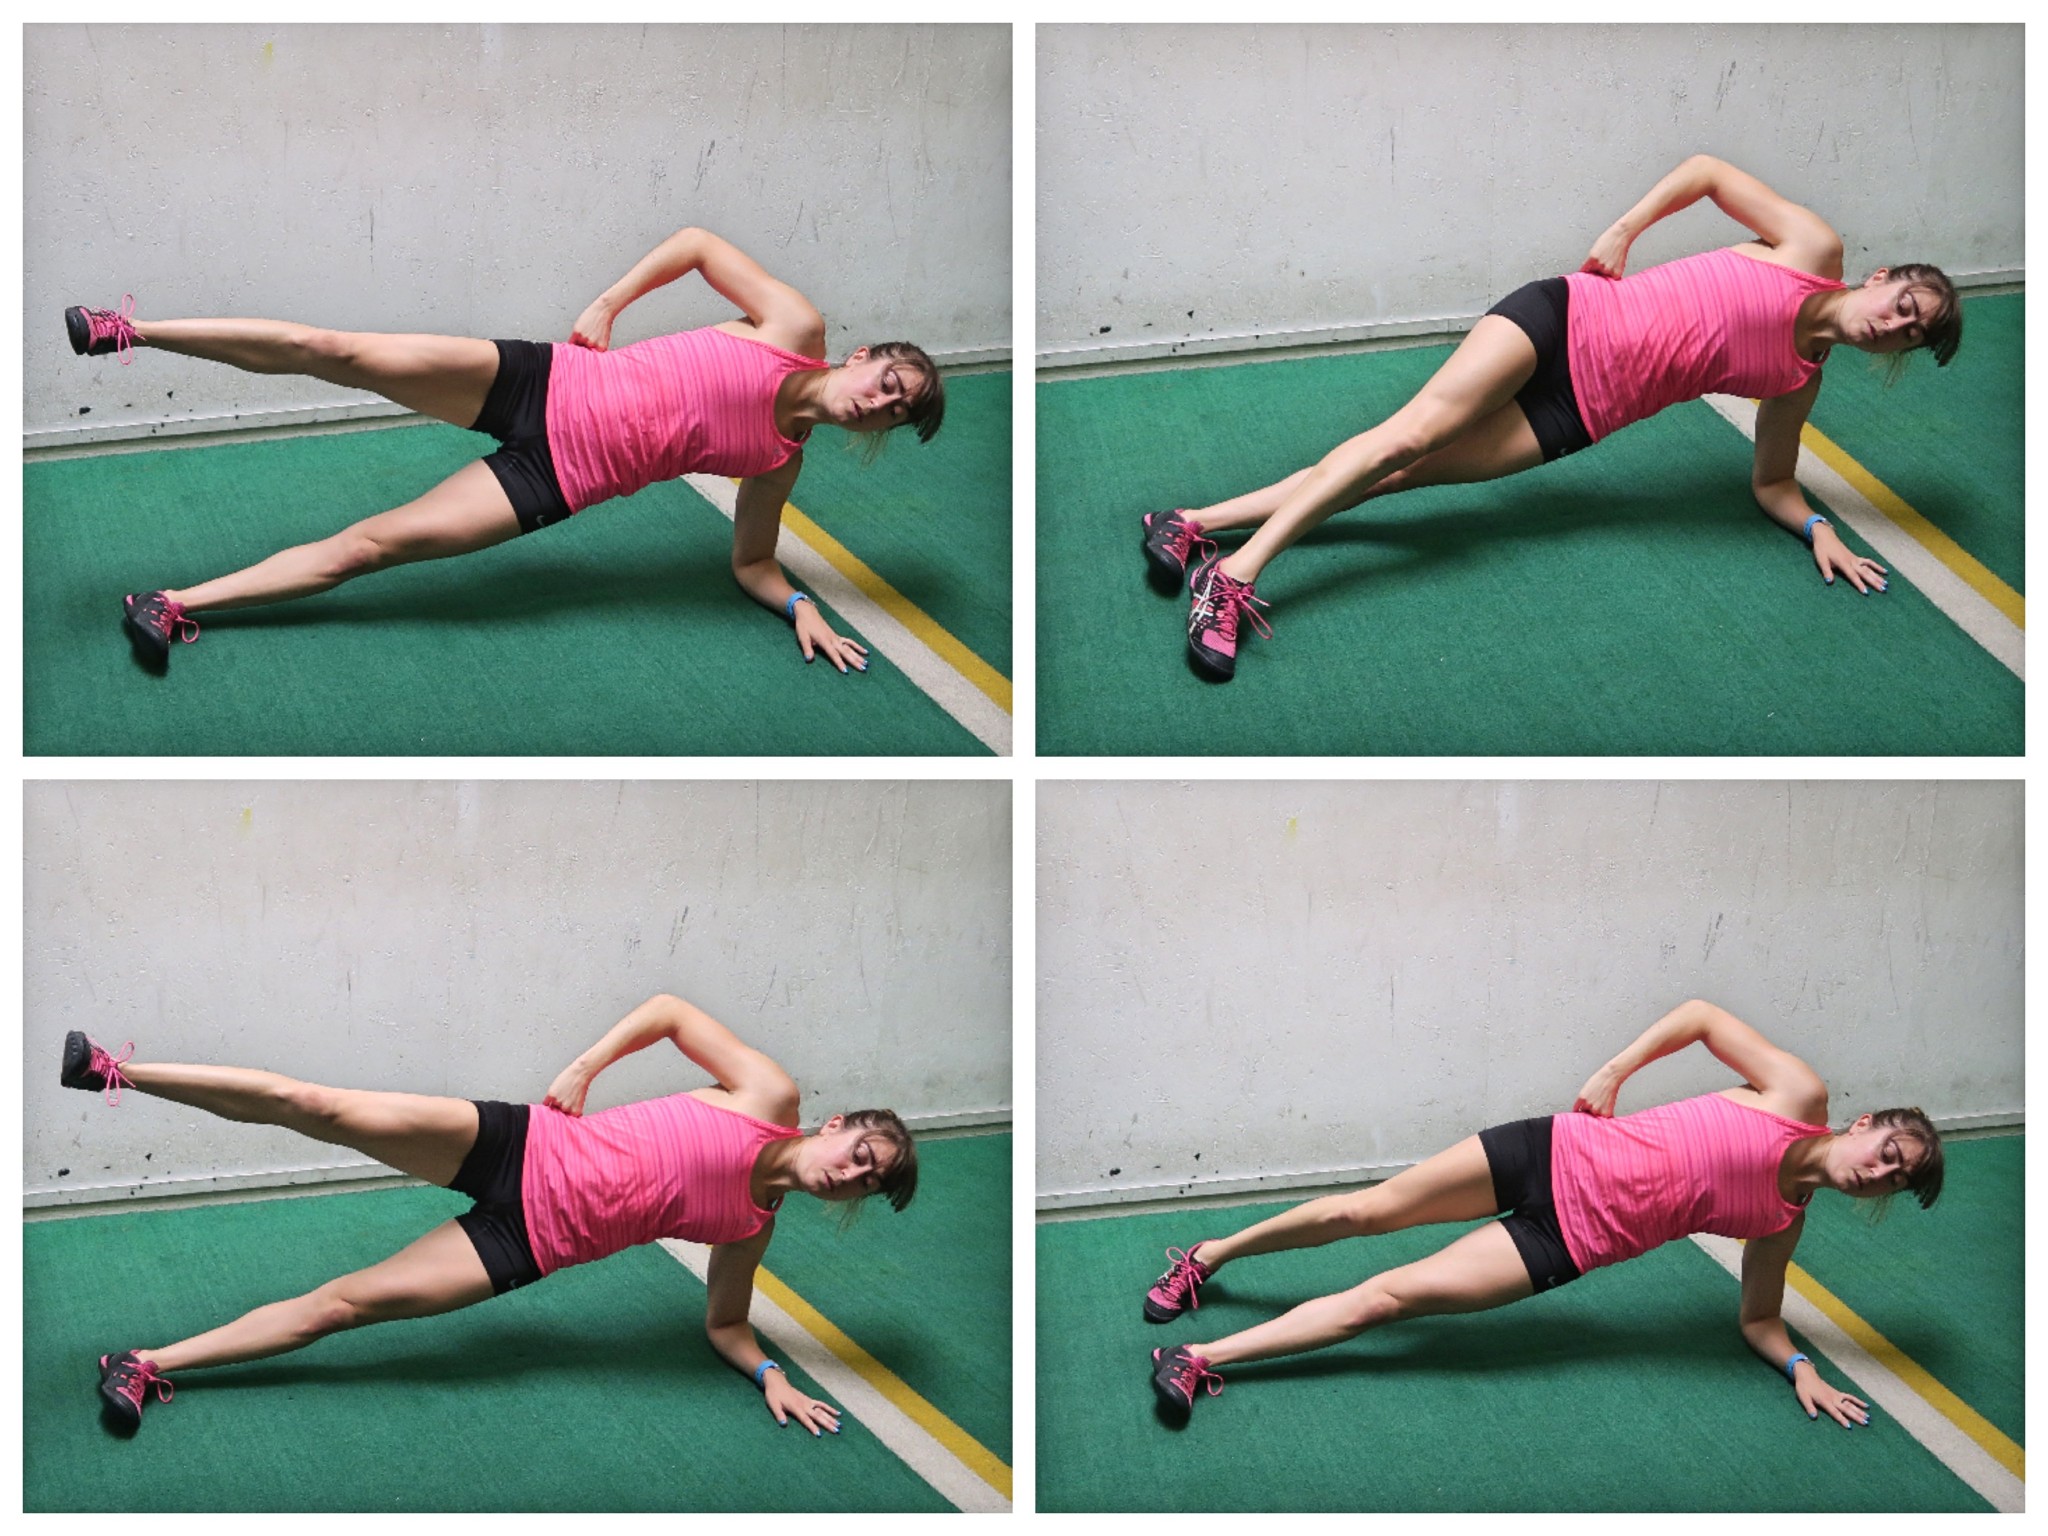
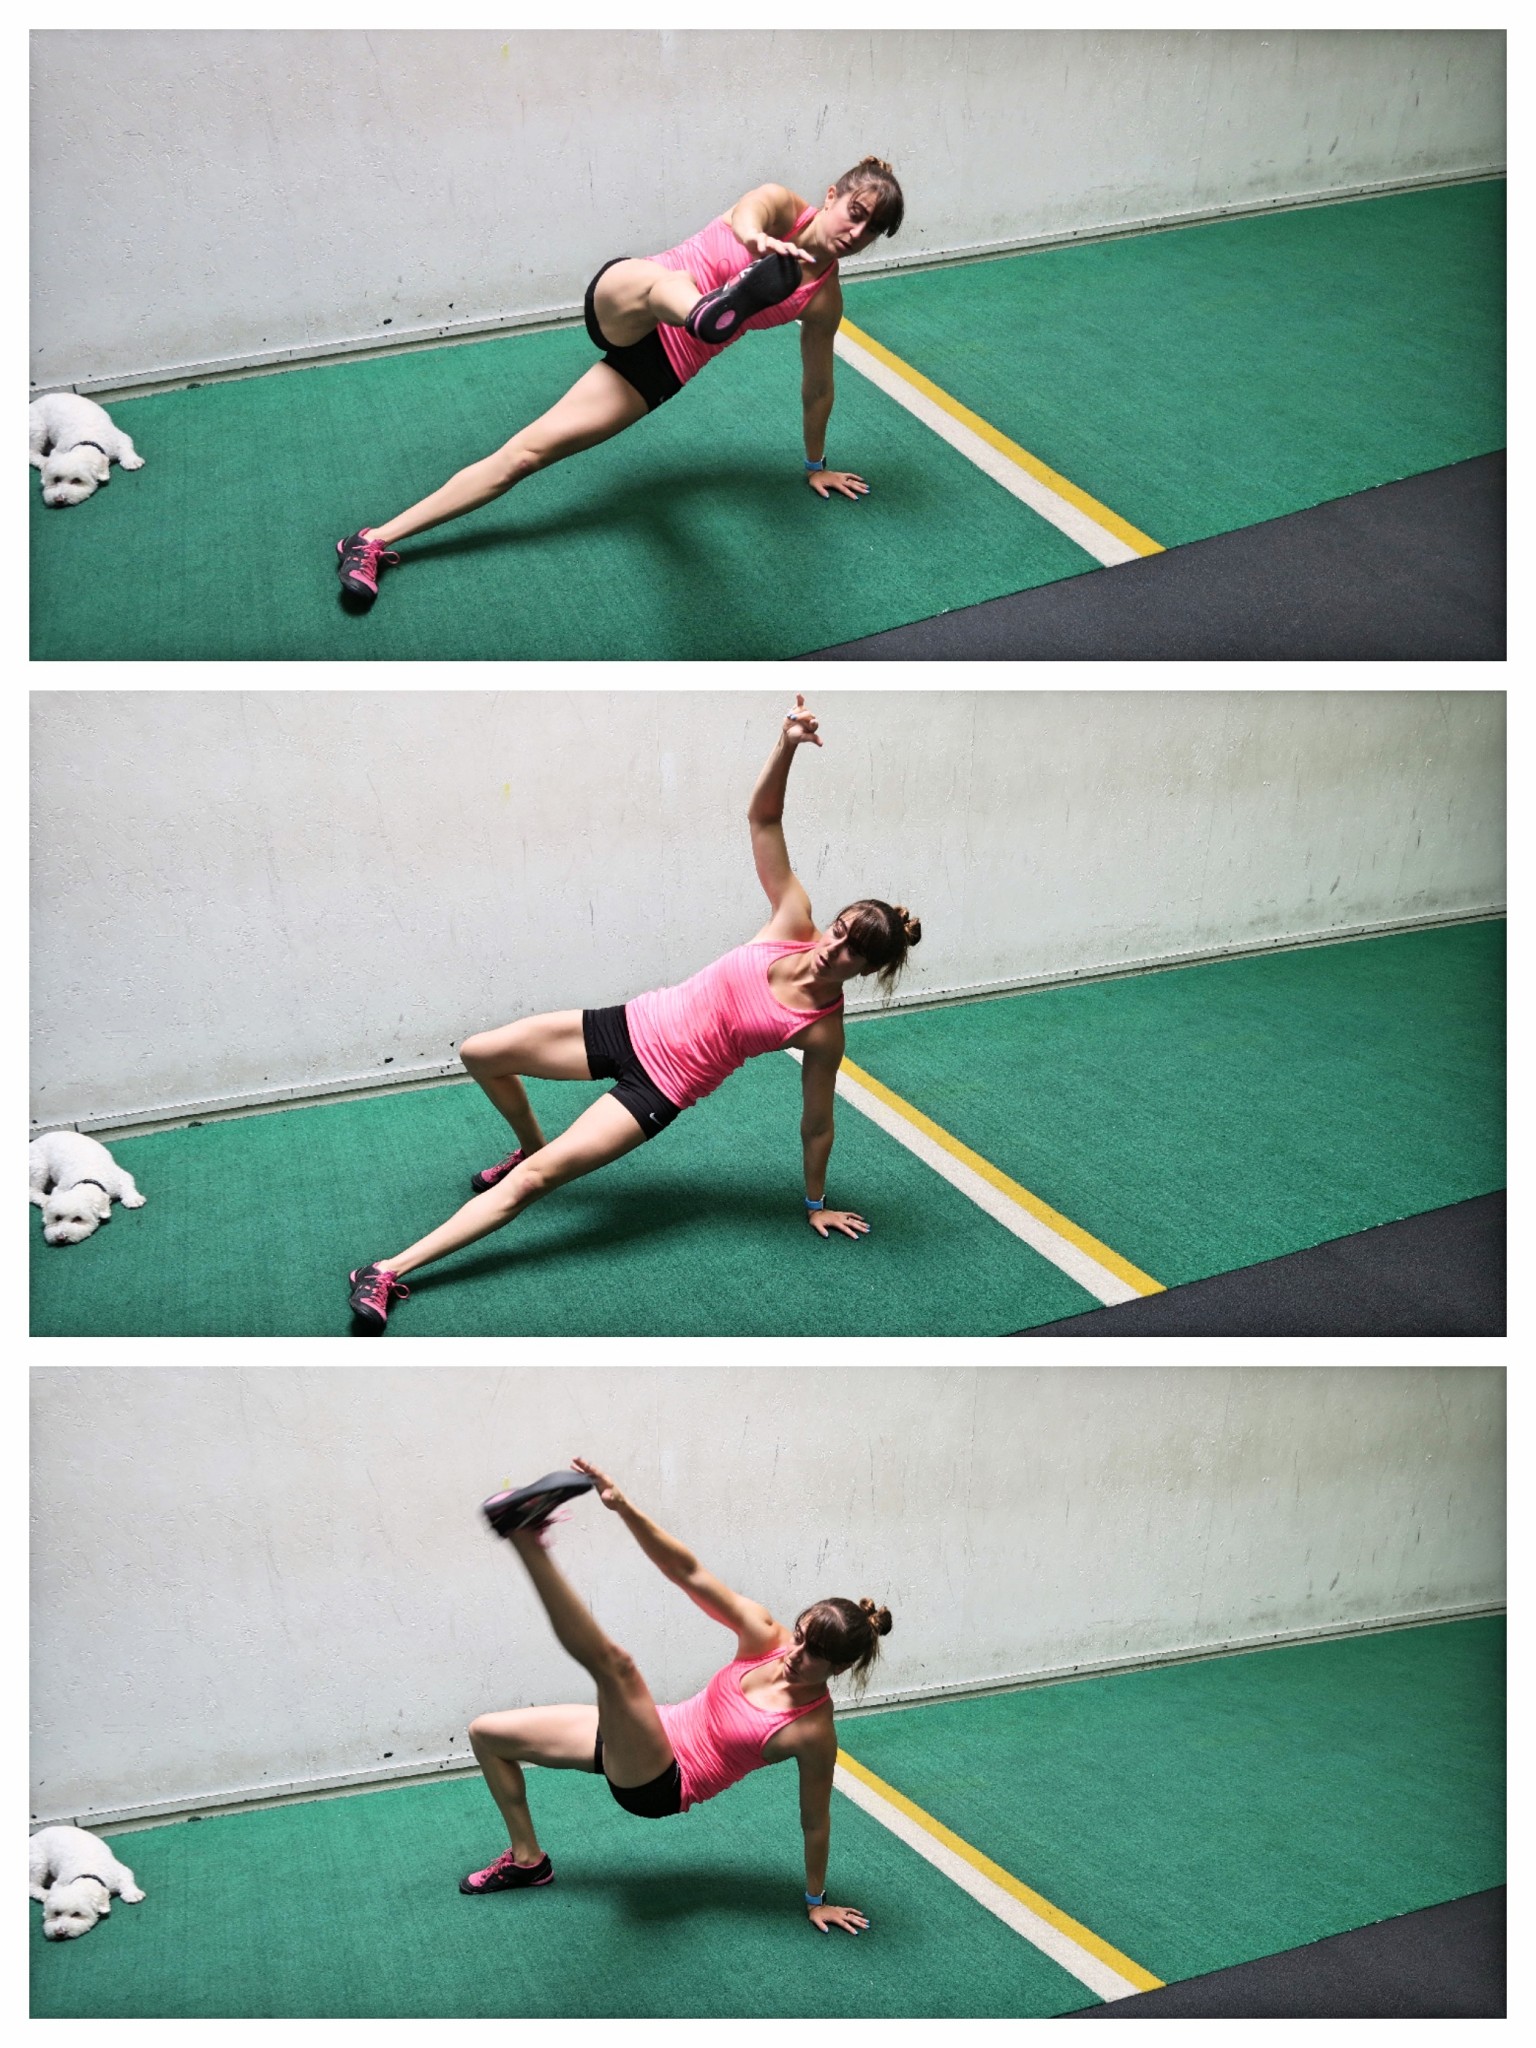
#2: Squeeze your glutes.
Often we get so focused on this move as an oblique exercise we only lift through our torso, letting our hips ultimately sag and we miss out on the amazing benefit the side plank can have for improving our hip stability!
As you lift up into that side plank, squeeze your glutes to extend your hips and lock yourself into that nice straight line. Think about almost slightly squeezing your butt to push your hips forward.
This will help you avoid rotating toward the ground and even overloading your TFL and QL which can perpetuate SI Joint, IT Band issues and even lower back, hip and knee pain.
We want muscles to learn to engage to support each other, which often means focusing on that engagement in muscles that tend to be underactive.
By also engaging your glutes, you avoid rotating toward the ground and overloading your shoulder as you hold. Activating our glutes can actually help better engage our lats.
And not only do you want to focus on that glute max engagement, but you also want to think about the side of your butt lifting your hip up to maintain that hold. Focusing on the glute medius working will help you really use this move to improve your hip stability!
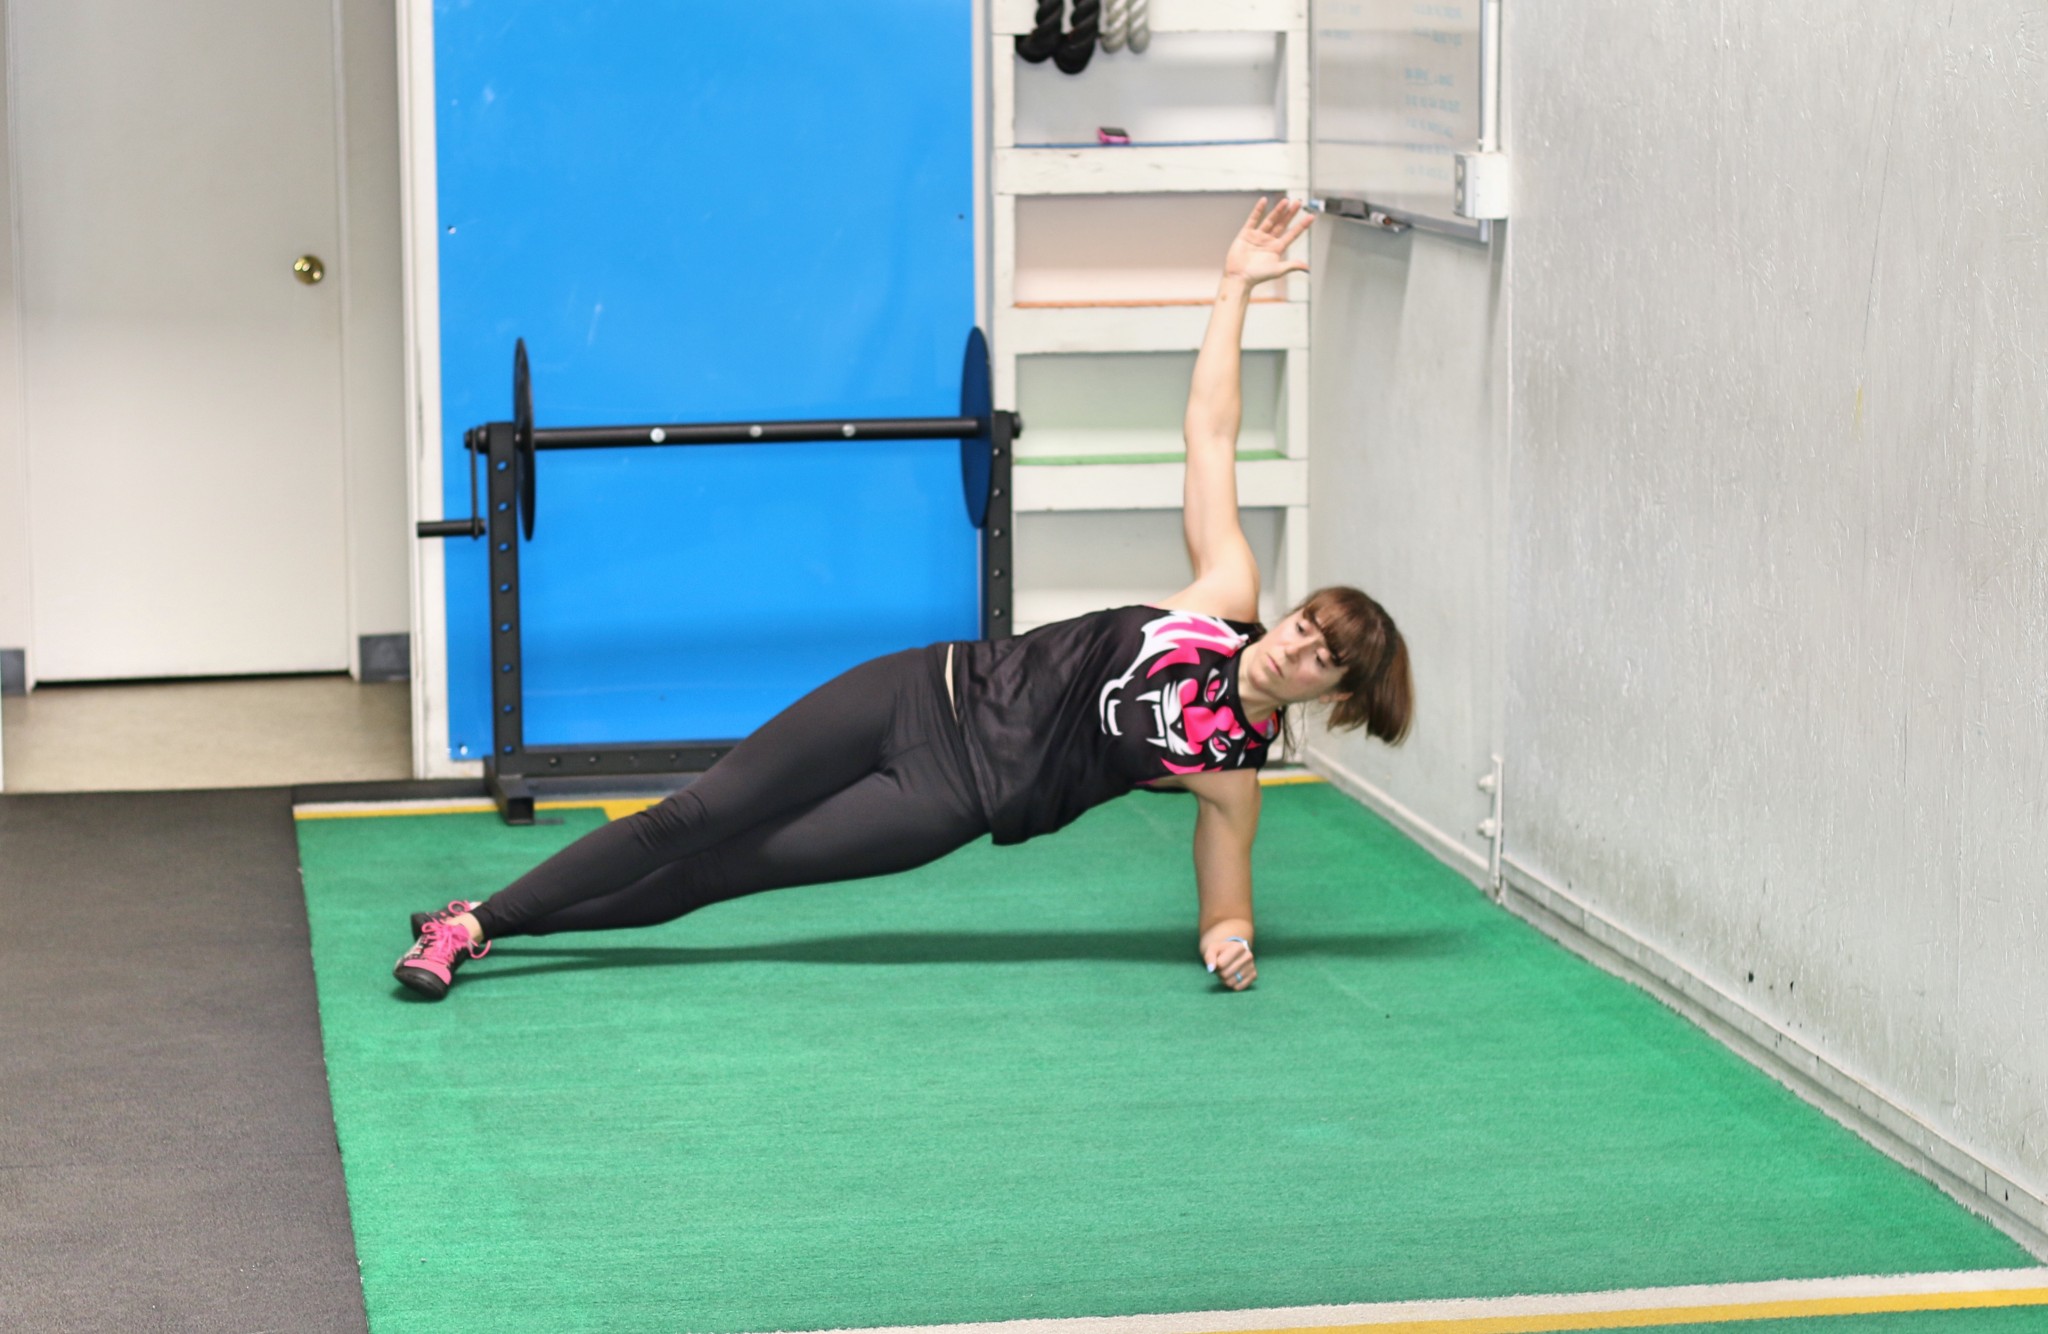
#3: Engage the side of your back to support your shoulder.
If you’ve ever found that side planks irritate your shoulder, you need to make sure you aren’t just relying on those smaller muscles to hold. You want to also engage your back and lats to support your shoulder properly and help stabilize it.
As you set up for the side plank, make sure that your elbow is underneath your shoulder and that you aren’t shrugging.
Even think about slightly pulling your shoulders down as you set up to hold.
Then as you hold at the top, to keep your back engaged, think about pushing your elbow down into the ground as you pulling your elbow slightly toward your feet. Your elbow will not move, but this focus as if you would adduct the shoulder if you could, engages your lat to help prevent shoulder issues.
Learning this engagement can not only help us avoid neck and shoulder aches and pains but also improve our scapular and shoulder stability, which in turn can improve our other pressing exercises, like our bench or push ups!
SUMMARY:
Using these 3 cues you can help yourself properly engage all of the muscles involved in the side plank to get more out of this amazing move and really improve your mind-body connection.
Focus on holding harder and run through what you feel working as you hold over just trying to hold longer or “get through” the time.
Try adding in some side plank holds for even 20-30 seconds to your activation series before your workout to activate everything from your shoulders to your knees!