The TFL Muscle (Tensor Fasciae Latae) – The Hidden Cause Of Low Back, Hip, Knee and Ankle Pain
There’s just this nagging pain you can’t seem to get rid of.
Maybe it’s your lower back. Your hip. Or even your knee or your ankle that feels off.
You’ve stretched. You’ve strengthened. You’ve rested even.
But the issue never really goes away. It keeps coming back.
The culprit may be one muscle that you don’t realize is perpetually getting overworked…
The TFL.
And this muscle can have a far reaching impact leading to aches and pains from your back down to your feet.
In this video I want to break down…
…where the TFL is and what it does,
…how doing even the “right” moves can backfire and
…then how to adjust your movements to help you better activate your glutes
…while also doing the mobility work to relax this tight and overworked muscle.
So first, where is the TFL, what does it do and why should you even care?

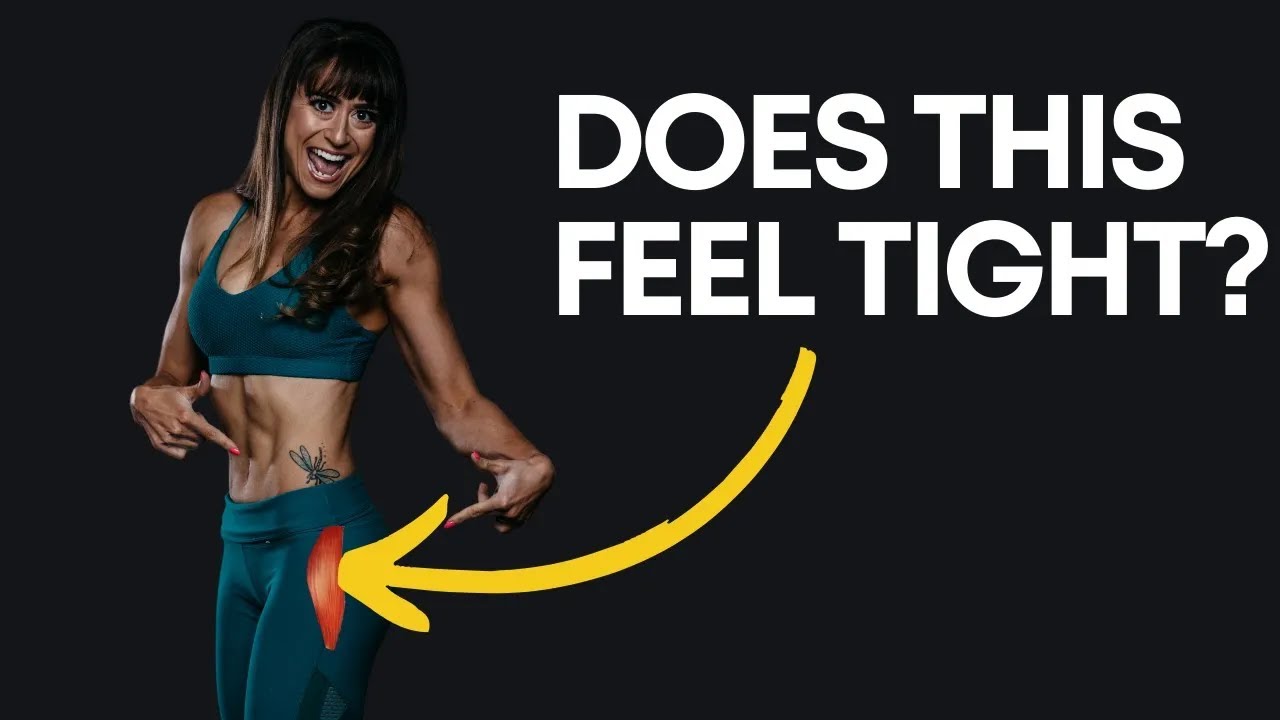
The TFL or tensor fasciae latae is a small muscle on the outside of your hip.
To feel where your TFL is so you can notice when it is working, put your hand on the front top of your pelvis down your leg as you’re lying on your side.
Rotate your toe down toward the ground, turning your leg all the way up toward your hip. This internal rotation of your hip should make your TFL tense.
Ever notice that area really burning or working during moves like band walks where you’re trying to make your glutes work?
That’s your TFL compensating for your glute medius and becoming overworked and probably tight. And this is what can throw your ENTIRE lower body out of alignment and even perpetuate back pain.
Your TFL helps flex your hip, internally rotates your thigh, and abducts your leg.
Because it connects into your IT Band, tension in your TFL doesn’t just stay local.
It impacts your knee and even reaches your ankle. It even changes the way your feet strike the ground.
Over time, these changes in your movements, these compensation can lead to:
- IT Band Syndrome
- Patellofemoral pain (or runner’s knee)
- Hip impingement or hip pain
- Shin splints
- Even chronic ankle issues
And here’s the kicker and why you need to care about this muscle…
You might be seeing some of these other aches and pains and so focused on the point of pain you didn’t realize the culprit is this nasty little sucker of a muscle.
So all of your work to correct those other issues doesn’t pay off and you just constantly struggle with aches and pains sidelining you.
Now if you’re like, but I am doing glute medius strengthening because I have heard it’s my TFL is the issue…
That’s great…BUT…
What do you feel working?
Because “good” moves, the “right” moves, done with the wrong muscles working?
That’s only going to make the issues worse and lead to a lot of frustration that your hard work isn’t paying off.
Going back to when I mentioned band walks…
Ever do those and end up rubbing right where you now know your TFL is?
Or maybe it’s clams. Or a lateral raise…
If you don’t feel the side of your butt really being the main muscle working and instead feel the burn in your TFL…
Your TFL is still running the show.
You may even be trying to roll out other areas that feel tight…
Foam rolling your back when it gets sore or your lower leg because your ankles are having issues or even around your knees because they’re feeling twingy…
But none of this is addressing the original overcompensation pattern.
You can’t just fix the tight spots downstream.
You have to go straight to the source.
So how do you change those recruitment patterns and get your glute medius working as it should instead of your TFL taking over?
I want to share 3 form tweaks that may help based on the move you’re doing that emphasis using that glute medius over the TFL and then even share other prehab exercises, both foam rolling and stretching, that you can use to relax that TFL further.
That relaxation of the muscle even prior to the glute activation moves can only help you change those recruitment patterns and make it easier to have that mind-body connection work correctly.
Basically, it helps you mentally find your butt to make sure it’s working when it should be!
Form Tip #1: Turn your toe in and down.
Your TFL internally rotates your hip or turns it in and abducts your leg, lifting it laterally.
But while you’ll often see your thigh and knee cap turn in with a tight TFL, you’ll also see your lower leg externally rotate and your feet turn out.
If you find your knees really cave in with movement, give your TFL some love!
But turning that toe down toward the ground or back in can help prevent the movement pattern seen with a tight TFL to help avoid it taking over.
While this may lead to you internally rotating all the way up your leg, this movement puts the emphasis on the glute medius to raise the leg laterally.
I joking say it “distracts” the TFL, making that muscle even contribute to working to internally rotate so it can’t take over for the glute medius during abduction. It’s too distracted with the other movement!
So think of slightly leading with your heel as you raise your leg up or out to the side.
Form Tip #2: Use hip extension.
Your TFL is also a hip flexor, meaning it works to bend your hips.
You can therefore prevent it from working by extending your hip.
This has the added bonus of also engaging your glute max which can help your glute medius fire better.
Just make sure that you aren’t faking that hip extension by arching your back or leaning over as a torso hinge is hip flexion.
Focus on using your glute to extend truly at the hip, even pushing back into something like a wall as you laterally lift your leg.
You should feel not only the side of your butt but also the back of your butt working.
Pair this with turning your toe down for even better activation!
Form Tip #3: Play With Your Setup.
Ever notice when doing different moves some are way easier to feel your glutes working in? While with others you can’t get that TFL to shut off no matter how modified you make them?
If this is the case, play around with postures and positions.
With our glute medius, different fibers contribute slightly to different joint actions.
So don’t hesitate to lean forward or back instead of sitting straight up during seated abductions. This can help you target more anterior or even posterior fibers of the gluted medius.
Try even bridge abductions to use that hip extension to engage your glute max.
But don’t be afraid to play around with postures and variations, using both one sided and two sided moves.
And to help you master moves you can’t get your TFL to be quiet during, try including them AFTER a move where you’ve already gotten a little pump in your glute medius with.
Often that little pump can make it easier to then feel the correct muscles working in the moves
Remember if you’re not feeling it in the right place? You’re not fixing the right problem.
And if you’re really struggling with your TFL taking over…here’s a huge piece most people skip:
The foam rolling and stretching.
Prehab is a 3 part process –
Foam roll tight and overactive muscles…
Stretch those muscles as you mobilize joints…
THEN activate to strengthen weak and underactive muscles and improve stability.
So if you’re using the tweaks I mentioned above with activation moves for your glute medius and struggling with still feeling your TFL try these two moves prior…
TFL Foam Rolling and the Lunge and Reach.
Both are great to include as part of your warm up.
To roll out your TFL…
Place the ball on the front side of your hip, lying over it. You can roll it back toward your glute or slightly down the side of your leg in front of your hip bone.
But focus on that spot that tenses as you turn your leg in.
Hold on any tight spots and breathe as you relax into the ball.
Lift and lower your leg to tense and relax 5-10 times.
You can also bend your knee toward your chest and extend your leg back out to hit this hip flexor as well.
You can use this foam rolling move during rest between activation or even strength exercises when you feel the TFL taking over, but for sure include it in your warm up or prehab before a stretch like the Lunge and Reach.
To do the Lunge and Reach…
Step forward on one side, keeping your back leg straighter as you lunge forward. Lunge deeper to intensify the movement and stretch.
Reach with your opposite hand overhead even leaning to reach further. You will feel a stretch down your side but into the front side of that back hip.
Really engage that back glute to drive your hip into extension.
If you are really struggling with TFL tightness or even using this in your cooldown, you can do a static stretch variation half kneeling on the ground near a way.
But focus on that hip extension engaging your glute as you reach toward the opposite side to stretch.
Remember, the point of pain is not always where the problem started.
If your knees hurt…If your hips feel stiff…If your ankles feel locked up…
If you’re doing a lot of the “right” things but nothing’s adding up, look at other areas that can have an impact, like your TFL
Because if you don’t address the TFL? You’ll just keep fighting the same battle over and over.
Try those form tweaks after the foam rolling and stretching moves today.
Focus on what you truly feel working to finally change those recruitment patterns and address that overload to alleviate those aches and pains!
Move and feel your best with Dynamic Strength workouts. Every workout includes the prehab work you need!
–> Learn More