Macro Tracking For Beginners – 3 Macro Tracking Mistakes

Macro Tracking For Beginners – 3 Macro Tracking Mistakes

Counting or tracking macros is overwhelming. It’s intimidating. It’s hard. It’s annoying. It’s boring. It’s tedious.

It’s really sucky to start.

But it’s also the best way to get results efficiently while learning how to create a sustainable lifestyle balance so you can adjust your nutrition even as your needs and goals change over time.

If you truly want to understand your own diet?

You need to start tracking macros.

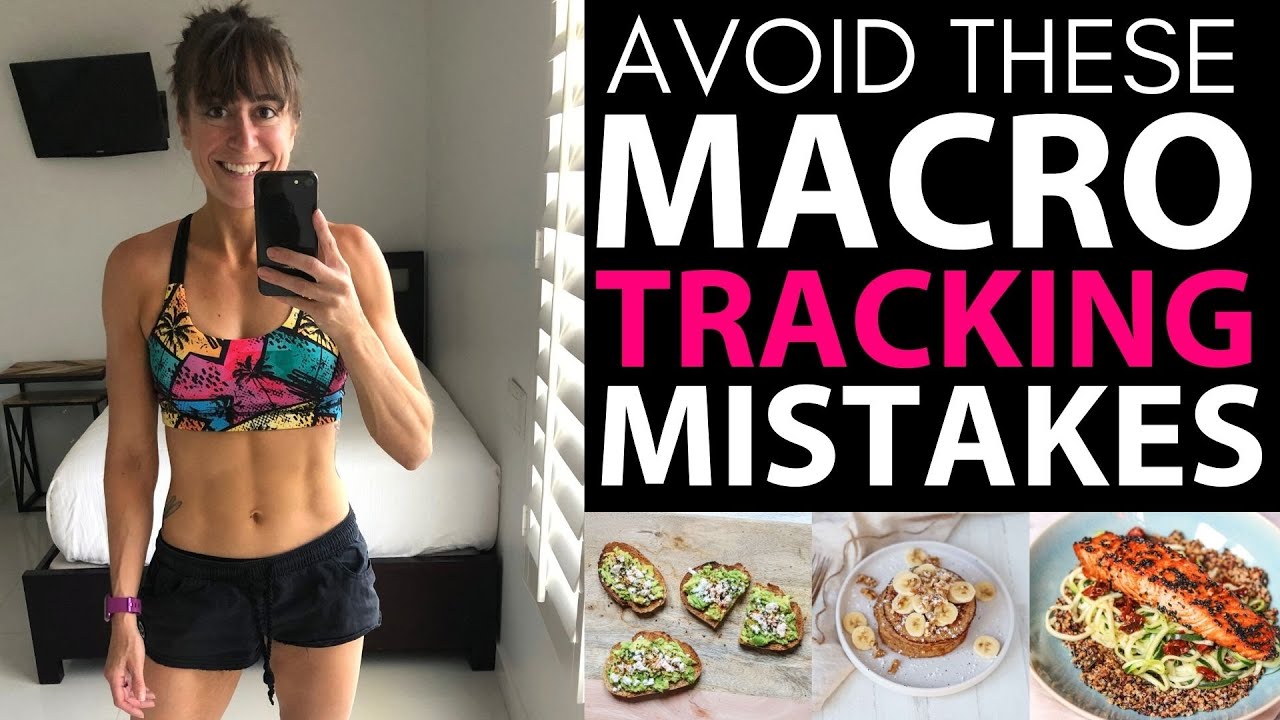
Because I know it can be a super hard and frustrating change to make, I wanted to share 3 common mistakes I see people starting out making and what you should do instead.

But first a bit on what macros actually are and why tracking isn’t the restrictive thing we can often make it out to be.

So…what are macros?

Macros, or macronutrients, are the nutrients our body needs in large quantities they are proteins, carbs and fats.

How we dial in the portion of our calories that come from each nutrient can impact the results we get.

And we may adjust the ratios we use as our needs and goals change over our life.

Working to lose fat? You may use one ratio.

Working to build muscle? You may change ratios.

Dealing with menopause? You may select a different macro breakdown.

Working to fuel your workouts to train hard for your endurance sport? You may even adjust your macro ratios over the course of your training as your training intensifies.

The point is, when you understand macros, you can make sure you’re fueling correctly for your specific needs and goals even as they change over time!

Now…What about tracking being super restrictive and obsessive?

The simple fact is…What you measure, you can manage.

If you don’t have a clear picture of what you’re consuming, you don’t know what you need to change.

It’s why we can feel like we’re eating super “healthy” yet not seeing the physical or performance results we want!

If you were training for a race, you wouldn’t randomly run or ride what you “felt like” that day. You’d have your mileage for the week, and even month, planned out so you knew how you were going to progress. And you’d track how each run went to make sure you were progressing the way you wanted.

Why wouldn’t you want to give yourself the same data to adjust your fueling?

I think so often we feel that tracking is restrictive because we’ve only used it to count calories for restrictive weight loss diets that left us feeling like we had to cut everything out and be miserably hungry.

But tracking itself is not restrictive. Your tracker isn’t judging. It’s just giving you a picture of what you’re eating.

So stop judging yourself and realize the data is there to inform you and help you.

See it as the opportunity to better fuel your body and give it what it needs!

Of course if you do have an eating disorder you need to seek out professional help, but too often we simply use this as an excuse to not make the hard changes we need and truly invest in learning how to fuel better.

So if you’re ready to get started tracking macros, here are the 3 mistakes to avoid and what you should be doing instead!

Mistake #1: Not tweaking what you’re currently doing.

When we are motivated, we often go to extremes in an attempt to get the best results as fast as possible.

But the second our motivation and willpower fades?

We are left with unsustainable habits and end up right back where we started.

That’s why it’s best to use that initial motivation and willpower to create sustainable habits, making small tweaks to what we are currently doing.

So before you even attempt to change anything in your diet and hit any specific macro ratios, just start by tracking.

Track what you are currently doing.

Don’t make any changes. Just see where you are at. You can then start to tweak from what you’re currently doing so that you don’t physically, or mentally, rebel against extreme adjustments.

Part of why we often fall off of tracking our macros is the struggle to hit ratios that are far different than what we are currently doing.

It’s such a dramatic change it can feel impossible.

So if we instead start tracking our current diet, we can begin to make adjustments that dial everything in without feeling crazy restrictive or impossibly frustrating!

You’ll be surprised by how even simply being accountable you start to see results. Not to mention how eye opening it really is to see the breakdown of the foods you’re consuming.

Mistake #2: Not putting protein first.

The more changes we try to make at once, the more overwhelming an already complicated process can be.

Often we dive in, not only shooting for a macro breakdown far different from what we are currently consuming, but we ultimately have to adjust EVERYTHING in our diet all at once.

And that can feel impossible.

So when we can’t hit the ratio, we give up.

Instead of shooting for hitting a ratio perfectly where you have to adjust every macro at once, focus on one thing at a time.

Often the macronutrient we most need to focus on is PROTEIN.

Whether you’re plant-based, omnivore or straight carnivore, protein is often the macro we tend to under utilize in our diet.

Let’s face it, carbs and fats often taste better and make up the foods we love.

But protein is key whether we want to lose weight while retaining lean muscle, build muscle, recover faster or even age well.

It becomes increasingly important too as we get older as we become less able to utilize protein as efficiently not to mention we have a harder time building and retaining lean muscle.

So focus on hitting your protein amount FIRST. Let your carbs and fats fall wherever feels best to start.

You can then start tweaking those other macros based on your training and goals.

And by starting with protein, you can see great aesthetic changes.

You’ll find it a much easier process to get lean while feeling fueled if protein is your focus to start!

Mistake #3: Not tracking everything!

Measuring and tracking everything is tedious to start. But it’s the best way to really understand your portion sizes and the true breakdown of the foods you’re eating.

Plus, let’s face it, often we don’t want to track because we don’t want something to count.

But guess what?

Even if you don’t log it, you still ate it.

And it’s going to impact the results you get.

So while you may get more lax in your tracking over time, start by logging EVERYTHING so you know how it all impacts you and your results.

Little things do add up. It may only be a cracker here or a little taste of something there, but those calories add up more quickly than we realize, not to mention change the actual macro breakdown we end up consuming.

And it’s not just only the day that it changes. Often we don’t recognize how those little snacks and bites daily add up over the weeks and months.

So LOG EVERYTHING.

It makes you much more aware of some of the unconscious eating we do or the eating out of boredom.

Remember, what you measure, you can manage!

We can’t adjust if we don’t have an accurate picture of what we’re actually doing.

So give yourself that true data to make changes!

SUMMARY:

Creating a new lifestyle and making lasting changes isn’t always easy or comfortable.

Those fad diets that promise a fast and easy fix don’t work for a reason.

If you want to truly create a sustainable lifestyle and understand how to adjust your diet even as your needs and goals change, you need to start tracking your macros.

It may be boring and tedious and frustrating to start, but it’s far less frustrating than spinning your wheels working hard not to see the results you truly want!

Dial in your diet and your workouts to work together based on what is realistic and sustainable for you…

–> The 3-Step RS Recipe


FHP 316 – You Are Not In ConTrol

FHP 316 – You Are Not In ConTrol

You know that urge to do MORE? To make more changes?

Search for a new macro ratio? 

Workout longer? Train harder?

I think this focus on doing MORE stems from the fact that A. Yes we want results faster but B. We also feel more in CONTROL when we do more.

The feeling that we are “acting” or taking action gives us a sense of control. Even though we may not actually be moving ourselves forward and even wasting a ton of energy as we set ourselves back.

It may be wasted work and energy.

And a lot of adjustments that aren’t allowing time to work it’s magic.

Because the simple fact is, you can’t out work, out diet, out train time.

And to some extent, results are out of our control in that we can’t control TIME.

We need to find a way to be consistent with our training, to stay focused, so that results have time to add up.

So ask yourself, “Why am I trying to do more? Why am I trying to make a change?”

Is it needed? Or are you just trying to feel more in control?

Push-Ups For Beginners –  5 Simple Tips To Perfect Your Push Up

Push-Ups For Beginners – 5 Simple Tips To Perfect Your Push Up

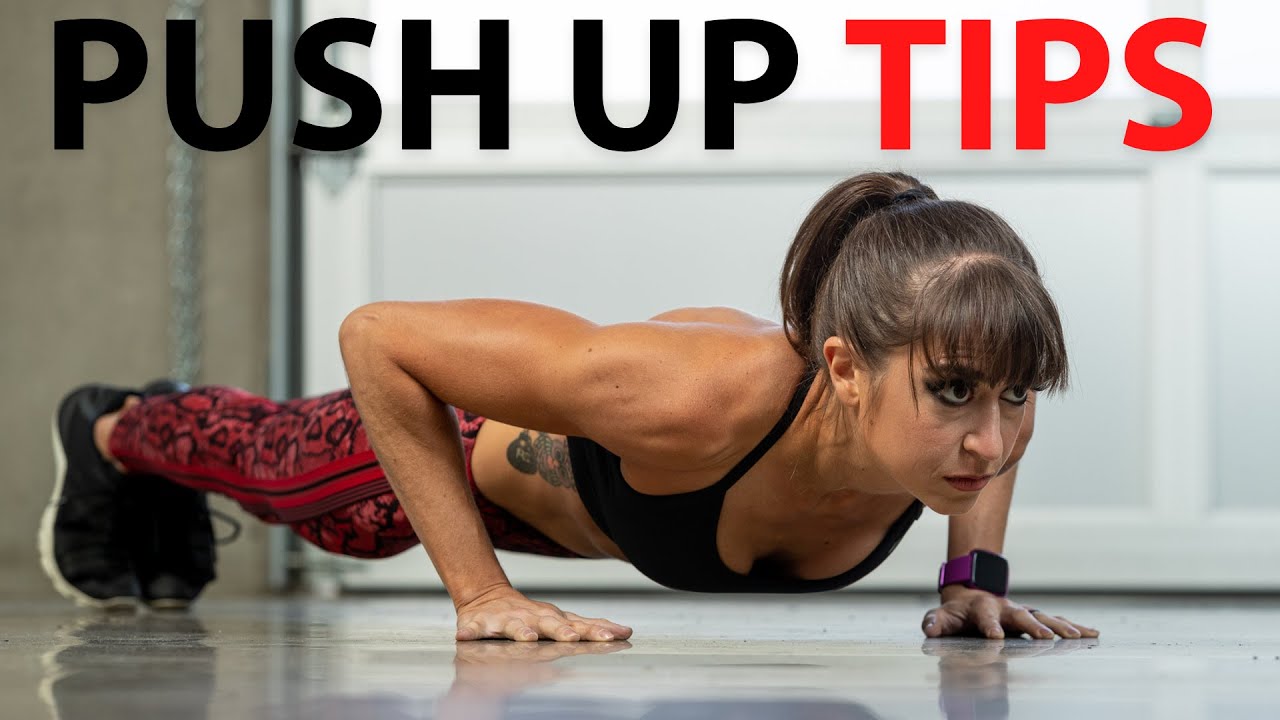
Push ups not only require a lot of upper body strength but also core strength.

They require you to properly recruit and engage everything from your shoulders to your knees so your body moves as one unit. You need to not only have amazing strength but also proper wrist, shoulder and scapular mobility and stability.

They are a much more complex movement than we often give them credit for.

That’s why I want to share 5 tips to help you not only dial in your push up form, but also strengthen all of the muscles involved in the movement so you can improve your push ups.

But first, I want to explain why it’s key we remember we may need to regress to progress to start.

And one of the best ways to do that is by using an incline over even the knee push up variation!

The knee push up variation is actually more challenging than we often give it credit for. And it doesn’t teach us to engage everything between our shoulders to our feet.

We need to train that full plank position to help us better engage everything as we build up toward that full push up from the ground.

That’s why the incline push up is a great way to modify the push up to start.

You can start off a wall and slowly lower the incline as you’re ready.

And by using an incline, we can even mix up the push up variations we include as we build up.

It can be boring feeling like you aren’t able to try some of those fun push up variations. But using an incline, you don’t have to stick with just the basic push up.

You can include other push up variations that may even be great accessory moves in and of themselves to improve your strength toward that first full push up.

Want to target your triceps more?

Try the close grip push up off an incline.

Or if you want to work on your core strength more as well as your shoulder stability?

Try the shoulder tap push up.

By mixing up your push up variations you can keep you training fun and interesting and even address your weak links to get stronger!

5 Key Tips To Help You Improve Your Push Ups

#1: Drive back through your heels.

Part of getting stronger is also about being more EFFICIENT in your movements. It’s about learning how to engage muscles correctly so it actually requires less effort to do the movement.

And one great way to make sure you have the proper tension during the push up to maintain that nice straight line from your head to your heels, is to cue yourself to drive back through your heels.

This will help you flex your quads for that nice plank position.

Because while this is an upper body move you need to have that proper full body engagement so you aren’t overloading your upper body but also making your lower body assist you in moving efficiently.

When you set up for the push up, push backward off the balls of your feet. Feel the change in how you flex your legs as you do this. Just make sure that as you drive back, you keep your hands outside your chest and don’t let them shift up above your shoulders.

Keep pushing backward off the balls of your feet as you lower down.

Feel those legs stay engaged to help you maintain that plank position!

#2: Push the ground away.

Want to engage your triceps, shoulders and pecs better while helping prevent elbow pain during push ups? Focus on your hands grip on the ground.

That tension we create through our hands down into the ground can really help us better activate the muscles of our upper body.

And it can help us prevent overuse from rocking out on our hands.

As you set up for the push up, spread your fingers with your middle finger pointing straight ahead. Grip the ground or incline with your entire hand, even pressing your thumb down into the ground.

At the top of the push up, think about pushing the ground away just slightly to even better stabilize your shoulders.

And do not lose this tension even as you lower down. Too often we just think about lowering down over maintaining that tension into the ground.

But this tension can also help us in that transition from lowering to pressing back up.

If you’ve ever felt like you struggle at the bottom to change to pushing back up?

This focus on your hands pushing down into the ground can make all of the difference. So even as you lower, push the ground away so that when you move to push back up, you’ve already created that tension.

#3: Feel your back assisting.

While yes, the push up is a move for our chest, shoulders and triceps, we can’t ignore the important role our upper back plays in this movement.

We often think about our scapular movement, or the movement of our shoulder blades, during things like rows.

But that scapular movement is essential to actually create a more powerful press.

Proper scapular movement can mean healthier, happier shoulders, elbows and even wrists. Not to mention you avoiding neck pain from push ups.

So as you perform the push up, think about your back working to support your shoulders.

Make sure that, when you set up, you very slightly pull your shoulder blades down toward your butt as you unshrug your shoulders. Think about feeling the sides of your back slightly engage to support your shoulders.

Then, as you lower down, think about your shoulder blades drawing together toward your spine.

As you press back up, focus on pulling those shoulder blades apart.

Use your back and that proper scapular movement to power your press!

#4: Use push up holds.

Push ups are basically a moving plank so often when we think push ups and improving our core strength, we turn to plank holds.

And those are great.

But you can actually work on that plank position from just about any point in the push up.

By holding even mid-way through the push up or at the bottom, you can really strengthen not only your core but also your upper body.

You can also help yourself overcome any weak points or stick points in the move.

If there is a point you feel you always get stuck at?

Hold there to strengthen everything.

When we hold, we can really focus on what we feel working because we aren’t distracted by trying to actually perform a movement.

We can stay in one position and run through the muscles that should be working to make sure we feel them. We have time to even assess our form and make small tweaks.

That time under tension can help us build strength as we work on that mind-body connection to use muscles efficiently.

So next time you include some accessory core work, try including bottom push up holds or mid push up holds instead of just doing even the high plank position to work your core!

#5: Quality over quantity.

Practice makes better. But only when you’re practicing the proper movement. If we get lazy with our reps and compensate or replicate improper movement patterns?

We are going to ingrain those bad habits through repetition.

So as you build up, make sure to focus on quality over quantity. Make every rep your best rep to really solidify those proper movement patterns.’

And focus on fewer reps of a harder variation to really challenge your body to progress.

Too often when we want to work toward that first full push up, we just make ourselves better at the modified variation by adding more reps.

Instead of doing more reps of a more modified push up, we need to think about doing fewer reps with more sets to keep attempting a more challenging variation.

So if you can do only 1 push up off a lower incline, but 5 off a higher?

It is better to include that 1 rep off the harder variation, simply resting longer between to create the volume over sets.

Because you need to use those harder variations to get better at them!

Summary:

Use the incline push up variation to help you build up toward that first full push up from your toes. You can even start off the wall and lower the incline as you feel ready.

As you build up, use these tips and cues to help you dial in your push up form and use muscles efficiently to perform the movement.

And don’t be afraid to use some fun variations off the incline to help you target those weak links and keep your training fun and interesting!

FHP 315 – 4 Macro Hacks To Implement Today

FHP 315 – 4 Macro Hacks To Implement Today

Tracking our macros isn’t just about restricting what we’re eating to lose weight. It’s about truly learning how to FUEL.Because no matter what result you want to get, from losing weight to body recomposition to gaining muscle to fueling your endurance sport to even simply feeling more energized throughout the day, the macronutrient ratio you are consuming MATTERS.

And by understanding macros, you can better adjust how you fuel over time as your needs and goals change! 

So here are 4 “hacks” to help you get started dialing in those macros because I know the process can seem overwhelming to start!

#1: DON’T START BY CUTTING OUT THE FOODS YOU LOVE

#2: “PRACTICE” – BUILD A SOLID THE FOUNDATION

#3: STOP GIVING YOURSELF THE EXCUSE THAT TRACKING IS “ANNOYING” OR “RESTRICTIVE.”

#4: ACCEPT THERE WILL BE TIMES YOU’RE LESS DEDICATED

Learn more about my 3-Step Recipe For Results…

–> The RS Recipe For LASTING Results


FHP 314 – Legend-wait-for-it-dary! Legendary!

FHP 314 – Legend-wait-for-it-dary! Legendary!

Legend-wait-for-it-dary

I love hearing Barney say this in How I Met Your Mother.

And almost every time I try to repeat the line, I somehow butcher it haha

Anyway, the simple fact is…

Not every day can be legendary or no days end up being legendary.

You can’t know the good without the bad!

BUT even on those not so ideal days we can take something out of them that moves us forward.

Here are 4 questions to consider to GROW from those not so fun days to make your lows less low!

  1. Do I know what triggered it?
  2. What can I learn?
  3. What would I do next time?
  4. What good still happened?

Remember we can’t know the good without the bad BUT we can always learn from it to make our highs higher and lows less low!