How to Fix Muscle Imbalances (5 Tips!)
We are human…we’ll never be perfectly symmetrical or balanced.
But that doesn’t mean we should ignore strength or mobility imbalances between each side.
Because imbalances are often worse than inflexibility overall when it comes to putting us at risk for aches and pains.
When we have a big difference in strength or mobility between each side, we will compensate to allow that weaker side to keep up.
We will seek out ways to achieve the range of motion we are asking our body to do even if only one side can truly do it.
And we will CHEAT to mimic a proper looking movement and proper form.
This creates overload of other muscles and joints to try and help out when they really shouldn’t be working in that way.
And it can end with either our weaker or our stronger side becoming injured.
That’s why I first want to dive into why addressing imbalances is so key a bit more and then go over how you can address these imbalances to improve your overall strength and mobility to avoid aches and pains!
So Why Is Addressing Your Imbalances So Key?

Because our body takes the path of least resistance to perform the movement we are asking it to do and will find a way to squat or twist or push, using whatever mobility and strength it can find easily.
This can mean using muscles not meant to carry the load they are asked to carry or joints trying to provide a range of motion they really aren’t capable of.
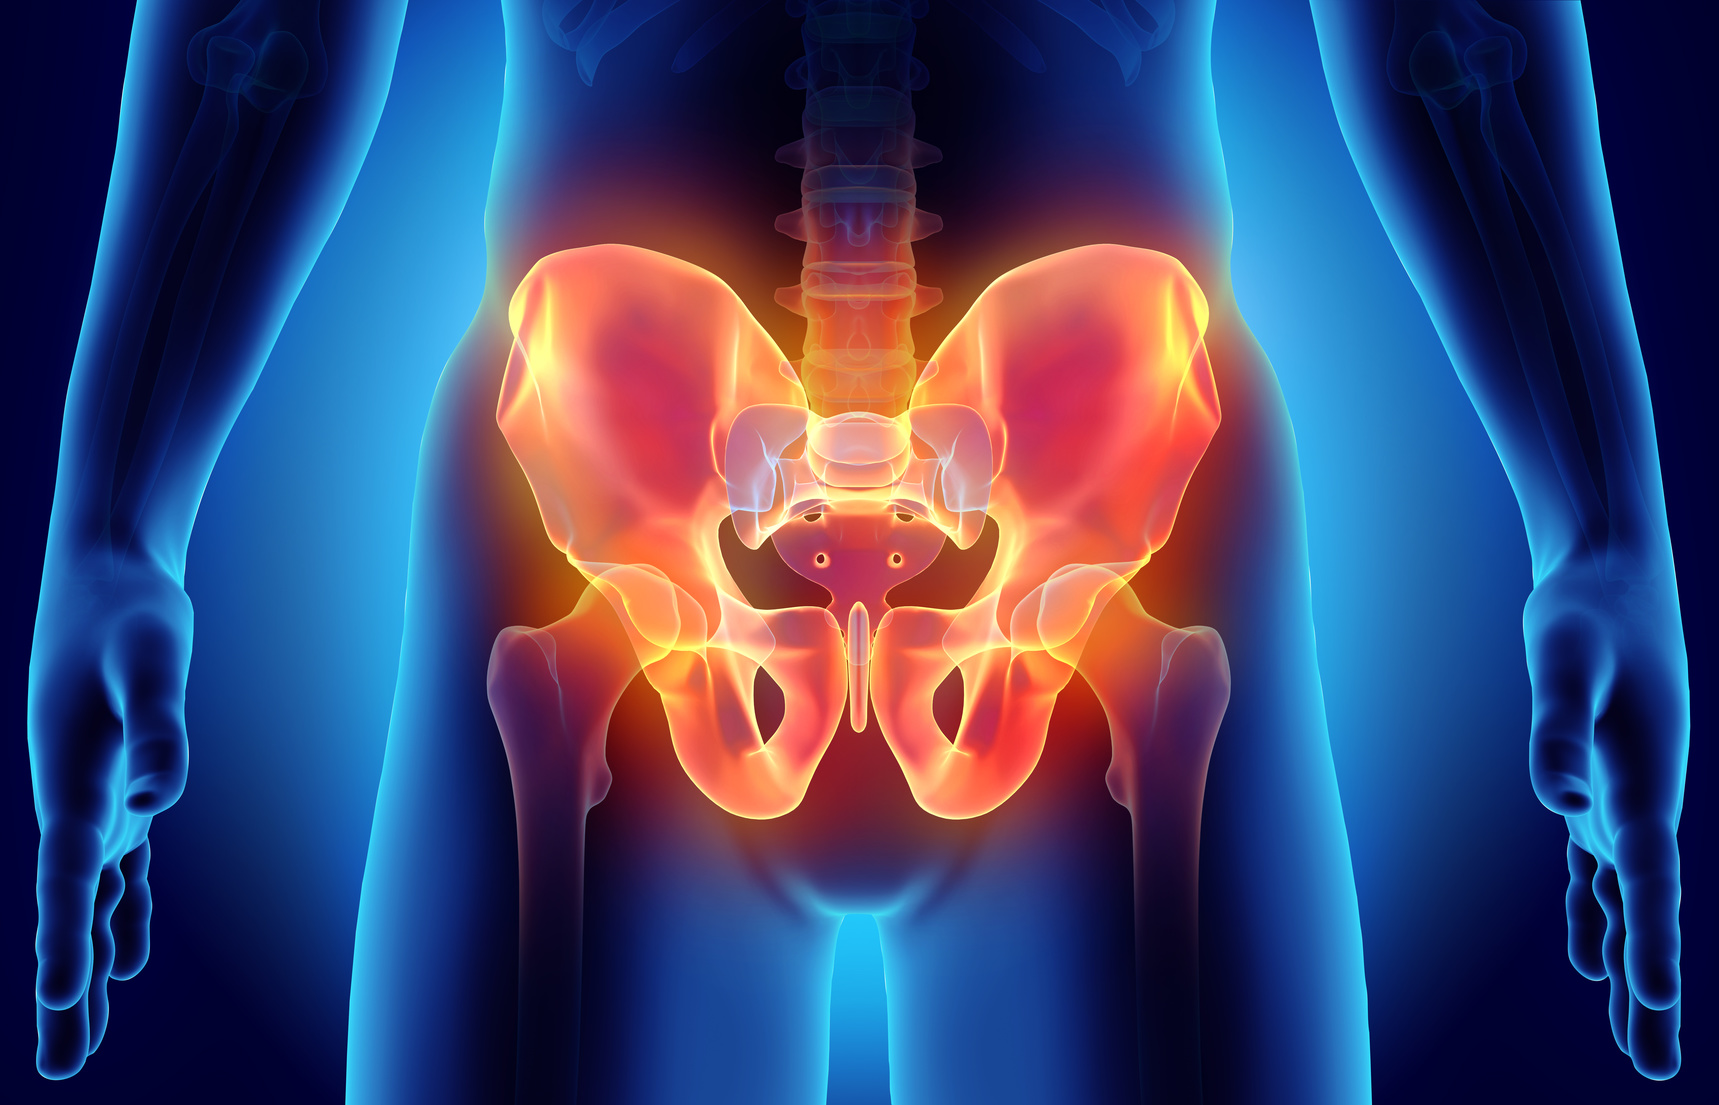
Constantly feel your lower back or knee is sore one side after you squat?
This may be because muscles or joints are being asked to carry a load they aren’t meant to, or able to, carry to perform those barbell back squats you’re doing!
And because we are asking areas of our body to work more than they should, they can become overloaded.
We can see this happen on both our weaker or even our stronger side. It’s why we can’t always just assume a muscle is weak and in need of strengthening when it is injured.
If you have one leg that is stronger, you may find you shift in that squat to that stronger side to try to help move a weight your weaker side really can’t lift.
This can lead to you overworking that stronger side and muscle not meant to work as much working extra.
If you do see yourself shifting with your squat, you may “force” yourself not to. This may mean your weaker side calls on muscles it shouldn’t to try to find the strength to keep up.
This can lead to injury on that side too.
This is why if you’ve constantly felt like you’re getting injured trying to go up in weight on your squat or deadlift or bench press or row or even bodyweight moves like the push up or pull up, it may be time to assess if you have a mobility issue or strength issue on one side causing you to overload other areas!
What Should You Do To Address Imbalances?
And this brings me to one of the most important things to include to address imbalances, unilateral moves.
While I will touch on the prehab and mobility components that are key to include in your warm up, and the fact that an imbalance may mean imbalance prehab work (aka doing moves only one side), I think something we so often shy away from in our workouts is those one-sided or unilateral moves.
But they are truly essential.
When you do unilateral moves, the stronger side can’t compensate or take over.
And the weaker side can’t try to cheat to keep up as easily.
Both have to work independently so you can really feel and see those weak links to address.
These moves also work on our stability and often strengthening through a full range of motion which really pays off and helps us avoid injury.
Not to mention, they force us often to ditch the ego and go lighter with the loads as they are awkward and coordination challenges often to start.
So if you have an imbalance, start to focus more on those unilateral moves so you can address each side independently.
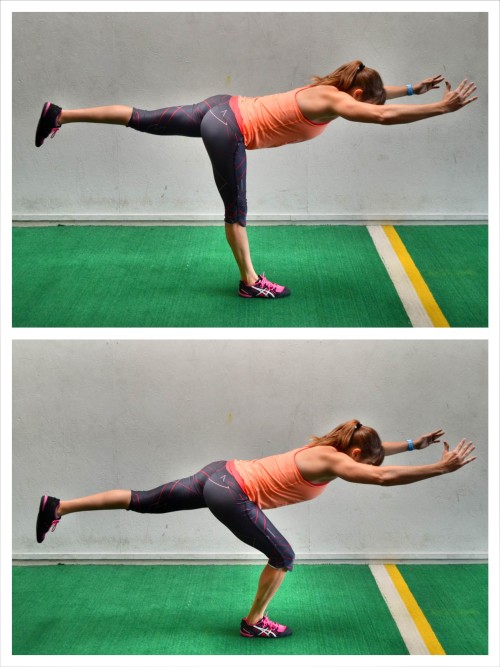
But also recognize that some fully unilateral moves are harder than we give them credit for.
That’s why on things like the Single Leg Deadlift, you may need an 80/20 variation or a support to start so you can truly focus on each side working!
With those unilateral moves, you may find one side can’t do as much as the other side or can’t do as much weight or as hard a variation for the same amount of reps.
And you don’t want to just advance your stronger side while leaving your weaker side doing lighter loads. This will only perpetuate the issue.
But you also can’t let your form slide and not pay attention to what you feel working, and force your weaker side to do more than it can truly handle.
This is where you will have to use either Rest-Pause Technique or hold back your stronger side in your workouts…Maybe even using a combination of both at times.
Rest-pause technique is great when your weaker side can do a variation or weight that your stronger side can do BUT not for the same volume or number of reps.
With rest-pause technique, you’ll do the reps on your stronger side, say you do 10. You’ll then move to your weaker side and do the reps you can do properly, say that’s 6. You’ll then pause for 15-20 seconds and do more reps to complete the 10.
If you need to even do 2 reps, pause again and complete 2 more that’s fine. By keeping the rest so short though to perform the same volume as your stronger side, you will bring up your weaker side.
However, if your weaker side can’t do the same load or variation as your stronger side, you will need to modify the move to a variation you can perform correctly, holding back that stronger side for a bit.
With holding that side back, you will even want to potentially END your workout with some extra work for that weaker side. Just make sure you are tacking on this extra work at the end of your rounds so you don’t fatigue your weaker side more during it.
It can feel weird doing more for one side, but when we have an imbalance, we may need to do imbalance work to correct it.
We just want to make sure the work we do isn’t perpetuating the issues, strengthening the stronger side further.
And this is why in our warm ups and prehab work we want to make sure we’re addressing the underlying issues, even doing foam rolling, stretching or activation moves only on one side or even more on one side.
To address imbalances we want to use foam rolling to relax overactive and tight muscles, muscles that limit joint range of motion and even tend to want to take over.
We then want to stretch, especially dynamic stretching, to mobilize joints. Although you may find that if you have a big imbalance the occasional static stretch is needed at times.
While static stretching has been demonized in warm ups because it can have an impact on strength and power, these static stretches can be super beneficial for your flexibility and mobility and may be needed to first address the imbalances you have to allow you to lift more.
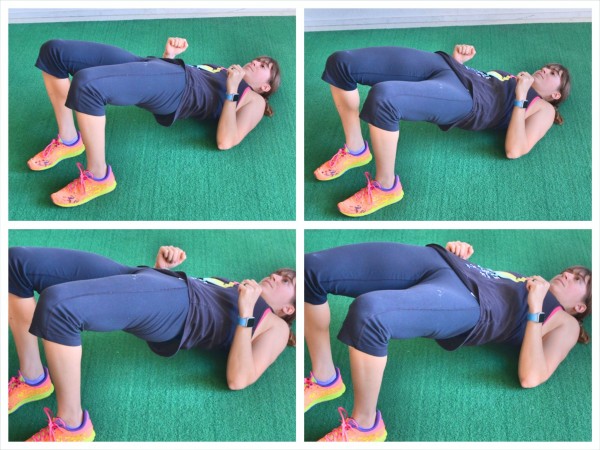
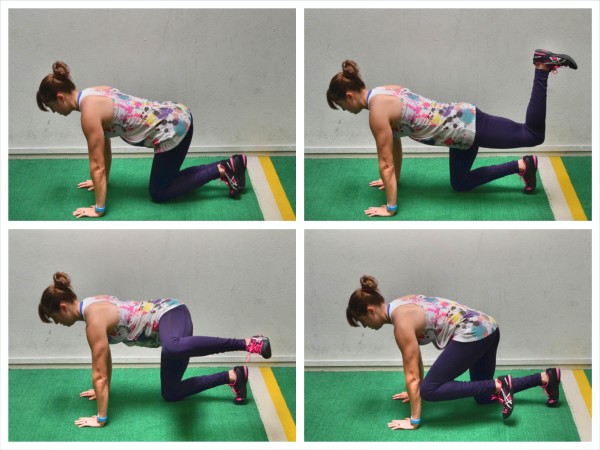
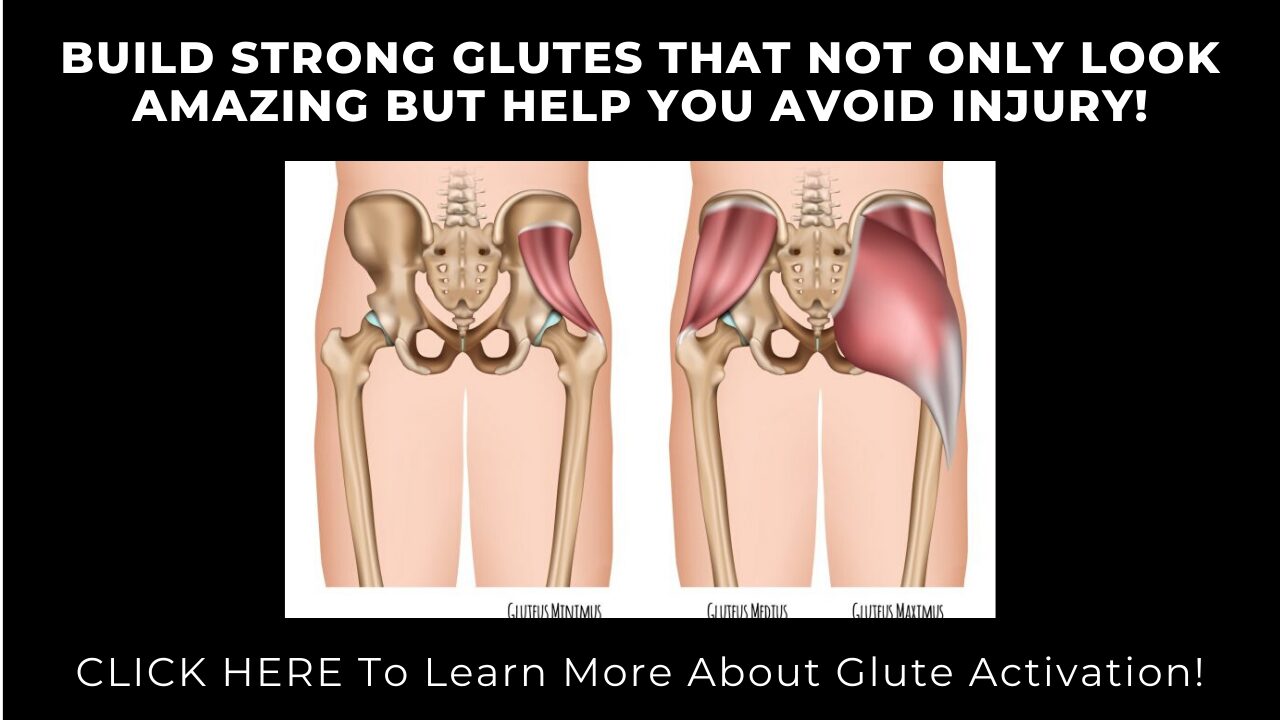
You then want to include activation work to activate underactive muscles. Any muscles that are weaker and struggle to engage especially will be the focus of your activation work.
You may find you only do glute activation for example on one side if one side is weaker.
It’s key to note though you don’t want to do so much activation work that you fatigue the muscle. You are just trying to create that mind-body connection and feel it start to work so you are better able to use it when you lift!
But this work prior helps prime your body to move well BEFORE you then go into your unilaterally focused lifting sessions.
These small tweaks to your routine and the addition of unilateral moves to your workout with either rest pause technique or holding back that stronger side can help you alleviate those aches and pains you often see building as you’re even able to do harder moves and lift heavier loads!
So don’t ignore if one side is weaker or less mobile! Work on it and see your results improve!
Working to improve your mobility and strength? Check out my Dynamic Strength program!
–> LEARN MORE
 But it isn’t just imbalances between opposing muscles, but also imbalances between our right and left halves that can cause problems!

 This is where unilateral activation comes into play.