The BEST Lat Exercises You’re Not Doing
Don’t get me wrong, I love pull ups…
I love being able to lift heavier loads with the traditional lat pull down…
And both are FABULOUS exercises to target your lats.
But so often we find one move we deem “BEST” and then ignore the opportunity in other options out there. Yet diversity is key, especially over the course of our weekly workout schedule.
This diversity of movement can help us see better strength and muscle gains faster. Because creating progression in our workouts isn’t just about adding weight or doing a directly “harder” exercise variation all of the time…
Sometimes it is about doing the same but different to target those weak links even.
And that is why I want to share a lat exercise I feel is underutilized and underrated and one you should be including in your back and lat workouts…
It is the side seated single arm lat pulldown.
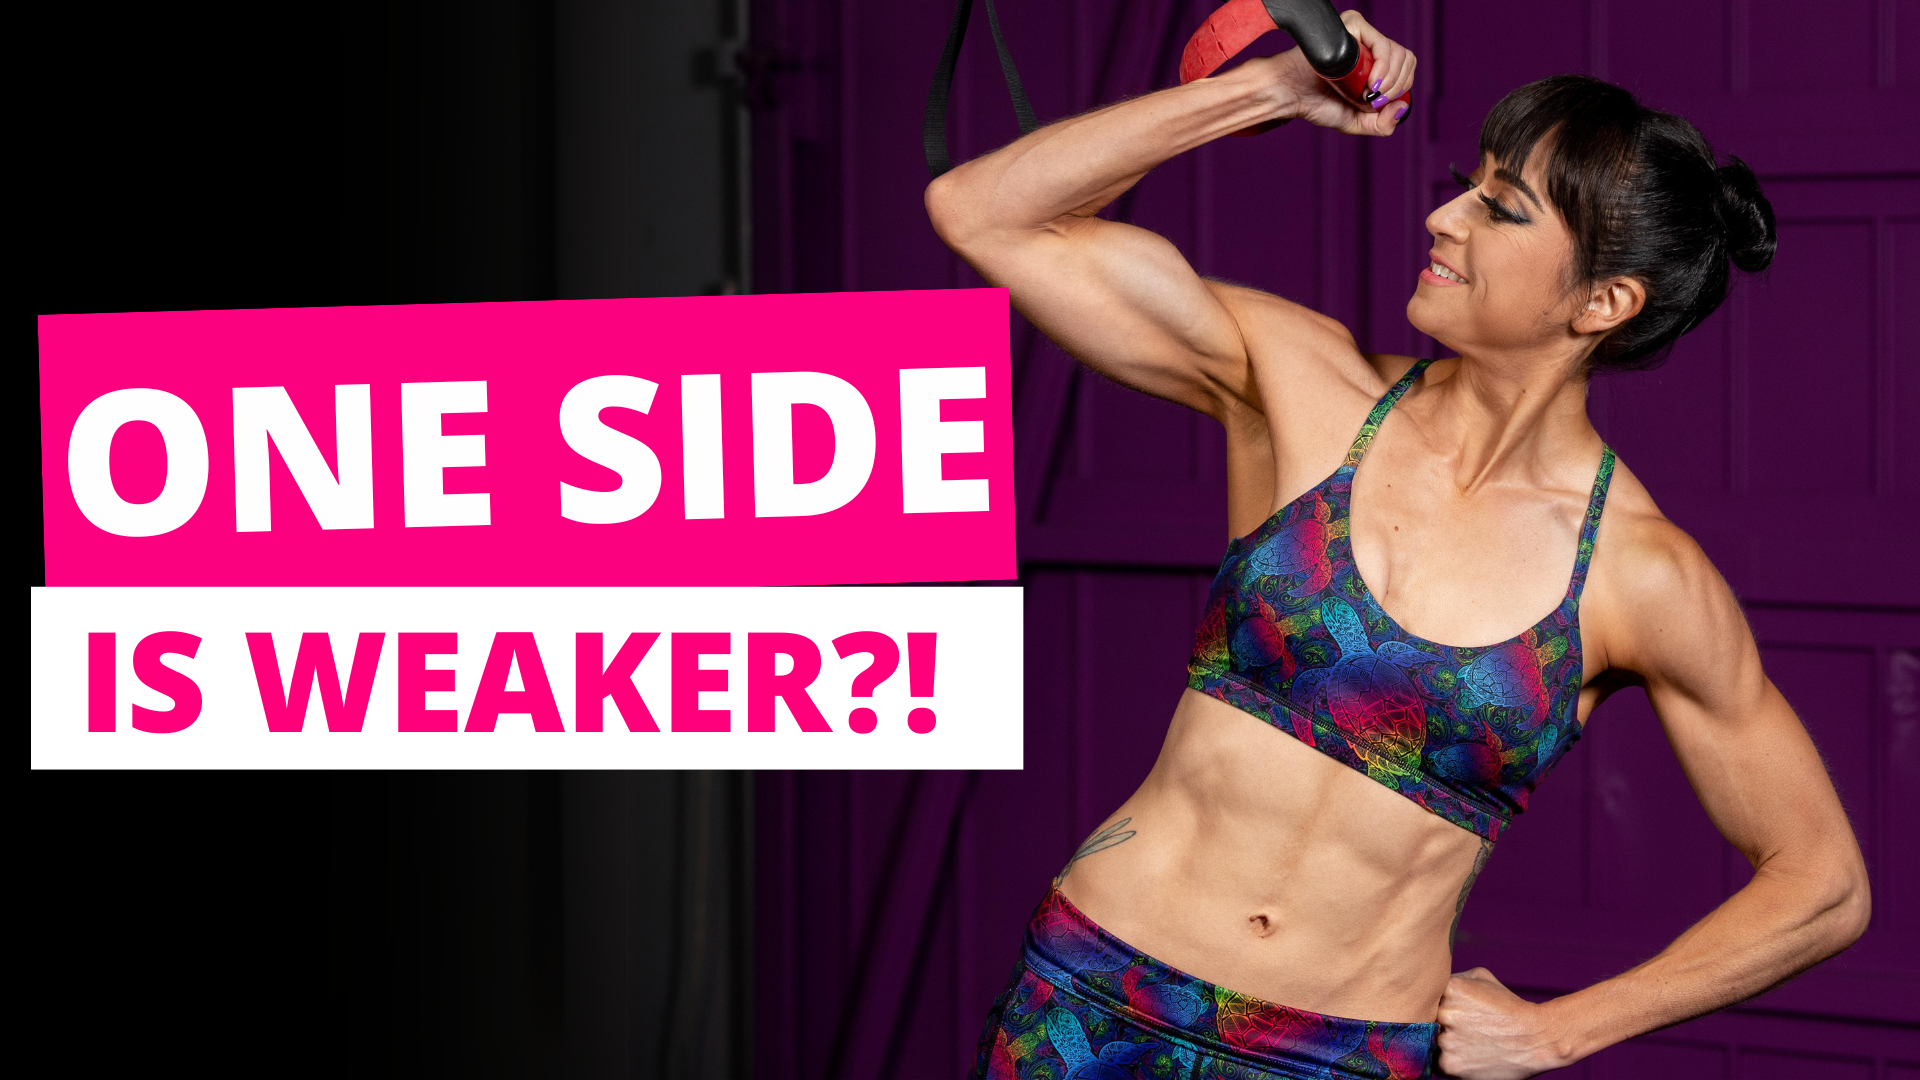
It’s a mouthful to say, but this move is deceptively challenging and a great way to really target those lats while correcting any strength imbalances we may have between sides!
And it really forces you to take the ego out of things and lighten the load to isolate not only each side but that lat.
I’ll go over how to do this amazing move, why it is so beneficial and even how you can adjust it to fit your needs and goals, as well as a home alternative you can try!
So first, how do you do this amazing move and why is this exercise so beneficial?

I love the cable variation of this exercise although you can use a traditional lat pulldown machine with a single handle or even a resistance band anchored overhead.
You’ll also need a bench, and ideally an incline bench you can relax your side against as you set up gripping the cable in the hand furthest from the machine.
The incline bench allows you to fully eliminate any extra movement or assistance from any other area of your body so you are forced to be fully stabilized and engage that lat to power the pull down into your side.
It truly helps you isolate the lat and may force you to have to go lighter than you’d think to start.
And because you are only pulling on each side independently, your stronger side can’t compensate for your weaker side.
The stretch to reach up overhead, elongates the muscle under load and makes you work the pull through a bigger range of motion, which has been shown to be amazing for improving those strength and muscle gains.
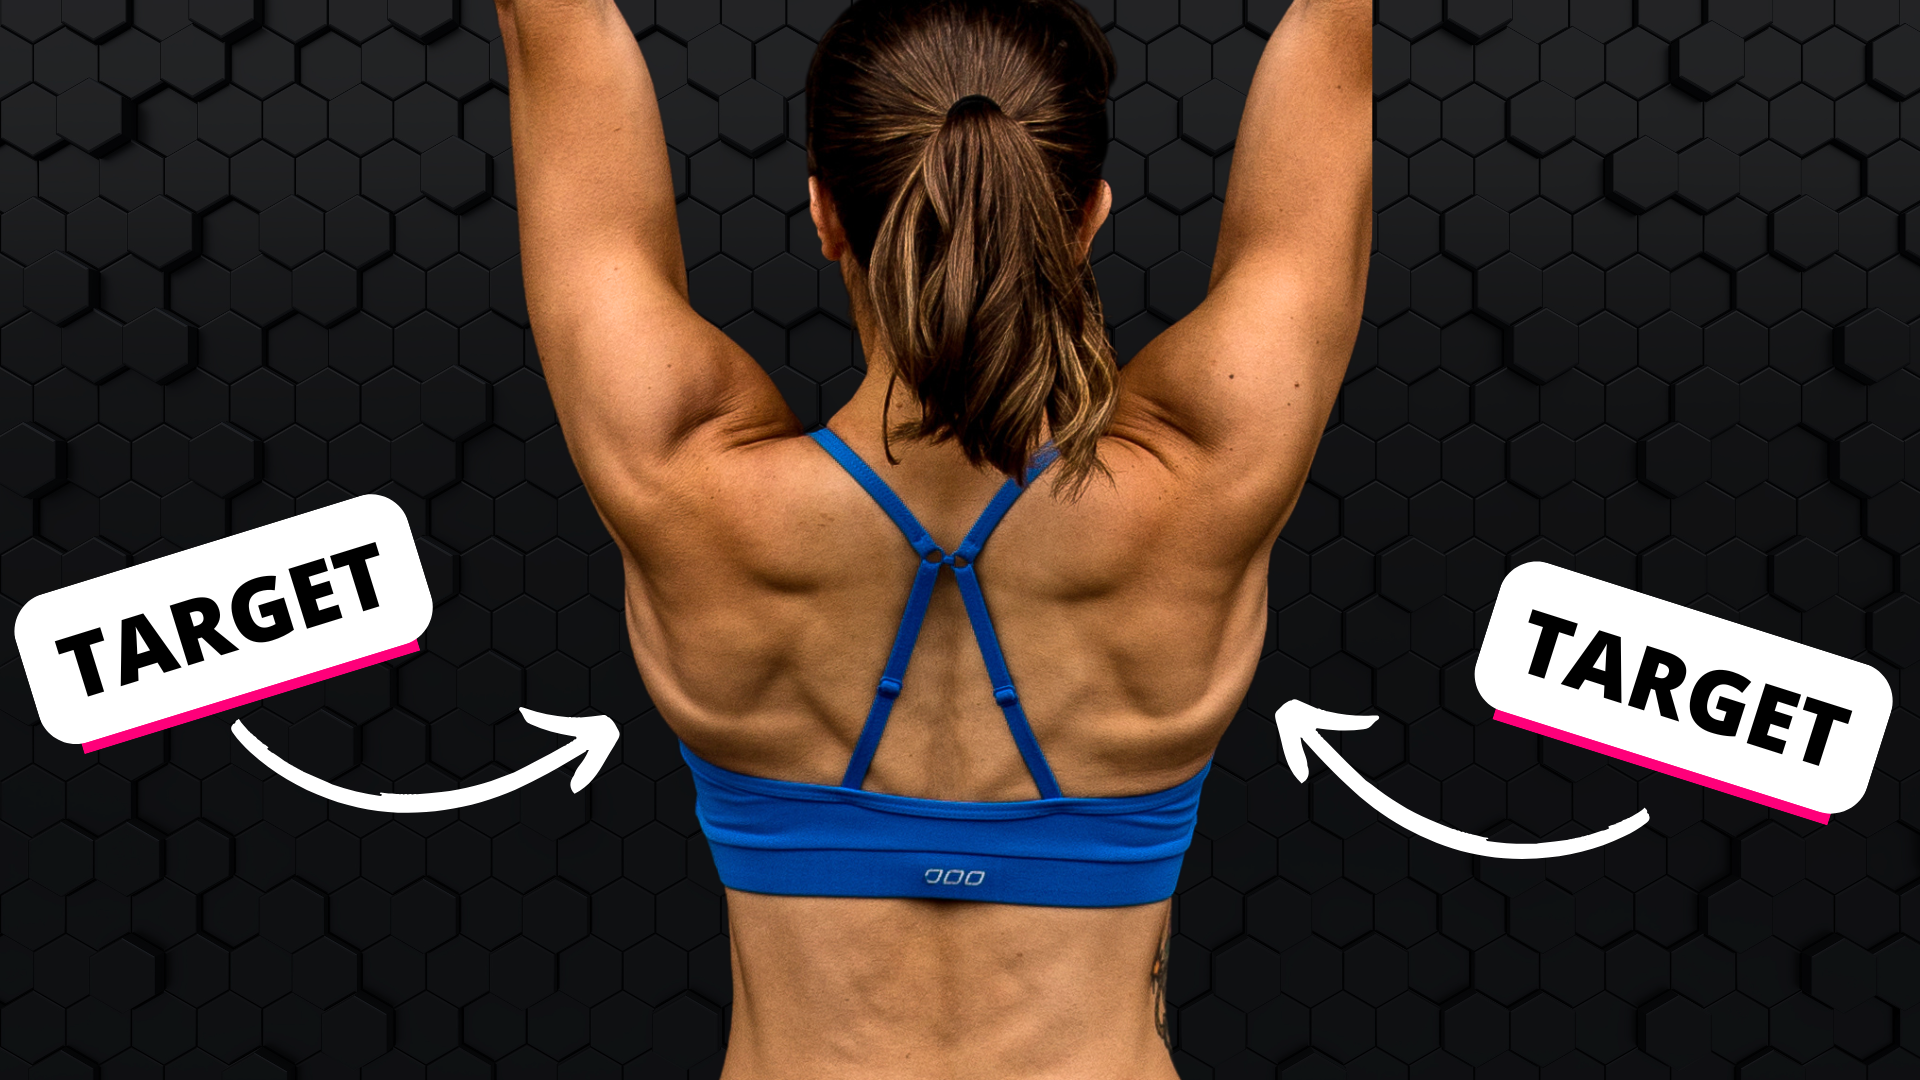
You’ll also find you can really work on that shoulder blade, or scapular, movement, which not only works your back incredibly well to build strength but will even help you improve your pull ups while avoiding neck, shoulder and even elbow pain.
To do this lat pull down, let your shoulder rise as you reach up overhead and stretch your lats, elevating your shoulder blade then drive your elbow down into your side as you pull to feel your shoulder blade move down and back toward your spine.
This stretch and the lateral lat pull that prevents your elbows from flaring targets the lats even better than the traditional wide grip overhand lat pulldown.
You’ll be amazed at how much you really feel it down the sides of your back even while going lighter than you would usually for the two handed lat pulldown!
It’s a killer accessory exercise even for the pull ups if you’re working to improve them while building strength and tone in your back!
Now there are a few variations of this exercise you can do if you are limited on equipment.
The great part is, even this basic variation I’ve gone over already can really be adjusted to any fitness level based on the weight you start with.
And as I mentioned, you can swap a cable for a band or even use the traditional lat pulldown machine with a single handle.
To use the machine, you’ll just sit sideways on the seat.
This version or even a cable or resistance band variation done without the incline bench are all still amazing, but they just don’t create the same stability or isolation that leaning against the incline bench does.
So be conscious that you may want to move your torso more.
While this can allow you to exaggerate the stretch, it can also allow you to compensate and use other muscles, such as even using your obliques more to crunch down or even seeking out mobility from lateral movement of your pelvis.
And while a bonus side crunch for a bit of extra oblique work isn’t bad, and can help you get that full tuck of your elbow in, you want to be careful you don’t turn this into ONLY an oblique exercise.
If you don’t have a bench and are using a band even at home, you can sit on the ground or even perform the move half kneeling.
Half kneeling will again give you more room to move around and may allow you to go heavier than fully seated on the ground will allow you to do. Neither is better or worse, just different.
And while we have to go lighter the more we isolate, the more every ounce of work is being done by the muscles we want to target! And seated on the ground, you’ll be surprised by how much your core is firing to keep you balanced!
I also want to mention a version of this movement pattern you can do at home with just a towel if you don’t really have access to equipment.
It’s called Lying Side Slides.
You can use a slider or towel on hardwood floors or a paper plate on carpet. But you’ll lie on your side with your knees bent and hand on the slider overhead.
You will then pull down on the slider to sit up, feeling your lat power the pull.
This version really cuts out any potential bicep engagement because it is a straight arm pull down, but you do have to be careful not to turn it into an oblique crunch.
But using any of these variations, you can really target each side of your back independently to work those lats.
Just remember that it isn’t just about creating progression in your workouts in just one way! Postures and different positions for movements can really help us target different aspects of muscles to our advantage.
This diversity is so key and helps us strengthen weak links through really isolating the muscles we want to work in different ways!
Want some fun and killer workouts you can do ANYWHERE to help you rock those results?
Check out my Dynamic Strength program!
–> LEARN MORE