4 Common Exercises You’re Doing Wrong
Just because a move is “good,” or a key movement pattern to perform, or something really frequently included as a staple in many routines, doesn’t mean you deserve to do it.
Every movement variation has to be earned.
And doing a harder variation we can’t truly control or utilize to the fullest will actually hold us back. It won’t allow us to get as much out of the exercise and our workouts as doing an “easier” exercise actually could.
Often, if you do a move actually modified to your current needs and goals, you may feel the muscles being worked harder because everything is engaged correctly.
That’s why I wanted to talk about 4 exercises that are often in programming that people aren’t maximizing – 4 moves we don’t fully give them credit for being the challenging exercises they actually are.
And not only do I want to go over the reason to use these moves but the common mistakes I see people making and also the modifications we should be using instead to EARN these harder variations!
Exercise #1: Balance Lunges or Bulgarian Split Squats
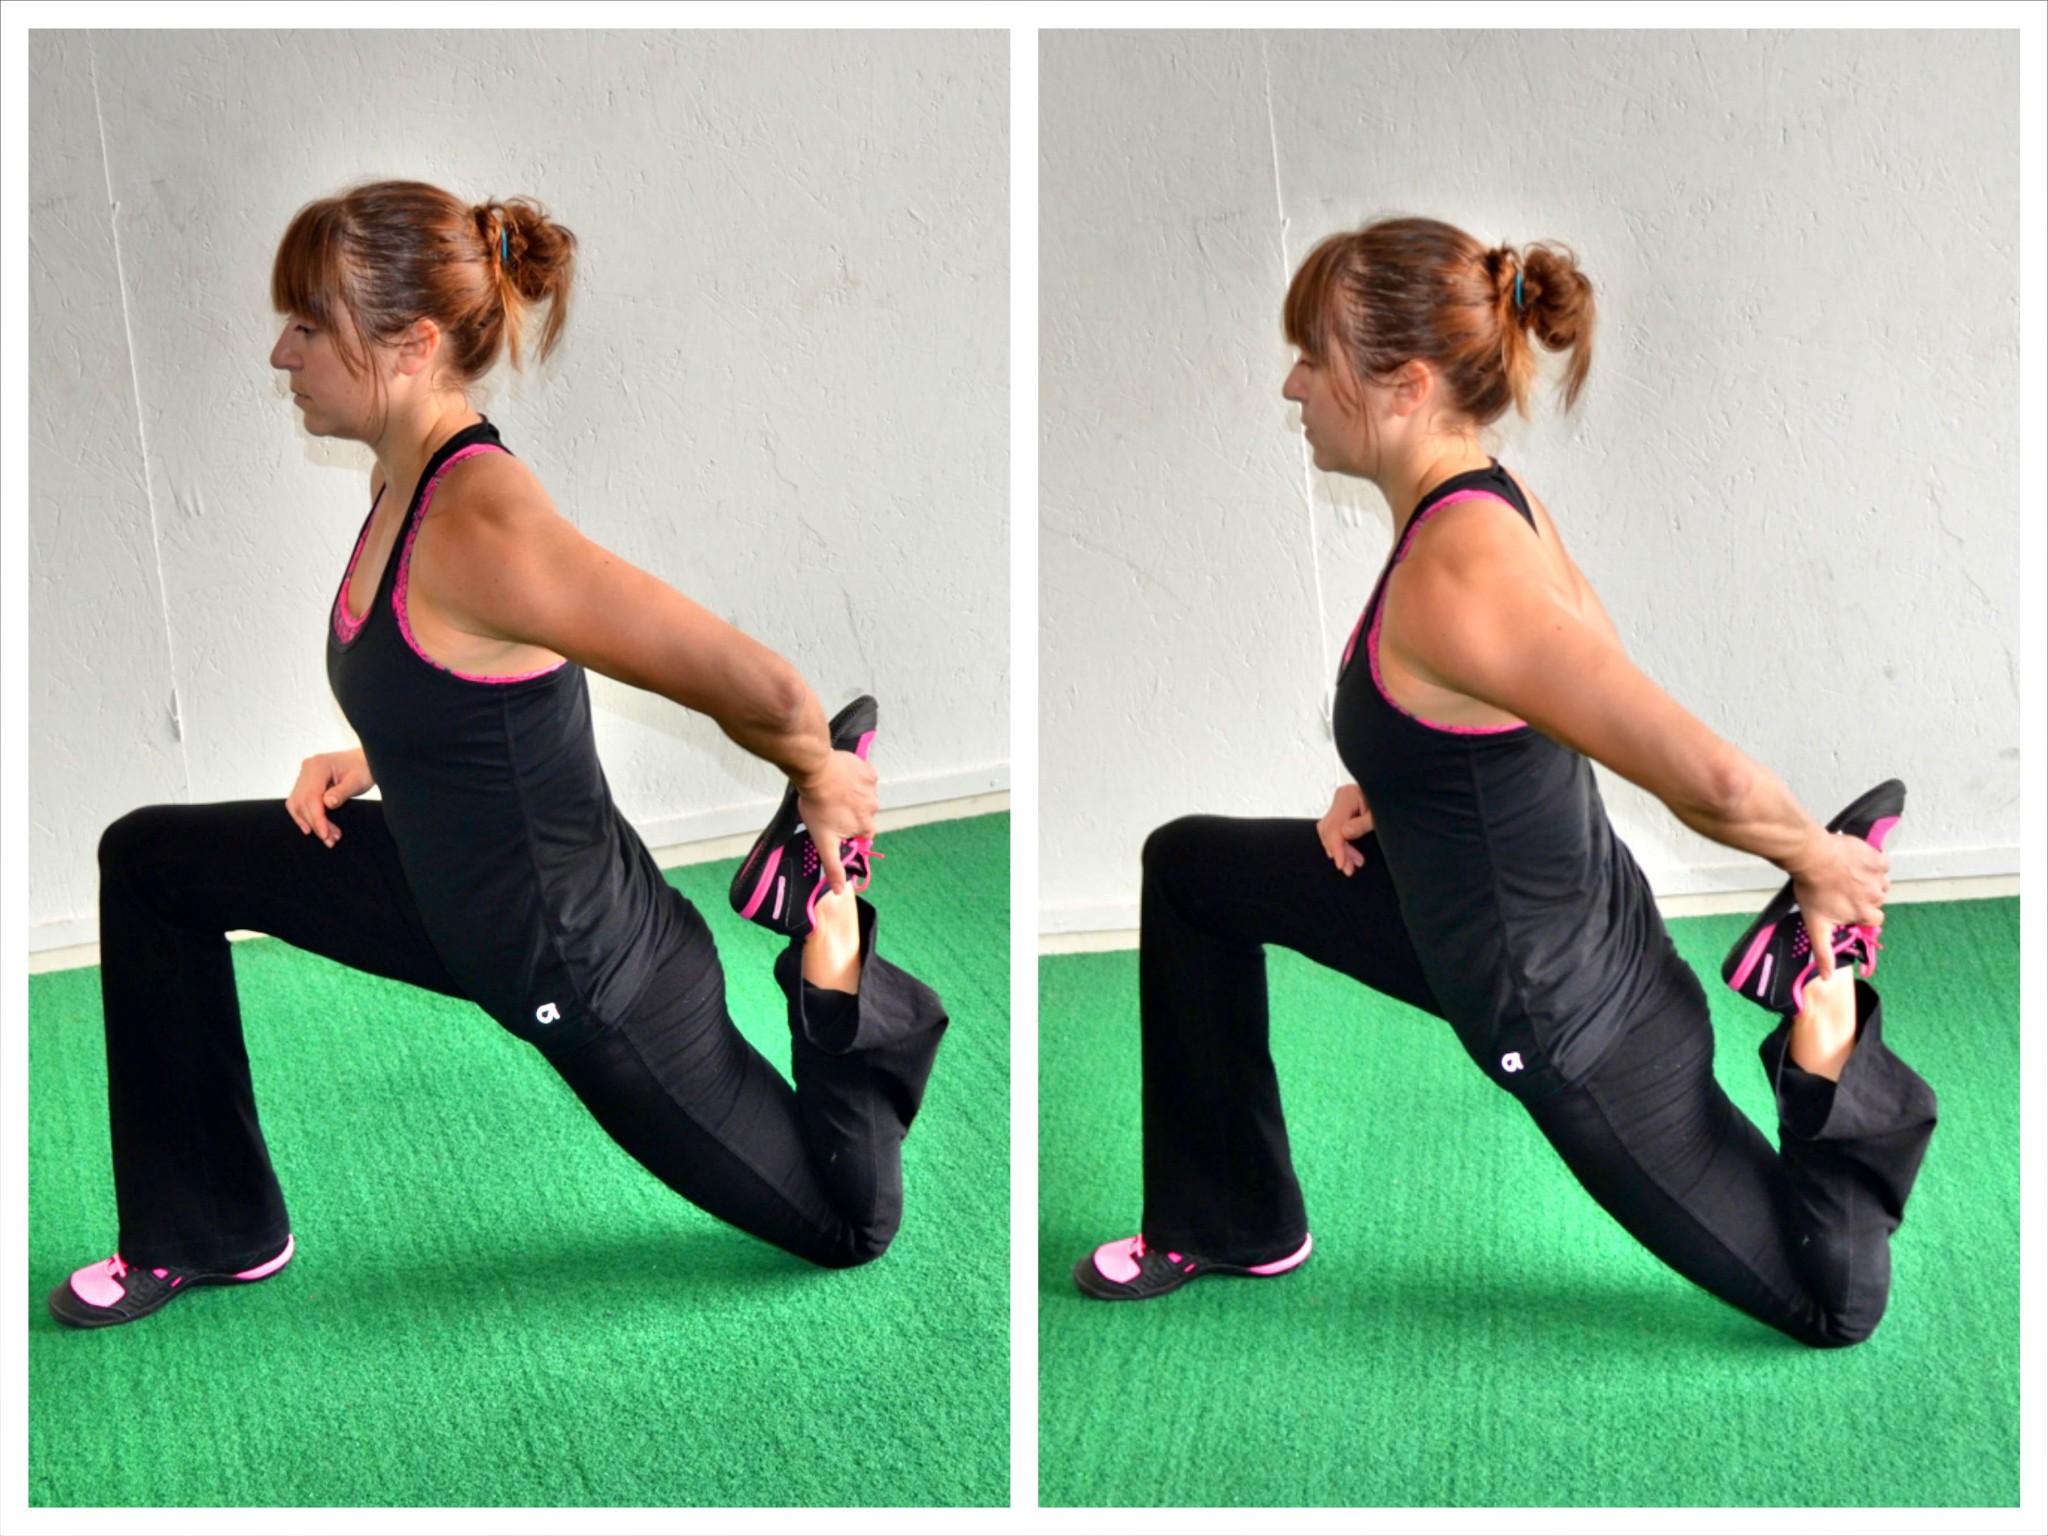
The balance lunge or Bulgarian split squat is an amazing unilaterally-focused leg exercise.
Yet so often we aren’t really getting the true benefit of our back foot being raised up on a bench or in a suspension trainer.
While yes, the automatic instability of raising that back foot up does make it more challenging no matter what, the true point of putting your back foot up is to increase the range of motion you are working through.
Yet so often we place our foot up on something only to repeat the same range of motion we would when doing a split squat off the ground!
Sometimes the range of motion is even smaller actually because we aren’t stable and haven’t yet learned how to control the full split squat movement.
And on top of that, so often because we “can do” the move, we start to even add loads and completely miss out on the full benefit of this variation.
We have to remember that loads are not the only way to progress an exercise.
And that, if you’re going to include the Balance Lunge, you need to make sure you can utilize the increased range of motion. That is what creates the progression and benefit of this movement.
From there you can add loads, change tempos and even use different ways of creating that extended range of motion to adjust instability.
But you need to utilize the full range of motion first.
If you can’t work through the full extended range of motion, you may want to start with a lower bench or box to reduce the mobility and stability demands. Slowly increase the range of motion instead of just jumping to a bench.
You may even find right now you struggle to fully come to the ground during the basic split squat.
If that is the case, start with a basic split squat, even starting the movement from the ground to fully have to learn to control the complete range of motion!
Exercise #2: Double Leg Lowers
Double leg lowers have become an extremely popular ab exercise. But so often we end up feeling our lower backs or hip flexors over really targeting our abs.
In an attempt to correct this and do this harder variation we haven’t earned, we place our hands behind our lower backs and butts.
But this is a band aid. It doesn’t teach us to actually control the ab brace we need so we can build up.
It’s why we may need to regress to progress.
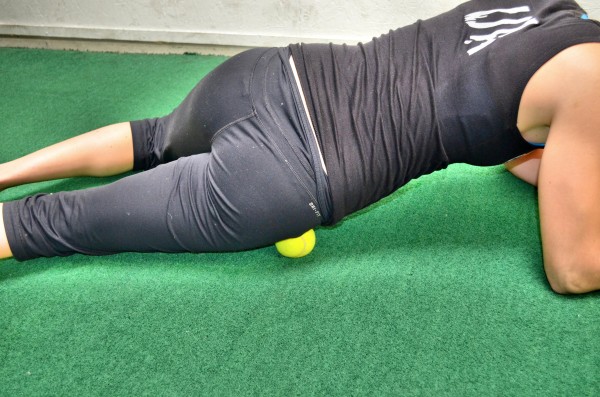
Because leg lower type movements, while they WILL work your hip flexors, are a great way to target that lower portion of the rectus abdominis more or what we often refer to as the “lower abs.”
And knowing how to brace correctly to protect your spine as you flex and extend your hips is also beneficial as you work to improve your heavier lifts!
So if you find your lower back engaging or only your hip flexors working, you can modify the double leg lowers in a few different ways.
But the key is learning to engage your abs using that posterior pelvic tilt.
This is a small movement that engages your abs and glutes.
Think about tilting your pelvis toward your ribs. Hold here as you do any movement in the progression whether it’s a single knee tuck, really taking things back to back to basics, double knee tuck or even single leg lower.
Only progress to the next level if you can maintain that ab brace and not feel your lower back taking over!
And if you do find you fatigue once you’ve built up to the double leg lowers, don’t push through. Instead modify with one of these variations so you can continue to target your abs.
Because we have to remember that the muscles we feel working are the ones getting the “benefit” of the movement. And if the correct muscles aren’t working we may be perpetuating recruitment patterns that lead to overload and injury…not to mention don’t actually work the muscles we want to target!
Exercise #3: Burpee
Love them or hate them, the burpee is often a staple in workout routines.
While many of us do recognize it is hard, it requires a lot more strength and mobility than we recognize.
And because the purpose of the burpee is almost always to be “cardio,” in an attempt to go as fast as possible, the quality of the movement often suffers.
We end up doing the worm during the push up portion. Or shrugging our shoulders in the plank. Or we land with our knees completely straight after performing a half-hearted jump at the top.
And sometimes, in an attempt to modify, we step back, but then to stand up, we end up having to do these stutter steps to bring our feet into our hands because we don’t have the mobility to truly step in far enough.
The burpee is a killer bodyweight move. And if you plan to include it, you need to earn it.
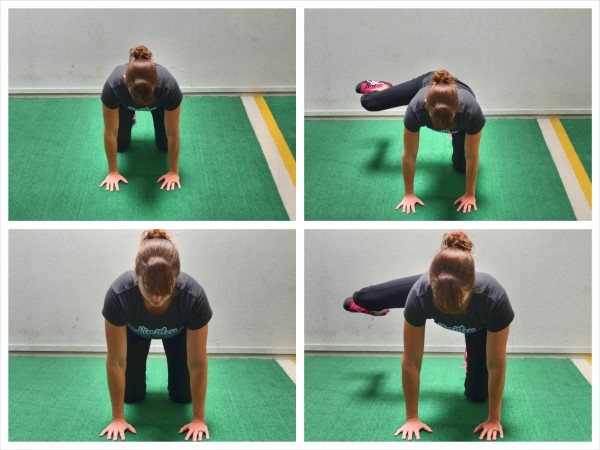
While yes, you can use the step back to reduce impact if you do have the range of motion to control the movement…and while yes, you can take out the push up to modify it as well so you don’t end up doing the worm, if you want to truly build up to that full burpee, try instead using an incline.
If you’ve been working to improve your push ups and build toward that full perfect push up from our toes, you may have been using an incline. And if you aren’t, start!
The incline can be a great way to reduce the load on our upper body and core so we can perform the push up correctly.
The incline also reduces the mobility demands during the burpee. It takes a lot more mobility than we realize to jump back in to efficiently stand up. Because your hands are raised, you need less hip and ankle mobility to jump back in and stand up.
As you feel comfortable with this move and can move quickly while performing quality reps, you can then lower the incline over time!
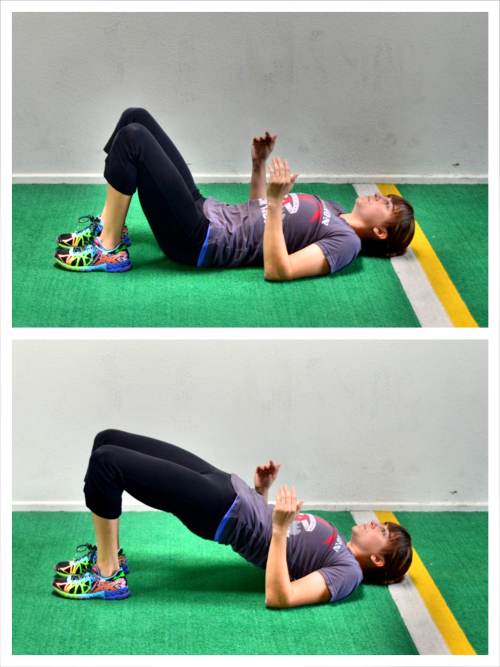
Exercise #4: Single Leg Glute Bridge
The bodyweight glute bridge may seem easy, but it’s a move that is so often done incorrectly. And then so often, before we’ve really earned it, we switch to the single leg glute bridge.
We may try to use the single leg glute bridge to get some unilateral benefits and work each side independently, but we have to recognize that it is a big jump in progression from the basic bodyweight glute bridge.
So before we even try the single leg variation, we need to make sure our glutes are actually powering the basic glute bridge. We don’t want our hamstrings or lower back compensating instead.
We don’t want to barely be able to lift up and trying the single leg variation or arching up super high because we’re hyperextended our lower backs.
A few key cues to help you better engage your glutes during even the basic bodyweight glute bridge are…
1. Before lifting perform the posterior pelvic tilt, tucking your hips toward your ribs. Maintain this throughout the bridge and don’t let your lower back arch to lift up higher.
2. Drive your knees toward your toes as you lift so you don’t push yourself backward and end up using more hamstring.
3. Engage your upper back, bending your elbows to drive your upper arms into the ground so you can focus on that pure hip extension.
Once you can control that basic glute bridge, you can then move into an 80/20 variation. This will allow you to focus more on one side or the other while still having a bit of assistance.
We have to remember that the full unilateral or single leg glute bridge isn’t just us having to lift all the weight on one side, but it is also us having to stabilize our pelvis and balance.
While still a simple move and bodyweight, it is more of an advancement than we give it credit for.
That’s why the 80/20 variation can be a good in-between so we can actually target each side while still working through a full range of motion targeting the glutes.
As you do feel ready to progress, just make sure your hamstrings and lower back aren’t engaging and taking over. This move is powered by your glutes!
SUMMARY:
Every move we include in our workouts should be done with a purpose. And we should only advance moves as we EARN those harder variations.
Sometimes, as much as it can hurt our ego, it is key we regress to progress and build up.
We are never above those basics and, at times, taking things back a step can help us improve any weak links!
Ready to take your training to the next level and dial in your workouts and your nutrition to match YOUR specific needs and goals?
Apply to my 1:1 Coaching. Book your strategy call below…
–> Apply Today

 So if you’re feeling these other muscles engaging and taking over for your glutes, you not only aren’t reaping the benefits of the glute bridge, so may need to change your form, but you’ve also got some compensations you may need to address that could lead to injury!

 A great way to start to set up is to lie on your back and place your feet flat on the ground just beyond your fingertips when your arms are straight down by your sides. If your feet get too far away from your butt, you are more likely to use your hamstrings.
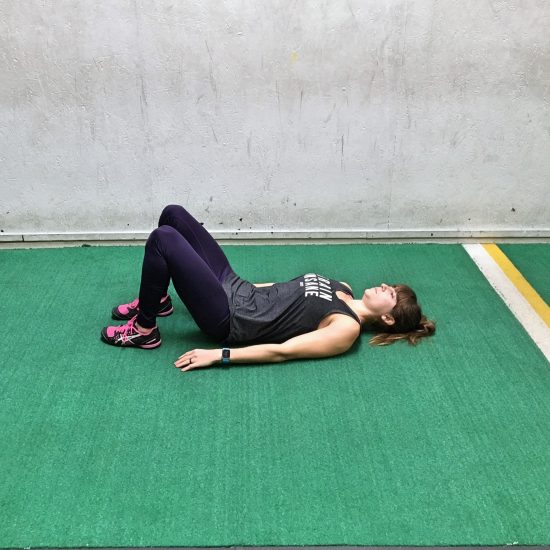 To do the posterior pelvic tilt, set up at the bottom of the bridge with your feet flat on the ground and elbows driving down into the ground too.
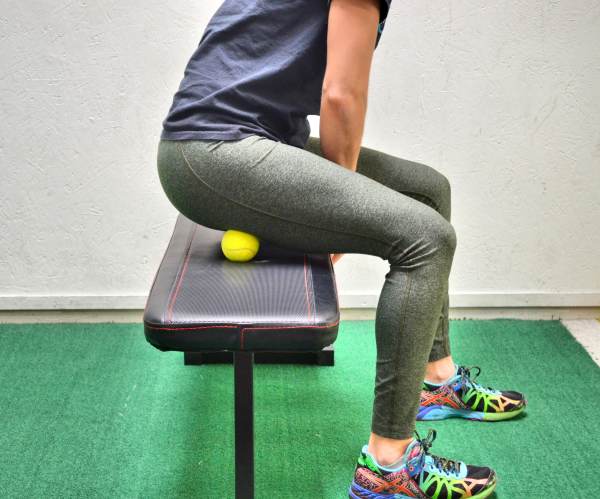
 THEN return to the bilateral move once you’ve established the mind-body connection! (I mention the Fire Hydrant too because sometimes activating the glute medius helps the glute maximus fire better even during moves like the Glute Bridge!)
