Are You Lunging WRONG? 3 Tips To FIX Your Lunge

Are You Lunging WRONG? 3 Tips To FIX Your Lunge

The lunge, in all its many forms, is so often blamed for knee pain.

But moves are only as good as their implementation. And we need to understand there is a difference between going through the motions and mimicking proper form and actually getting the correct muscles working.

Too often we end up demonizing this amazing move instead of learning to properly control it and load muscles correctly.

And that overload is what leads to the pain. When you don’t engage the correct muscles to power the movement can prevent us from seeing the full benefit of all the amazing lunge variations out there.

We don’t take time to see all of the tweaks to form we can make to work around previous injuries, adjust to our specific builds and mobility restrictions not to mention even us variations based on our specific needs and goals.

That’s why I want to share 3 key form cues I use to help client’s get more out of this amazing move while avoiding those common mistakes we often make that lead to aches and pains.

Because we have to remember that form isn’t as binary as we make it out to be. There are so many slight adjustments we can make to get more out of exercises so they fit our needs and goals!


3 Key Cues To Improve Your Lunge Form:

#1: Maintain A More Vertical Shin Angle:

Ever hear someone say “You’re knee can’t go over your toes during lunging.”

This isn’t completely true, BUT we need to understand why this statement came about.

When our knee does travel further forward over our foot, there will be more loading of our quads. This is what, especially if we have previous knee issues or a lack of ankle mobility, can lead to lunges causing knee pain.

So while you can actually INTENTIONALLY preform lunge variations this way to strengthen your quads, you do want to know the drawbacks.

You also want to make sure you have the proper ankle mobility to do this variation while keeping your heel firmly planted on the ground.

Since so many of us struggle to activate our glutes, not to mention lack ideal ankle and even hip mobility, it may be helpful for us to avoid this positioning and instead focus more on maintaining a more vertical shin angle with our front lower leg.

When you maintain that more vertical shin angle, you can actually engage your glutes more and make the move slightly more hip dominant. This can be key to help you avoid overloading your quads and therefore your knees.

It can also simply be a tweak you use to target those glutes more during your lunge work.

So if you struggle with quad dominance and getting your glutes to work, focus on that knee being aligned over your ankle as you lunge, whether doing a static lunge, reverse lunge or even front lunge!

#2: Keep Your Weight Centered:

Too often when we are moving forward or backward in a lunge, we let ourselves actually become off balance which can lead to us overloading the muscles that support our knees.

Even though with lunges you can move in every direction, you want to be conscious to truly keep your weight more centered so you can smoothly push back to standing with no stutter steps.

You want to correctly engage your front AND back legs as they are both working together even if different muscles in each leg are working to different extents.

One of the best ways to help learn how to keep your weight centered is by first making sure you’ve mastered that static lunge or split squat.

To do this move, start half kneeling on the ground with your back knee about under your hip and your front knee over your ankle so your shin is vertical. Push the ball of your back foot and your entire front foot into the ground. Even think about your front foot as a tripod, two points in the ball of your foot and one in your heel.

Squeeze your back glute and make sure to drive through both feet as you push up to standing. Make sure you use that front glute to prevent your front knee from caving in.

Focus on pushing the ground away to stand then controlling that lower down.

You may find you want to shift forward instead of driving straight up, which is often what happens when we add movement to the lunge and creates the knee overload.

So first you must learn to control this static lunge and build mobility to perform it properly BEFORE you progress to adding in more movement.

Regress to progress!

Then as you begin to introduce movement, you can keep the lunges more shallow to focus on that weight being centered. Even implementing a PAUSE at the bottom as you do begin to lunge longer and deeper can be a great way to get to assess where your weight is and correct any shifts.

Remember you have to earn those harder variations. You don’t want to just mimic movements. You want to make sure the correct muscles are working!

#3: Focus On Your Foot’s Connection To The Ground (Back AND Front Feet):

Our feet are our foundation. Instability there creates instability up our entire legs.

That’s why it’s key you start your lunges by focusing on your feet. And not just the foot of your moving leg but both feet to engage the muscles of both legs correctly.

When you move through any lunge, think about that front foot as that tripod as you sink. Drive off your entire foot to stand back up.

Note if you are rocking out or in on your foot or if you find your foot turning in or out. You’ll notice small changes in the muscles you’re using and even your knee alignment.

By really focusing on driving off that entire foot, you’ll better use the muscles of your legs and glutes correctly and even avoid any knee overload. You’ll help yourself keep your weight more centered.

By focusing on your foot’s connection to the ground you can also avoid your knee collapsing in which can be a huge source of knee aches and pains.

And then don’t ignore your back foot as well.

While you may only be on the ball of that back foot, proper tension into the ground can help you better use that glute to drive the hip extension of that back leg.

It can also help you avoid knee pain in that back leg.

If you aren’t conscious you may find that back knee turning out as you rock in toward your back toe. This can overwork the rectus femoris, the quad muscle that not only directly connects to your knee but also your hip, and lead to not only knee but also hip issues.

Being conscious of our feet can help us better recruit the muscles of our lower body. It all starts at that foundation!

SUMMARY:

Focus on what you feel working not just on making the movement look correct. We need those proper recruitment patterns to drive those movement patterns or we put ourselves at greater risk for overload, compensations and injuries.

Use these 3 cues to help yourself avoid knee aches and pains from lunging and get more out of this amazing lower body move!

Working to improve your mobility and stability?

Check out my Injury Prevention Pack!

How To Fix Knee Pain – Do These 4 Moves

How To Fix Knee Pain – Do These 4 Moves

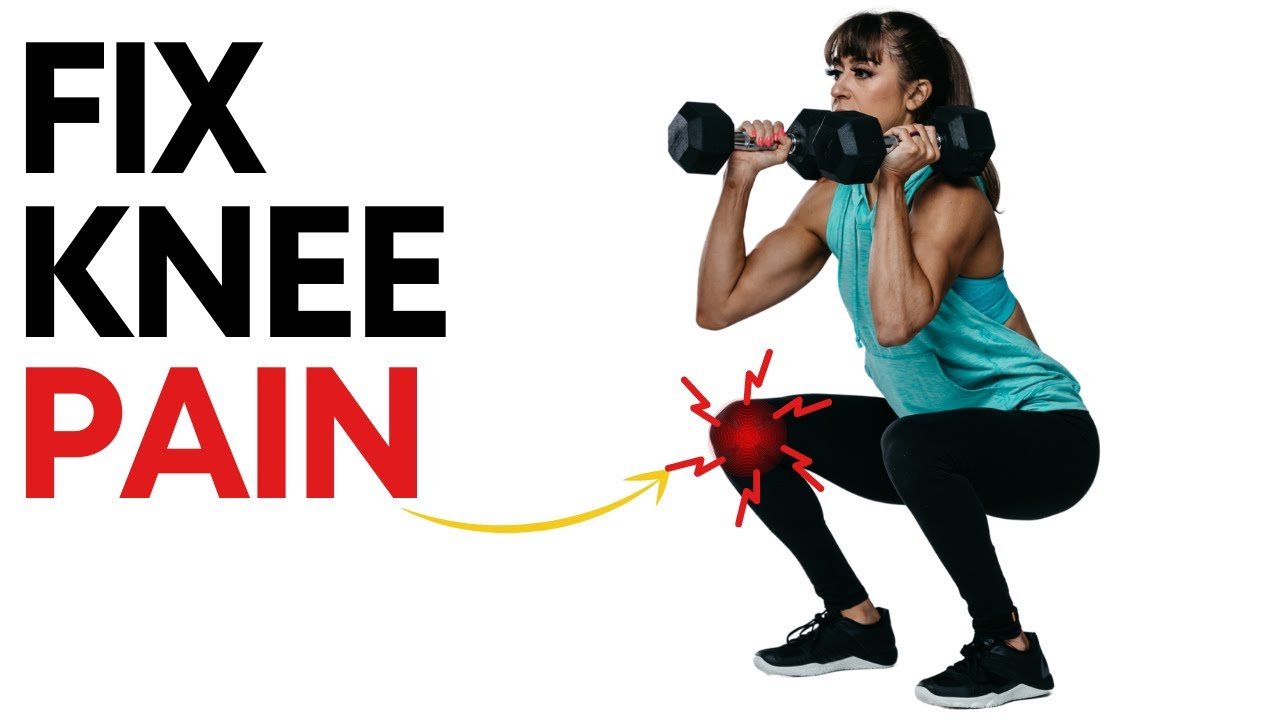
Achy and sore knees are an all too common complaint.

And nagging knee pain can become a daily annoyance.

Knee pain can make walking up stairs or getting down on the ground uncomfortable and difficult.

It can make us fear moves like squats and lunges so much that we simply stop doing them all together.

It can hold us back from training intensely.

Knee pain can cause us to simply no longer enjoy the activities we used to love like running or jumping.

And the worst part is often we’ve done a ton of things to TRY to address the problem.

We’ve focused on all of the muscles right around our knee trying to strengthen everything to improve our knee stability.

But all too often this not only doesn’t provide lasting relief, but it actually BACKFIRES.

So if trying to strengthen the muscles right around your knees isn’t necessarily the answer, what is? How can you get rid of nagging knee pain for good?

First, there are two joints you need to be paying attention to instead of just focusing only on your knees…

Your ankles and your hips!

If there is immobility or instability at either one of these two joints, your knees are going to suffer the consequences.

All too often when we lack mobility in one area, we seek out mobility from another.

So if your ankles aren’t mobile? You’re going to search for mobility from your knees! Mobility your knees really aren’t meant to provide!

And instability at your ankles or hips is what can lead to improper alignment up and down your legs, causing muscles around your knees to even become tight and overworked, further perpetuating your aches and pains!

That’s why I want to share 4 essential exercises with you to address both ankle and hip mobility and stability issues.

 4 Must-Do Moves To Prevent Knee Pain:

Improving your range of motion and stability at both joints can help you avoid perpetuating your knee issues and even alleviate the overload.

#1: Knee-Friendly Ankle Mobility Stretch

Improving your ankle mobility, specifically your ability to dorsiflex or draw your toes up toward your shin can go a long way in preventing knee pain during squats and lunges, not to mention when you run or ride!

Especially if you are suffering from knee pain currently, many ankle mobility drills can be uncomfortable as your knee will travel even past your toes.

That’s when this Knee-Friendly Ankle Mobility Stretch comes in handy.

Because the ball of your foot is up on a block or weight, you’ve put your ankle into dorsiflexion before you even shift your weight forward.

Most ankle mobility moves require your knee to move past your toe for the full range of motion.

But because of this starting position, your knee doesn’t have to travel forward that much for a full range of motion.

This can help alleviate some pressure on your knees as you work to improve that ankle mobility.

Keeping your heel on the ground with the ball of your foot up, shift your weight forward as much as you can. If your heel starts to lift, you’ve gone too far.

Then shift back and repeat.

#2: Single Leg Toe-Raised Calf Raises

It’s key you activate any weak or underactive muscles if you want to maintain the range of motion you are working hard to build.

If you don’t establish the mind-body connection to those muscles?

You are just going to keep perpetuating the same patterns of overuse, leading to your knee pain.

Having mobile, but also STABLE ankles is key if you want to avoid injury.

That’s why it’s key after you do any mobility work that you do activation moves to strengthen weak muscles and work to maintain that range of motion.

And especially if you’ve ever had issues on just one side, you want to address the imbalance with imbalanced prehab. Which may even mean doing this move on only one side or more reps on one side at least.

I recommend having your hands on a wall or something to help you balance so you can focus not only on driving off the entire ball of your foot for the calf raise, but also so you can focus on dorsiflexing your foot as much as possible as you move to your heel.

Make sure to move slowly lifting your toes toward your shins to sit back on your heel before lowering your foot to the ground to press up onto the ball of your foot. Do not just rock and use momentum.

You can also do this as a bilateral move instead if both sides need equal attention.

#3: TFL Foam Rolling

The TFL or tensor fasciae latae is a hip flexor muscle that is a common culprit of not only hip pain, but also knee and even ankle pain.

This muscle can have a far reaching impact because of it’s connection to the knee through the IT Band.

So if you’re a runner who’s had IT Band or knee issues, you need to include this move as part of your warm up!

When the TFL becomes overactive and tight, it can also try to compensate and work when your glute medius should actually be the prime mover. This perpetuates what has been called gluteal amnesia.

It can inhibit your glute medius from working correctly to support and stabilize your hip, which can also lead to further knee issues.

This simple foam rolling move is key to use even before a glute medius activation exercise as it will help you relax the TFL so it isn’t as likely to try to engage and take over.

Place a ball in the lateral side of your hip and lie slightly propped up on your side with the ball pushing in toward your hip socket.

Relax as you hold. To help the muscle relax and release itself, lift and lower your leg to tense and relax the muscle.

You can prop yourself up more or fully lie over the ball depending on how much pressure you want to create. Make sure you can actually relax as you hold. You don’t want to tense against the pressure.

You may even find standing to hold against the wall is better pressure to start.

#4: Extended ROM Side Lying Leg Raises

Improving your hip stability will help protect your knees. That’s why it is key you include moves to activate your glute medius.

The glute medius is a key hip stabilize, not to mention strengthening it will help prevent your TFL from becoming overworked!

Because a tight and overworked TFL can cause hip internal rotation and external tibial rotation, it can lead to our knees caving in during things like squats.

It can cause tracking issues so that your hips, knees and ankles aren’t all in proper alignment during even exercises like lunges.

Basically, it can lead to movement patterns that end in knee pain.

By strengthening your glute medius, you can prevent this improper movement pattern.

And that’s why moves like side lying raises or abduction exercises are so key.

By lifting this basic move off the ground to perform it on a bench instead, you can allow yourself to work through a bigger range of motion to strengthen the glute medius. This is even a great way to progress that basic move from the floor without adding loads.

Just be conscious you do actually feel your glute medius working and not your TFL taking over.

A great way to help avoid your TFL compensating is to turn your toe down toward the ground as you lift or even kick slightly back.

The internal tibial rotation can help inhibit the TFL while the kick back can slightly engage the glute maximus.

SUMMARY:

Using these four moves you can improve your ankle and hip mobility and stability to help prevent your knee from suffering the consequences of issues at these other two joints!

You can choose to include one or two of these in your warm up routine or combine all four for a quick mobility series. Even just 1-2 rounds through working for 30-45 seconds per move or side can go a long way!

Ready to say “Bye bye” to aches and pains? Check out my Injury Prevention Bundle.

Do the prehab work DAILY to keep those aches and pains away!


Activation Exercises – Building the Mind-Body Connection to Avoid Pain and Get Stronger

Activation Exercises – Building the Mind-Body Connection to Avoid Pain and Get Stronger

I’m constantly asking clients during sessions, “Where do you feel this?” “What do you feel working?”

I ask these questions for a couple of different reasons.

One, I want them to focus on the correct muscles activating and working to make sure they are getting the most out of the move.

And two, I want them to build their mind-body connection so they can actually get stronger and more efficient with the movements.

Because, amazingly, just because someone has good form doesn’t mean they are actually activating the correct muscles and forcing them to work.

You would be amazed and surprised by how many people lack a real mind-body connection – a real awareness of what muscles should be working and activating.

Heck, many people can’t even get the correct muscles working and isolated during movements.

Yet they are all out there working out, adding a little more weight or doing a few more reps.

And then they wonder why they aren’t getting stronger. Why their pull ups aren’t getting better. Why they constantly have aches and pains in areas that shouldn’t really be getting as worked as they are.

It’s all because they haven’t established a proper mind-body connection – it’s because they’ve skipped the Activation Step.

(more…)

Dealing With Knee Pain – Keep your legs strong and mobile

Dealing With Knee Pain – Keep your legs strong and mobile

Knee Pain can be a complicated issue to resolve because there are so many culprits that could be responsible. Since the knee is in between both the feet and ankles and the hip, dysfunction in either place could refer and lead to pain in the knee.

Dysfunction in the hip or in your feet and ankles could lead to muscular imbalances that then cause improper tracking and function of the knee joint. And if the knee then starts to move incorrectly, further problems could then occur up and down your body.

For instance, muscular imbalances could lead to knee valgus aka when your knees cave in. If your knees cave in, not only can your knees start to hurt but so can your feet, ankles, hips and low back. And pain in your lower body could then even lead to dysfunction in your upper body.

Therefore it is important to address all of the issues that could be leading to your knee pain above and below the joint so that Knee Pain doesn’t become pain everywhere.

To correct the muscular imbalances and address all the issues leading to your knee pain, you need to follow our 4 Steps to Prevent and Alleviate Aches and Pains – Foam Rolling, Stretching, Activation and Strengthening.

All 4 Steps must be included to help you prevent and alleviate your Knee Pain for good. Including only one step may help a little, but it won’t truly resolve the problem.

So correct your imbalances and start alleviating your knee pain today with the 4 Steps below.

(more…)