FHP 336 – STOP OVERCORRECTING

FHP 336 – STOP OVERCORRECTING

Overcorrecting… 

You know when you’ve done too much of something so in an attempt to “correct” the situation you almost go overboard the other way?

Yaaaa we’ve all been guilty of it when it comes to our diet…and even our workouts….

We go on vacation. Eat “too much” on a weekend day….

So to “make up” for the overindulgence, we seek out a cleanse or try to cut our calories extra low or try to do extra cardio to burn everything off.

And I get this logic.

Trust me I do…It was my logic for the longest time.

Eat too much?

Eat less the next day and do extra cardio so the calories average out and you create more of a deficit to make up for the surplus.

Because we know that weekly, monthly, yearly averages add up.

So in theory, eating too much one day should mean eating less the other day to “make up” for it.

But it’s not that simple and that binge/restrict mentally becomes a horrible cycle.

Honestly the biggest issue is that we are telling ourselves that we are “bad” and should feel “guilty” for enjoying life and having fun.

We then PUNISH ourselves the next day.

Sure if you’re not as hungry, which you may not be after a cheat or calorie surplus, LISTEN TO YOUR BODY.

But don’t consciously restrict extra to make up for it.

Honestly, if you want the best way to move forward after a vacation or “cheat day?”

Just get right back to those healthy habits the next day.

Don’t do anything more.

JUST MOVE FORWARD.

I think the biggest mindset shift we need to have is realizing…There is nothing to correct.

You just need to get back to it.

And trying to restrict more, do extra, to make up for it leads to an overcorrection that all too often sabotages our results long term.

The more you try to restrict, often the more you mentally rebel. No one likes feeling like they’re being punished.

So stop the guilt. The restriction as punishment for having fun.

Realize it’s all a balance.

Enjoy the day and then move forward back at those healthy habits without guilt!

What we do consistently really adds up. And creating something sustainable is ultimately about our MINDSET!

To help you get right back on track, here are 3 tips:

#1: Have a plan and food prepped!

If you’re going on vacation, just know exactly what you plan to do when you come back. Have meals prepped and frozen. Or even have groceries purchased and frozen for quick prep.

But know exactly what you’re going to do to get right back on track.

Having that plan of action can help us bounce right back.

Not to mention when we almost PLAN to enjoy or know how we are planning to handle those times we may not be as consistent, it makes it so much easier to jump right back into those healthy habits. 

#2: Have “comeback” ratios.

While we want to avoid anything to punish ourselves, it can be good to have ratios you “feel” like you get faster results on. This can help you jump back in to see results quickly while also not doing something in “retaliation” against yourself.

The faster we do get right back into the swing of things, the more we can minimize any “damage” that may be done.

It can help us not feel guilty and maintain that positive mindset to move forward.

So think about those ratios you feel the best on. That you FEEL like you get great results on. It may be the mental “security” you need to feel like you can strike that balance and enjoy but also know you’re going to be able to move forward with no worries!

For me these are often slightly more “cut” ratios so I can feel like I didn’t miss a beat but I also still feel fueled and fabulous and not like I’m being punished.

#3: Admit to the mindset.

Too often I think we have gotten so in the habit of something, we don’t even realize what is driving us to do it.

We don’t even realize we are overcorrecting when we are restricting the next day or wanting to slash our carbs lower or fast when we don’t normally. 

We don’t realize the mindset driving us to do these things.

So I think it is good, when we find ourselves wanting to do “more,” to question what is driving our actions.

Is this because we just truly want to experiment and find a balance? Is it just us testing new things as we get everything dialed in?

Or is it that we feel “guilty” and want results faster….even knowing we can’t out exercise or out diet time truly?

Questioning our motives can be good when we’ve found ourselves in that slight binge/restrict mindset…when we know we feel guilty for eating off plan.

We want to constantly be assessing so we can learn and grow!

SUMMARY:

Use these 3 tips to help yourself avoid overcorrecting and instead just keep moving forward.

We have to remember we’re never really starting over in life…we’re just moving forward and learning as we go!

FHP 335 – You Don’t Get Something For Nothing

FHP 335 – You Don’t Get Something For Nothing

Results aren’t owned. They’re rented. And rent is due every freaking day.

It’s due in the form of those habits.

Because we can never stop doing what made us “better.”

I know we want our cake and to eat it to, but you don’t get something for nothing.

Results are truly earned.

Earned by those boring, tedious habits you have to do day in and day out.

The hard stuff you don’t want to do.

I bring this up because I feel like so much in the diet and exercise industry is marketed as being EASY – a quick fix.

But nothing is ever easy, especially to start.

You don’t get something for nothing – change requires change.

So, for instance, as much as I believe tracking macros is the best way and becomes easy to do over time, I also know that NO CHANGE IS EVER FULLY EASY no matter how much it may be “easy” once you’ve done it.

That’s why I wanted to share 3 tips to help you embrace those changes and break things down. Because we sometimes have to break down those changes to help allow ourselves to get started!

3 Tips To Help You Embrace Those Changes:

Tip #1: Admit It’s Going To Be Hard

Honestly, I think too often we try to help ourselves get started by doing the opposite of what we should actually do.

We tell ourselves it is going to be “easy” in an attempt to make it feel less intimidating.

But this mindset almost backfires on us when it’s…well…NOT easy.

If we instead admitted that the change was going to be hard, that we were going to have to work at it and even SUCK AT IT to start?

Well when it’s not as bad as we thought, it actually can be easier to keep on pushing through the challenges.

We’re managing our expectations. And often giving that “worst case scenario” lowers our barriers or defenses enough for us to get out of our own way and embrace the changes.

Tip #2: Start With The EASIEST Thing

I’ve always felt like I am an all or nothing person, and in many aspects of life I am. But I also feel we use this as an excuse to not make a change immediately.

We allow ourselves to try and wait for the “perfect” time or to give up if we can’t give 100% to what we are doing. 

But often the best results happen from just starting. And to start, sometimes we need to do something easy to get the momentum building.

So if you’ve ever had those times where you start, get overwhelmed then give up or start, feel so restricted you give up, start with something SMALL.

Heck start with the easiest thing you can just to get the ball rolling.

It’s easier to build when you’re in a positive mindset and feeling GOOD about the changes. It’s easier to build when something feels like it could be sustainable!

Tip #3: Understand You’re Not Entitled To Anything

I think often when we’re working hard we feel ENTITLED to results…at least I know I do.

And then I get frustrated when it doesn’t feel like the results match the effort.

But you aren’t entitled to anything. Everything is earned and often the best things take far longer than we’d like.

Even once you’ve reached your goals, you’ve got to KEEP earning them. You aren’t just entitled to them because you worked hard at one point.

Remembering that there will always be effort, always be adjustments, always be ups and downs is key.

And while it sucks that hard work doesn’t guarantee anything, getting in that mindset that everything is earned can help us stay focused on those small daily habits that do build.

It can even help us create that focus on building a healthier version of our lifestyle so we can be in it for the long haul over trying to hit someone else’s standards of what we need.

And it can even help remind us that success is rented not owned. That we can NEVER stop doing what made us better.

SUMMARY:

As much as I’d love to tell you that change is easy, it often isn’t. And we can’t expect results without putting in the work, often for far longer than we’d like.

You don’t get something for nothing!

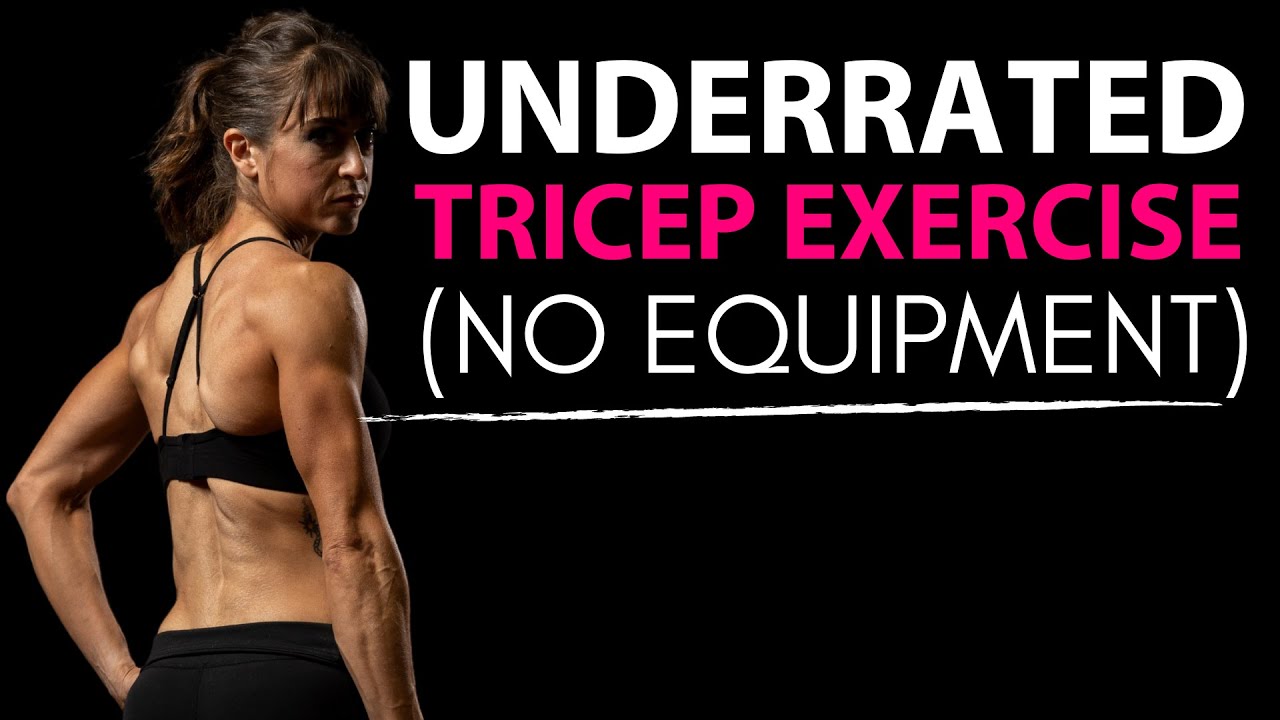
The Best Bodyweight Tricep Exercise (NO EQUIPMENT)

The Best Bodyweight Tricep Exercise (NO EQUIPMENT)

If you want to build muscle, you want to use a combination of compound and isolation movements in your workout routine, especially for any “stubborn” areas you really struggle to build.

Those isolation exercises can be key to create the additional stimulus we need to build muscle, especially in more advanced exercisers.

But what if you don’t have any equipment to use to help you target and challenge those areas?

How can you target muscles, like your triceps, without any tools?

Whether you’re training at home, while you travel or even if you simply want to mix up your workouts with some bodyweight moves, I want to share with you one of my favorite bodyweight exercises to target those triceps.

This exercise not only allows you to work each side independently, to correct any imbalances, but is also safer for your shoulders than traditional bench dips, which are often our go-to tricep isolation move.

While I don’t think we should just demonize dips off a bench, and there are definitely times I not only include them personally, but even with clients, I think it is also key we note their drawbacks.

When we know when and how to use a move correctly, we can not only get better results, but even avoid injury and overload.

With bench dips, if you’ve had shoulder aches and pains, this move may not be right for you especially.

While they can be a great way to target those triceps without any tools, as you can even do them off a coffee table or chair, they can put more strain on your shoulders due to the anterior humeral glide or the forward movement of your shoulder in the socket during the lower down.

That is why I love to use Tricep Push Ups as often as possible instead.

This movement is much safer for the shoulders and allows you to target each side independently to correct any imbalances between sides.

To do the Tricep Push Up, lie on your side with your legs out straight or bottom knee bent. If you bend both legs it will make it harder. 

Wrap your bottom arm up and around your so you can’t use this hand to assist. Place your top hand down on the ground at about shoulder height or right below.

The lower down toward your belly button you place your hand, the harder the move will be.

Then press the ground away with that hand on the ground, feeling your tricep work to push your upper body up and extend your elbow. Press up until your arm is extended and then lower back down to the ground.

Keep yourself on your side as you press and lower. Your chest may slightly rotate toward the ground as you press, but make sure you really focus on the back of your arm working.

Repeat, pressing up again until your arm is fully extended. Adjust your hand placement or your legs so you can press and stay under control.

Do not let your legs flop around and make sure to drive the movement with your tricep instead of just trying to use your obliques to bend to the side.

To modify this move you can push off a wall or incline, such as a bench, instead of pressing fully from the ground.

To advance the move you can also change up the tempo, slowing down tempo of the press ,even pausing briefly before touching back down to the ground.

SUMMARY:

The best muscle building results happen when we combine compound and isolation exercises together.

For a killer burner using both, try finishing your workout with a close grip push up and tricep push up compound set. Go back and forth between the two moves for 2-3 minutes, completing 5-10 reps of each back to back. If you find you can’t completely 5 reps solidly in a row, you’re done even if time isn’t up.

Are You Lunging WRONG? 3 Tips To FIX Your Lunge

Are You Lunging WRONG? 3 Tips To FIX Your Lunge

The lunge, in all its many forms, is so often blamed for knee pain.

But moves are only as good as their implementation. And we need to understand there is a difference between going through the motions and mimicking proper form and actually getting the correct muscles working.

Too often we end up demonizing this amazing move instead of learning to properly control it and load muscles correctly.

And that overload is what leads to the pain. When you don’t engage the correct muscles to power the movement can prevent us from seeing the full benefit of all the amazing lunge variations out there.

We don’t take time to see all of the tweaks to form we can make to work around previous injuries, adjust to our specific builds and mobility restrictions not to mention even us variations based on our specific needs and goals.

That’s why I want to share 3 key form cues I use to help client’s get more out of this amazing move while avoiding those common mistakes we often make that lead to aches and pains.

Because we have to remember that form isn’t as binary as we make it out to be. There are so many slight adjustments we can make to get more out of exercises so they fit our needs and goals!


3 Key Cues To Improve Your Lunge Form:

#1: Maintain A More Vertical Shin Angle:

Ever hear someone say “You’re knee can’t go over your toes during lunging.”

This isn’t completely true, BUT we need to understand why this statement came about.

When our knee does travel further forward over our foot, there will be more loading of our quads. This is what, especially if we have previous knee issues or a lack of ankle mobility, can lead to lunges causing knee pain.

So while you can actually INTENTIONALLY preform lunge variations this way to strengthen your quads, you do want to know the drawbacks.

You also want to make sure you have the proper ankle mobility to do this variation while keeping your heel firmly planted on the ground.

Since so many of us struggle to activate our glutes, not to mention lack ideal ankle and even hip mobility, it may be helpful for us to avoid this positioning and instead focus more on maintaining a more vertical shin angle with our front lower leg.

When you maintain that more vertical shin angle, you can actually engage your glutes more and make the move slightly more hip dominant. This can be key to help you avoid overloading your quads and therefore your knees.

It can also simply be a tweak you use to target those glutes more during your lunge work.

So if you struggle with quad dominance and getting your glutes to work, focus on that knee being aligned over your ankle as you lunge, whether doing a static lunge, reverse lunge or even front lunge!

#2: Keep Your Weight Centered:

Too often when we are moving forward or backward in a lunge, we let ourselves actually become off balance which can lead to us overloading the muscles that support our knees.

Even though with lunges you can move in every direction, you want to be conscious to truly keep your weight more centered so you can smoothly push back to standing with no stutter steps.

You want to correctly engage your front AND back legs as they are both working together even if different muscles in each leg are working to different extents.

One of the best ways to help learn how to keep your weight centered is by first making sure you’ve mastered that static lunge or split squat.

To do this move, start half kneeling on the ground with your back knee about under your hip and your front knee over your ankle so your shin is vertical. Push the ball of your back foot and your entire front foot into the ground. Even think about your front foot as a tripod, two points in the ball of your foot and one in your heel.

Squeeze your back glute and make sure to drive through both feet as you push up to standing. Make sure you use that front glute to prevent your front knee from caving in.

Focus on pushing the ground away to stand then controlling that lower down.

You may find you want to shift forward instead of driving straight up, which is often what happens when we add movement to the lunge and creates the knee overload.

So first you must learn to control this static lunge and build mobility to perform it properly BEFORE you progress to adding in more movement.

Regress to progress!

Then as you begin to introduce movement, you can keep the lunges more shallow to focus on that weight being centered. Even implementing a PAUSE at the bottom as you do begin to lunge longer and deeper can be a great way to get to assess where your weight is and correct any shifts.

Remember you have to earn those harder variations. You don’t want to just mimic movements. You want to make sure the correct muscles are working!

#3: Focus On Your Foot’s Connection To The Ground (Back AND Front Feet):

Our feet are our foundation. Instability there creates instability up our entire legs.

That’s why it’s key you start your lunges by focusing on your feet. And not just the foot of your moving leg but both feet to engage the muscles of both legs correctly.

When you move through any lunge, think about that front foot as that tripod as you sink. Drive off your entire foot to stand back up.

Note if you are rocking out or in on your foot or if you find your foot turning in or out. You’ll notice small changes in the muscles you’re using and even your knee alignment.

By really focusing on driving off that entire foot, you’ll better use the muscles of your legs and glutes correctly and even avoid any knee overload. You’ll help yourself keep your weight more centered.

By focusing on your foot’s connection to the ground you can also avoid your knee collapsing in which can be a huge source of knee aches and pains.

And then don’t ignore your back foot as well.

While you may only be on the ball of that back foot, proper tension into the ground can help you better use that glute to drive the hip extension of that back leg.

It can also help you avoid knee pain in that back leg.

If you aren’t conscious you may find that back knee turning out as you rock in toward your back toe. This can overwork the rectus femoris, the quad muscle that not only directly connects to your knee but also your hip, and lead to not only knee but also hip issues.

Being conscious of our feet can help us better recruit the muscles of our lower body. It all starts at that foundation!

SUMMARY:

Focus on what you feel working not just on making the movement look correct. We need those proper recruitment patterns to drive those movement patterns or we put ourselves at greater risk for overload, compensations and injuries.

Use these 3 cues to help yourself avoid knee aches and pains from lunging and get more out of this amazing lower body move!

Working to improve your mobility and stability?

Check out my Injury Prevention Pack!