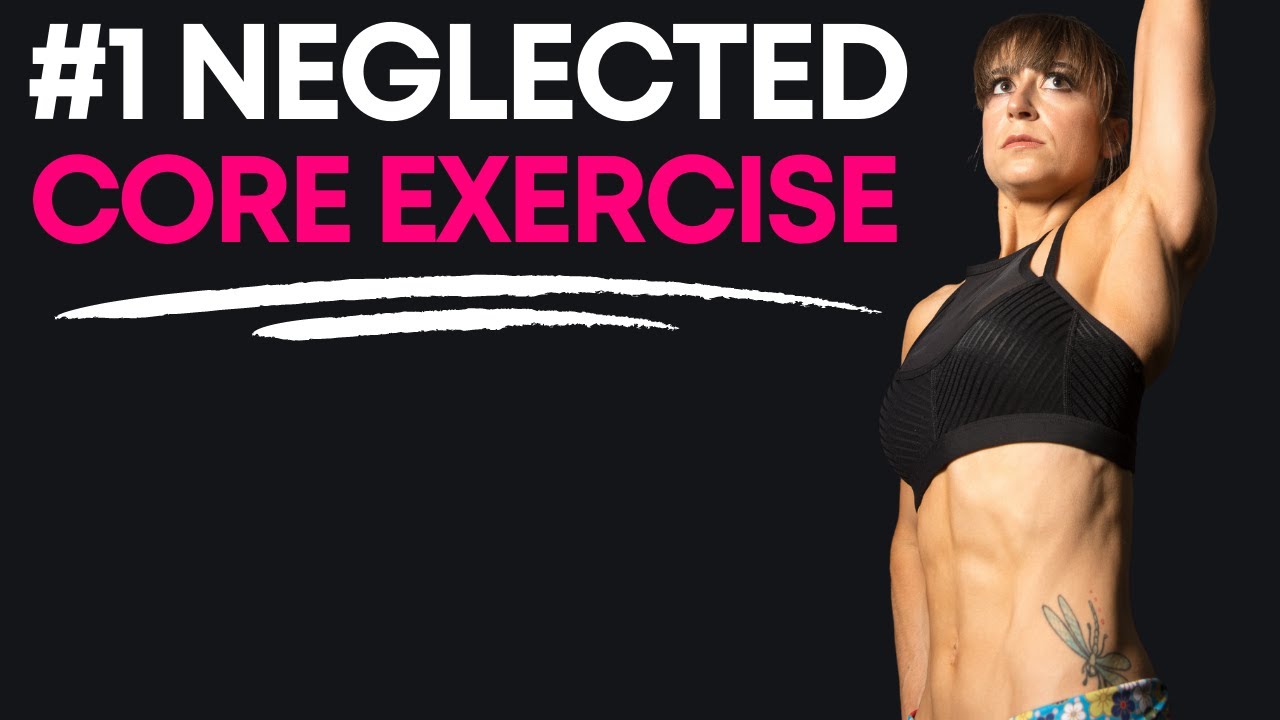
The Best Core Exercise You Aren’t Doing
Your core is everything from your shoulders to your knees down your frontside and your backside.
And when you train your core you want to work in every plane of motion, including both anti-rotational and rotational core work.
You want to consider not only how to create a stronger core, but also a better mind-body connection to stabilize and support your shoulders, spine, pelvis, hips and knees.
And that is why I love this amazing core move the SIT THRU!
Now this move looks slightly odd and can feel awkward and complicated to start, it also requires more stability and mobility than we realize.
But it is an amazing move to work on your rotational core strength, targeting your abs and obliques while also improving your hip and shoulder mobility and stability. You’ll feel this move working the muscles around your ribs, your shoulders and arms as well as your quads.
It requires no equipment to do as well and can even be a great way to get your blood pumping, making it a fun move to even use as additional core work in an interval cardio workout.
Plus the basic Sit Thru can so easily be combined with other moves to match your needs and goals, whether it’s performing it as a Burpee Sit Thru, Crawl with Sit Thru or even Sit Thru to Thoracic Bridge!
So how do you do this amazing basic Sit Thru move and what if you aren’t yet ready for the full variation?
How To Do The Sit Thru:
To do the Sit Thru, start on your hands and knees with your hands under your shoulders and your knees under your hips. Tuck your toes under and press up onto your hands and toes or balls of your feet.
This is a bulldog position and your knees should be hovering a few inches off the ground.
Lift one foot to kick under your body as you rotate to face that way. As you bring your leg forward and through, extending it out, lift your hand on the side you’re kicking toward so you can rotate your chest open.
You will be supporting yourself with your other hand and foot. Make sure to keep that arm straight and do not shrug the shoulder.
You want to rotate all the way through with your leg out straight so that you are almost sitting, and even could touch your butt to the ground if you needed to pause and re-balance. This is the sit thru.
Then rotate back close, placing your hand back down as you bend your knee to move back into that bulldog position.
You want to avoid your legs straightening out more into the plank as you perform this move. That tight position is what not only works your quads but helps improve your mobility.
You also want to make sure your hands stay under your shoulders to help keep your shoulders stable while improving your shoulder mobility. Do not shrug as you do this move.
Then kick through to the other side.
The faster you move, the more challenging, and even cardio, the move will be!
But what if you don’t have the mobility or shoulder stability yet to do this move?
How To Modify The Sit Thru:
One of my favorite ways to modify the Sit Thru is off a bench or incline. By placing your hands up on a bench, you provide more space to perform the sit thru and you reduce the strain and load on your arms and shoulders, abs and quads.
It can allow you to still work on that same position and rotational move while improving your shoulder stability without the strain.
As you feel more comfortable and improve your mobility, you can lower the incline over time.
If you do not have an incline, you can also modify this move by kicking your leg under in that bulldog position without raising your hand. This can be great if you don’t yet have the shoulder stability too, however it does take out some of the benefits.
SUMMARY:
Just remember a move is only as good as our implementation. We need to regress to progress and make sure we are not just replicating a movement pattern but also feeling the correct muscles working.
Have some fun including the sit thru in your routine and feel that core working!
Ready to learn how to use moves to match your needs and goals?
Check out my 1:1 Online Coaching Program:
—> LEARN MORE