The Most UNDERRATED Bodyweight Core Exercise

The Most UNDERRATED Bodyweight Core Exercise

If you are looking for an amazing core exercise to work your abs, obliques, glutes, hamstrings, shoulders, adductors, serratus anterior and back, that requires no equipment so you can do it anywhere, then you’re going to love this video!

In this video I’ll show you one of my favorite bodyweight rotational core exercises and how to modify it based on your fitness level. And at the end of the video, I’ll even share a great quick bodyweight core burner to do using it!

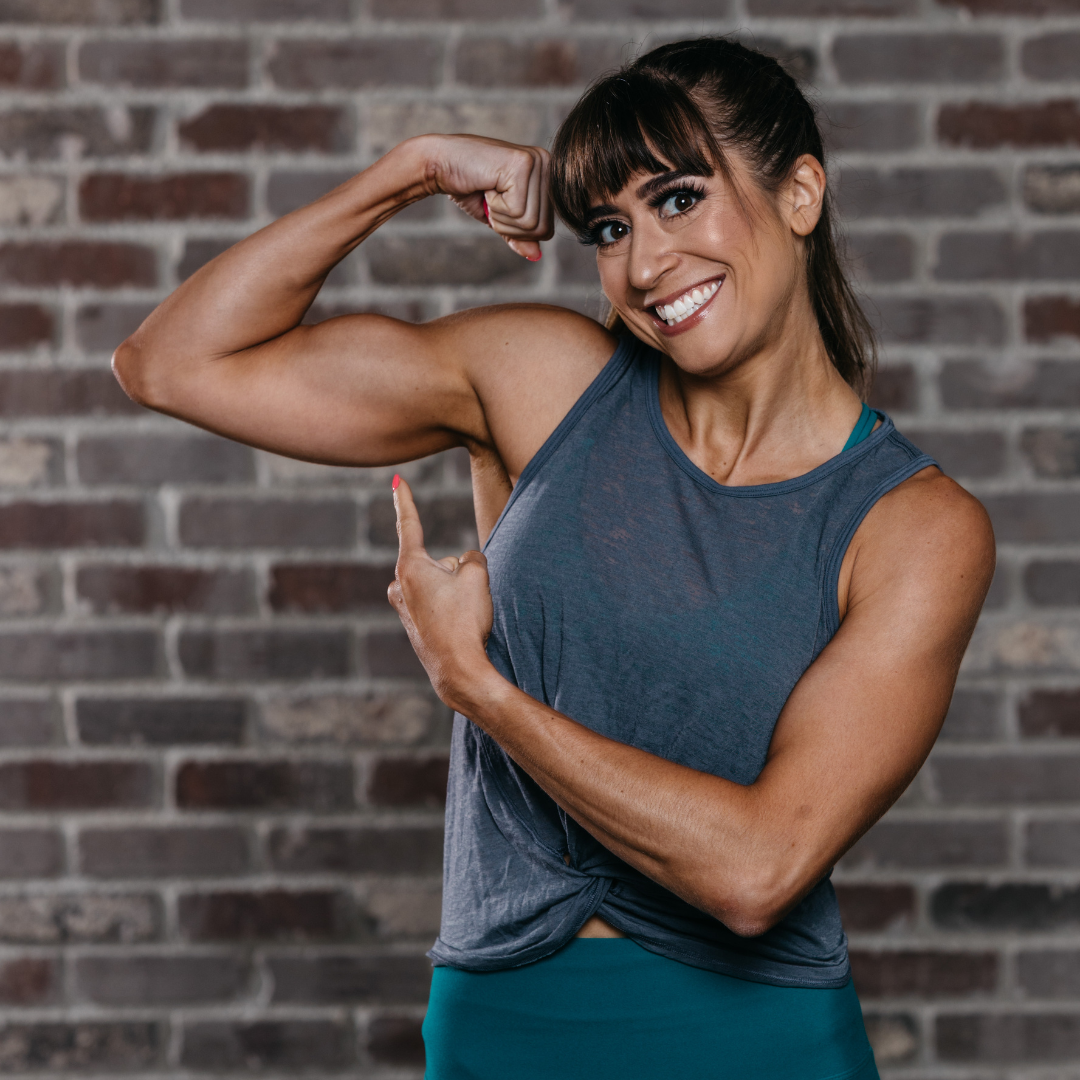
Hey guys it’s Cori from redefining strength where we help you feel, look and move your best at any and every age. 

And building a strong core is essential to not only help us look amazing but also avoid common aches and pains especially as we get older.

Of course diet is also key if you are trying to lose that stubborn fat around your middle, which I’ll touch on later. 

But when we talk about building a strong core, we’re talking about strengthening everything between your shoulders and your knees, down your front side and your back side.

Which is why I love this amazing bodyweight plank variation which will help improve your shoulder and hip stability while strengthening your abs and obliques to control rotation!

And at the end I’ll share a great 5 minute burner using this move you can add on to the end of your lifting or cardio session!

It’s the perfect finisher to your lifting session or cardio workout.

So what is this fabulous move you can do anywhere?

It’s the Mountain Climber Turkish Bridge!

This move is deceptively hard, and can help you improve your shoulder, scapular, spinal and hip mobility. It truly works your entire core through rotation.

It’s a great move to improve your stability as you transition from both hands to a single arm.

Just remember every move is earned.

If you find that, even with these cues, you’re struggling to maintain proper form and feel the correct muscles working,

You don’t want to feel or you start to feel your lower back, neck or shoulder aching in a bad way, you check out the modifications I’ll discuss next.

To do this move you’ll want to set up in that high plank position with your feet about hip-width apart and your hands under your shoulders.

As you even set up, you want to be conscious of the muscles you’re engaging. Feel the sides of your back engage to support your shoulder.

Feel your quads flex as you drive back through your heels slightly in that plank position.

Focus on engaging your abs to brace.

Draw one knee up and across toward the opposite elbow. When you pull that knee across, focus on your abs even flexing to tuck. Don’t just tuck your knee in repeating the movement.

Even focus on engaging your back so you don’t shift forward.

Then kick the leg slightly back out, so your knee is about back in line with your planted leg, although you’ll keep that knee bent.

From here, twist that leg back and over toward the ground behind you as you lift the arm on the same side as that leg up toward the ceiling.

You’ll feel your obliques working as you twist.

And you want to feel the muscles around your rib cage working and the side of your back engaged to stabilize that standing shoulder.

Pivot onto the heel of that planted leg, feeling the hamstring and glute work. You’ll also really feel the glute of the bent leg.

Do not let your hips drop as you move into this single arm posterior plank, which also looks similar to a step in the Turkish Get Up.

Reach your top hand up toward the ceiling and pause to assess what you feel working.

Then lift that bent leg and lower that raised hand down, rotating back to face the ground. Make sure your standing hand is still under your shoulder and that your shoulders aren’t shrugged.

Do not put that raised leg down if you can avoid it.

Keeping it lifted as your rotate closed and move straight to pulling the knee in across your body will engage your adductor or inner thigh on your planted leg even more.

Repeat the move, moving at a controlled pace while assessing what you feel working!

This move, while it will improve your core stability, is challenging, partly because you are supporting your weight on one arm.

That’s why it is key we know how to modify to build up and recruit the correct muscles.

My favorite way to modify this move is off a bench because it allows you to do the exact same complete movement without variation to more easily build up.

The incline reduces the resistance on your upper body, which can allow you to engage everything correctly while maintaining proper form.

As you progress with the movement, you can slowly lower the incline working from a bench down to maybe a step or block before the ground. Just make sure each progression is earned.

If you have wrist issues, you may also find using an incline helpful as you can then perform this move off of your forearm.

Another option off the ground is to keep your wrist in a neutral position by gripping a dumbbell.

Just make sure that dumbbell will not move.

And because it’s key we’re creative to make sure we’re always meeting ourselves where we are at, if you don’t have an incline, you can also modify this move and reduce the strain on both your upper body, abs and hamstrings by performing the move from a bent knee position.

With this modification, you’ll start in a bulldog position with your knees under your hips. You’ll perform the same knee tuck and rotation open, BUT your knees will stay bent and you’ll be in more of a tabletop position.

Make sure that, while your hips may slightly drop in the rotation, you pause to really engage those glutes and extend your hips in the bridge for a second before rotating back closed!

Remember that at times we need to regress to progress to get the most benefit from a move.

Now how can you include this in a quick burner workout?

I love doing intervals over reps for moves like this because it allows us to focus on what we feel working and not rush to complete the reps.

A quick interval circuit with 30 seconds of work per move or side and 2 rounds through can be a great way to end a workout.

Use an anti-rotational move, a more glute-focused move and even an ab intensive move to complement this amazing rotational exercise.

WORKOUT:
30 seconds Bird Dog Plank
30 seconds per side Mountain Climber Turkish Bridge
30 seconds Reverse Crunch
30 seconds Frog Bridge

BONUS: Stubborn Belly Fat Tips

Adding in this amazing burner once or twice a week for a progression may be a great way to improve your core strength and stability. But you can’t ignore the importance of your diet if you want to reveal those lean, defined abs.

Next check out my Meal Plan To Lose Stubborn Belly Fat video with a full day of eating!

–> Check Out The Video Here


FHP 450 – Shed The Ego – Fail Faster

FHP 450 – Shed The Ego – Fail Faster

Why do we have ego, take pride, in doing things alone?

Why do we fear failing?

If we want to succeed, we need to overcome these hurdles. We need to embrace failing faster and embrace an outside perspective.

If you’re finding yourself fighting against “help,” fearing starting something new because you could fail….

Here are some questions or perspectives to get out of your own way and even fail faster honestly….

#1: Why not ask for help?

#2: What pitfalls have others seen when taking on these challenges? Learn from others!

#3: Repeat failing isn’t failure…Failure is never taking risk so you never see your full potential.

#4: You want to put up a wall against doing it? Then do it more.

 
Learn more about why that coaching, and accountability, may be key.
The Best Workout (You Aren’t Doing)

The Best Workout (You Aren’t Doing)

It can be simply overwhelming trying to figure out how to design the best workout to tone up and see those muscle gains as you lose fat.

We want to LOOK like we workout, right?!

But there are so many options out there…

How do you know which is best?

I get asked all of the time when I share a move even…

“How many reps and sets?”

And while I know this is an annoying answer, the one I always have to give is…

“Well it depends. What are your needs, goals, current training routine, other moves you’re planning to include, equipment, schedule, previous training history….”

There are lots of variables you need to consider to get the best results possible.

And while overwhelming at times, they are also all opportunity!

But because I know it can be especially frustrating to train super hard, dial in your diet and still not see those stubborn areas change, I wanted to share one of my favorite training techniques to help…

Compound Burner Sets!

I want to take you through what these amazing sets are and how to use them as well as a few examples of them so you can get started implementing them today.

And while I know it’s tempting to just jump to what to do, because many of us just want to get started, it’s key we learn the WHY behind the techniques.

This can help us always make sure we’re tweaking things to match our specific needs and goals.

So, What Are Compound Burner Sets?

They are:

  • Two moves done back to back for the same area without resting
  • NOT a superset
  • One is a compound move the other a more isolation based exercise to hone in on stubborn areas
  • One move is done more in that hypertrophy rep range with heavy loads (6-12 reps) while the other is done for higher reps in that strength endurance range with loads that still challenge you (15-25 reps)
  • Rest is about 90 seconds to 2 minutes in length between rounds
  • 2-4 rounds through each series

The theory behind them is using the post exhaust training technique.

What does this mean?

  • You are using that second move to fully exhaust a muscle group worked in that initial compound movement, which can lead to better muscle growth
  • You’re getting the benefits of using multiple rep ranges and both compound and isolation moves

This will help you build muscle and ultimately lose fat from helping increase your metabolic rate. More muscle means more calories burned at rest.

BUT to see the full benefit…You can’t ignore the importance of your diet and I’ll share something to help later on!

Tips to help you get the most out of this workout design….

This is a more advanced training technique even though it seems simple. It truly is HARDER than it looks if YOU push yourself.

You are basically trying to take a muscle close to failure and then PUSH THROUGH failure with the isolation move.

This requires you to truly try to max out with reps and not just stop at a set number because that is what was listed.

If you can easily do the top number or reps listed, add weight. If you hit the bottom of the rep range, maintain that weight until you get toward the top. 

Even use rest-pause technique for the isolation move to push through and really take that muscle even “past” fatigue!

But make sure a weight never feels light!

Record what you do to try to beat next time.

Bonus Benefits….

Not only is this an amazing training design for body recomp, but you will also see strength increases because of the compound movement and lifting heavier loads.

You’ll also see your muscular conditioning, or strength endurance, improve because of pushing past failure with the isolation move!

Warning…

To really get the full benefit of this design, be conscious you are truly pushing to failure!

And do NOT cut out rest periods!

If you haven’t earned the rest and feel like you need it, you need to advance the exercise, add heavier loads, slow down the tempo and focus more on the eccentric or add a few more reps, but don’t go above 15 for that first move!

And then realize this is an advanced technique and can lead to a point of diminishing returns if done for too long when you’re really pushing for progression.

So track those numbers to be able to switch designs after 3-6 weeks or add in a de-load or recovery week!

Now how to use this design….

These sets are often best implemented in a 4-6 days a week split, using a hemisphere or upper/lower breakdown.

HOWEVER, if you make each workout full body, you can make 3 days a week work.

For each workout, create 2-4 compound sets.

If you’re doing upper and lower splits, 3 is more than enough.

For the full body set up, you may want 4 with one being even for core specific work.

For an example, if you were to design a leg workout it may look like…

#1:
6-12 reps Barbell Back Squat To Box
15-25 reps Lean Backs

#2:
6-12 reps SLDL
15-25 reps Hamstring Seated Curls

#4:
6-12 reps Band Hip Thruster
15-25 reps Band Y Reverse Hyper

Think about your heaviest biggest lift first for that first compound move of the first set. You want the lifts you can go heaviest on first before you fatigue.

Then over the sets try to vary what is worked enough that you don’t hit a point of diminishing returns.

But you want to consider the OTHER workouts as well for that week to make sure areas are getting rest and also being worked in other days.

But especially with 4 days a week, that 2 times hitting an area is a great training frequency!

You may then include a recovery day or interval cardio session on two other days if you are training 6 days a week.

(Want more amazing workouts like this one? Check out my DYNAMIC STRENGTH program!)

SUMMARY:

If you’ve been struggling to see the body recomp results you want, give this training technique a try.

Make sure to track your results and focus on small progression each week, listening to your body and not just pushing through pain.

You want to be intentional with moves.

And as I mentioned earlier, fueling correctly is key.

But it can be hard to make certain habit changes to build muscle, especially when we fear gaining weight.

That’s why I want to share the next video you should check out if you’re looking to take your results to the next level…

Check out the link for 5 habit changes to improve your results!

–> 5 Habit Changes To Build Muscle WITHOUT Gaining Fat

FHP 449 – It Never Gets Easier…

FHP 449 – It Never Gets Easier…

Talking to Sarah – she’s like…

“It didn’t get easier this week! You lied!”

And I said back, “Did you use a harder variation? Did you finish the workout faster?”

She said…“Yes.”

“Then it DID get easier.”

With training, you will ALWAYS feel challenged, because you’ll always be reaching for that next thing.

But you’ll see the progression in how far you can run and how fast you do it…or the weights you can lift for more reps…

But no…it never FEELS easier.

We are just stronger, fitter, faster, more confident…

I don’t share this to be negative but I think this delusion that things will at some point be “easy” holds us back…because it makes us ignore how much more we can do…

Whether in the gym or other areas of our life.

And even habits that do become fully ingrained…well we don’t always want to do them!

This isn’t a bad thing either.

It’s just a fact.

It’s why you…

#1: Always want to track progress to truly see progression and not let “feelings” derail you!

#2: Focus on tracking all the different ways you’re growing!

#3: Recognize that feeling MENTALLY tired can be a reason to take a diet break, switch ratios or even use a de-load week. Just because we CAN push through doesn’t always mean we should.

#4:  Sometimes embrace doing the minimum to stay consistent.

Realize that strength doesn’t come from NOT doing hard things…it is built going through the hard.

And pushing those limits never feels easier, but you are able to handle more!

Is An Injury Why You Can’t Lose Fat?

Is An Injury Why You Can’t Lose Fat?

Let’s face it. Injuries suck but so often they aren’t what’s truly holding us back from losing weight.

Often it’s a case of the more you do, the more you do…and our diet starts to slide as we’re thrown out of our normal routine.

However, ultimately we can’t always change our situation…we can only control our perspective.

We can see it as an obstacle or as an opportunity.

How can you see this as an opportunity to actually get better fat loss results over feeling like injuries keep sabotaging your progress?

What are some new things you can EXPLORE?

– New recipes
– New hobbies
– Dialing in your rest and recovery
– Learning about rebuilding from injury – looking for perspectives on your issues and even why they occurred to ask better questions of your health care professionals.

See this as an opportunity to come back STRONGER even with so many habits dialed in to build off of!

But we’ve got to focus on controlling what we can control.

And you 100% can control how you’re fueling.

While you definitely need to train to build muscle, because you need that challenge to adapt and grow stronger. And while training can really help make the fat loss process easier and your results easier to maintain, you can honestly lose fat without doing any activity at all.

Aka being injured really isn’t an excuse!

Sure you may not be able to train exactly how you’d like, but you can see that as giving you more time to try new ratios or learn to track your diet.

Tracking your diet can also make you feel a bit more secure you’re doing what you need and have the power to adjust as you’re lifestyle evolves.

And being out with injury doesn’t mean slashing your calories lower.

While I know we often go straight to this because we feel our activity level has decreased so we’re burning fewer calories, this can also lead to more muscle mass being lost!

It can lead to impaired recovery as healing takes energy!

EAT ENOUGH!

And honestly, if you want a magic pill, protein is it!

It is the building block of all of your tissues aka all of the things that need to repair from injury.

So while you want to avoid an extreme deficit, your energy intake will decrease. And you don’t want your protein levels dropping too much during this time.

Protein can aid in your recovery and help you retain lean muscle mass, which can also help you keep lean while not training the way you’d like.

Studies have shown that “insufficient protein intake will impede wound healing and increase inflammation to possibly deleterious levels.”

It’s honestly why I even have clients take BCAAs when out with injury as they can help improve muscle mass retention and are no calories to avoid consuming too much.

And, partly due to the fact that BCAAs can help us build and retain lean muscle, but also due to the fact that isoleucine and leucine help improve glucose tolerance and increase energy expenditure and fat oxidation, they may also help you increase fat burning and fat loss. Especially when insulin sensitivity has been decreased due to a reduction in exercise.

https://www.ncbi.nlm.nih.gov/pmc/articles/PMC4672013/

It’s also why I promote Collagen use during recovery periods especially as well.

Collagen is the most abundant protein in the body and is used to make connective tissues.

Type 1 and 3 collagen are for skin health and help with sagginess, wrinkles and wound healing. Type 2 collagen is for joint health and may help relieve joint pain, swelling and stiffness.

Even take collagen with Vitamin C as vitamin c boosts natural production of collagen as well.

Plus vitamin c itself helps with tissue repair and growth

Even jut 5-15 grams of collagen with 50mg of Vitamin C can be a great bonus!

Drink enough water! Hydration is key to you healing quickly, not eating out of boredom and sleeping well!

NOW BEFORE YOU NOD YOUR HEAD AND START TRACKING WHILE HEADING BACK TO THE COUCH….

Realize you CAN truly do so much to keep training!

And this doesn’t mean pushing through the pain!!

We have to stop thinking that because we can’t train how we normally would that we can’t do anything at all.

Even just some form of training can go a long way in maintaining the muscle mass and strength we’ve built. Even if we aren’t training those same areas in the exact way we would like.

It’s sometimes about doing the minimum you can to keep that muscle memory, put the breaks on muscle mass loss and create that anabolic environment to avoid muscle catabolism.

Because even if we can’t do enough to BUILD, often we can do enough to MAINTAIN!

And there are so many ways to modify around injuries.

Ankle injury?

Try kneeling squats.

Shoulder injury, try lower body workouts.

Knee pain and want to do cardio? Try even battle ropes seated.

See this as an opportunity to have fun training around.

Even depending on the ache or pain, you can sometimes modify the exact movement to engage the correct muscles.

And then focus on this as a chance to rebuild your foundation stronger!

Do that prehab. Focus on the mind-body connection.

Learn about and address what lead to the overload.

Even find other weaknesses to work on!

Maybe this is the chance to do a deload and address other mobility restrictions or areas that have been achy in the past.

Studies have even shown that training one limb can improve strength gains in the untrained limb. So while we don’t want to go crazy, it does show that doing SOMETHING can even pay off.

https://pubmed.ncbi.nlm.nih.gov/31136543/

And then rebuild slowly.

Don’t just do less, truly meet yourself where you’re at so you even crave more.

And during this time as I mentioned to start, see this as an opportunity.

Dial in other areas of your healthy habits, even including your sleep.

For more on even mobility work and that full 3-part rehab process, check out the links below…


For two essential fat loss tips: https://youtu.be/hFk0UylZYX8


For more injury prevention, or prehab exercises:

Shoulder Mobility: https://youtu.be/elmpc3U3xHU