We've all know that we sit too much during the day and that...
We've all know that we sit too much during the day and that...
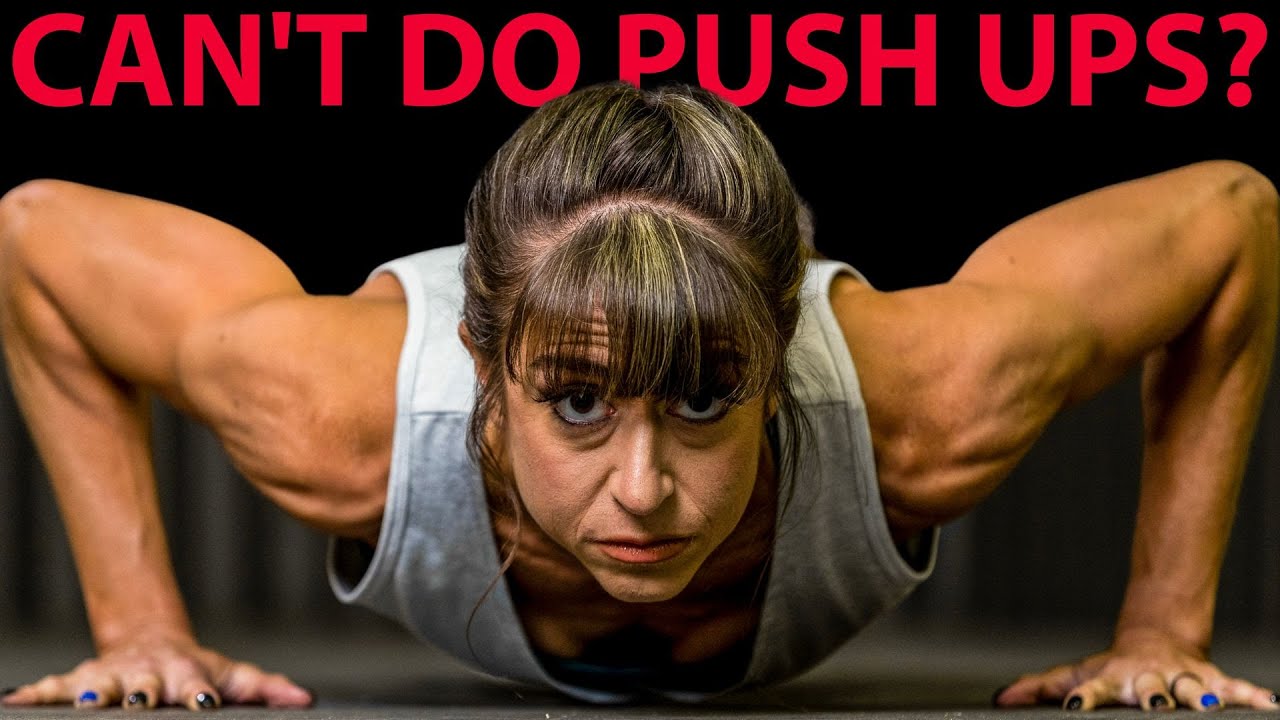
Push-ups aren’t just hard. They’re deceptively hard. Because what looks like a simple...
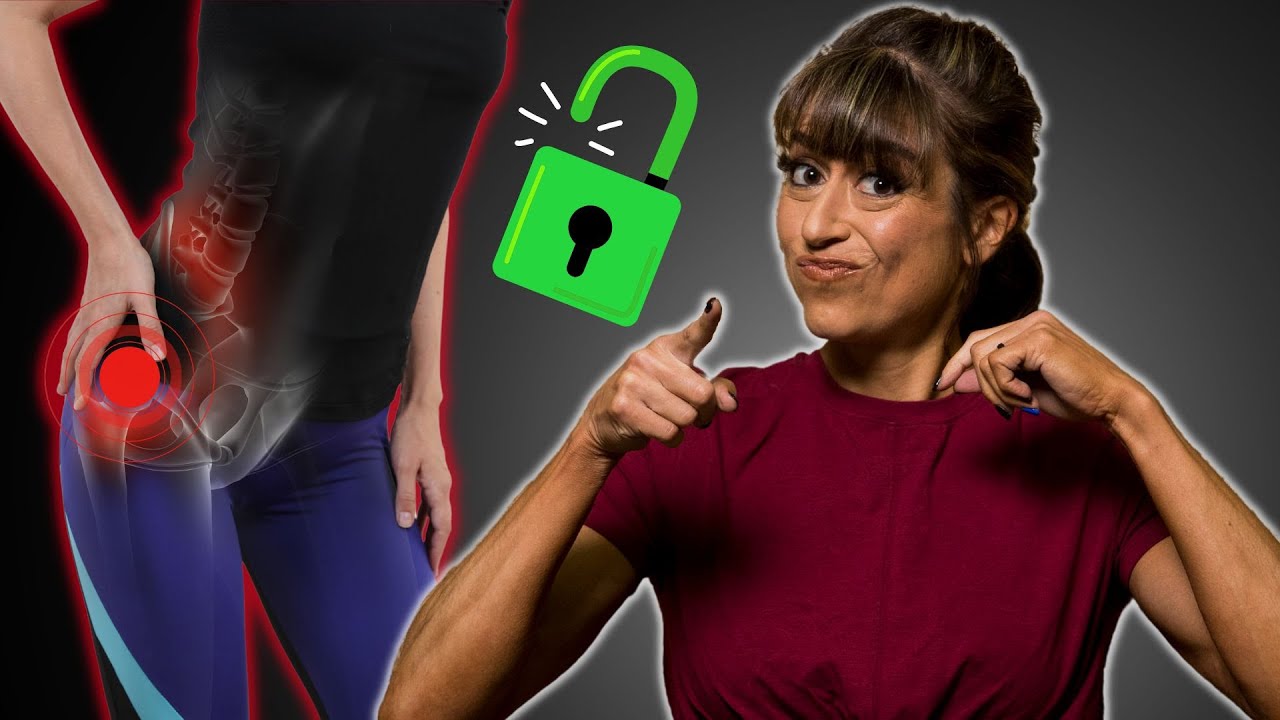
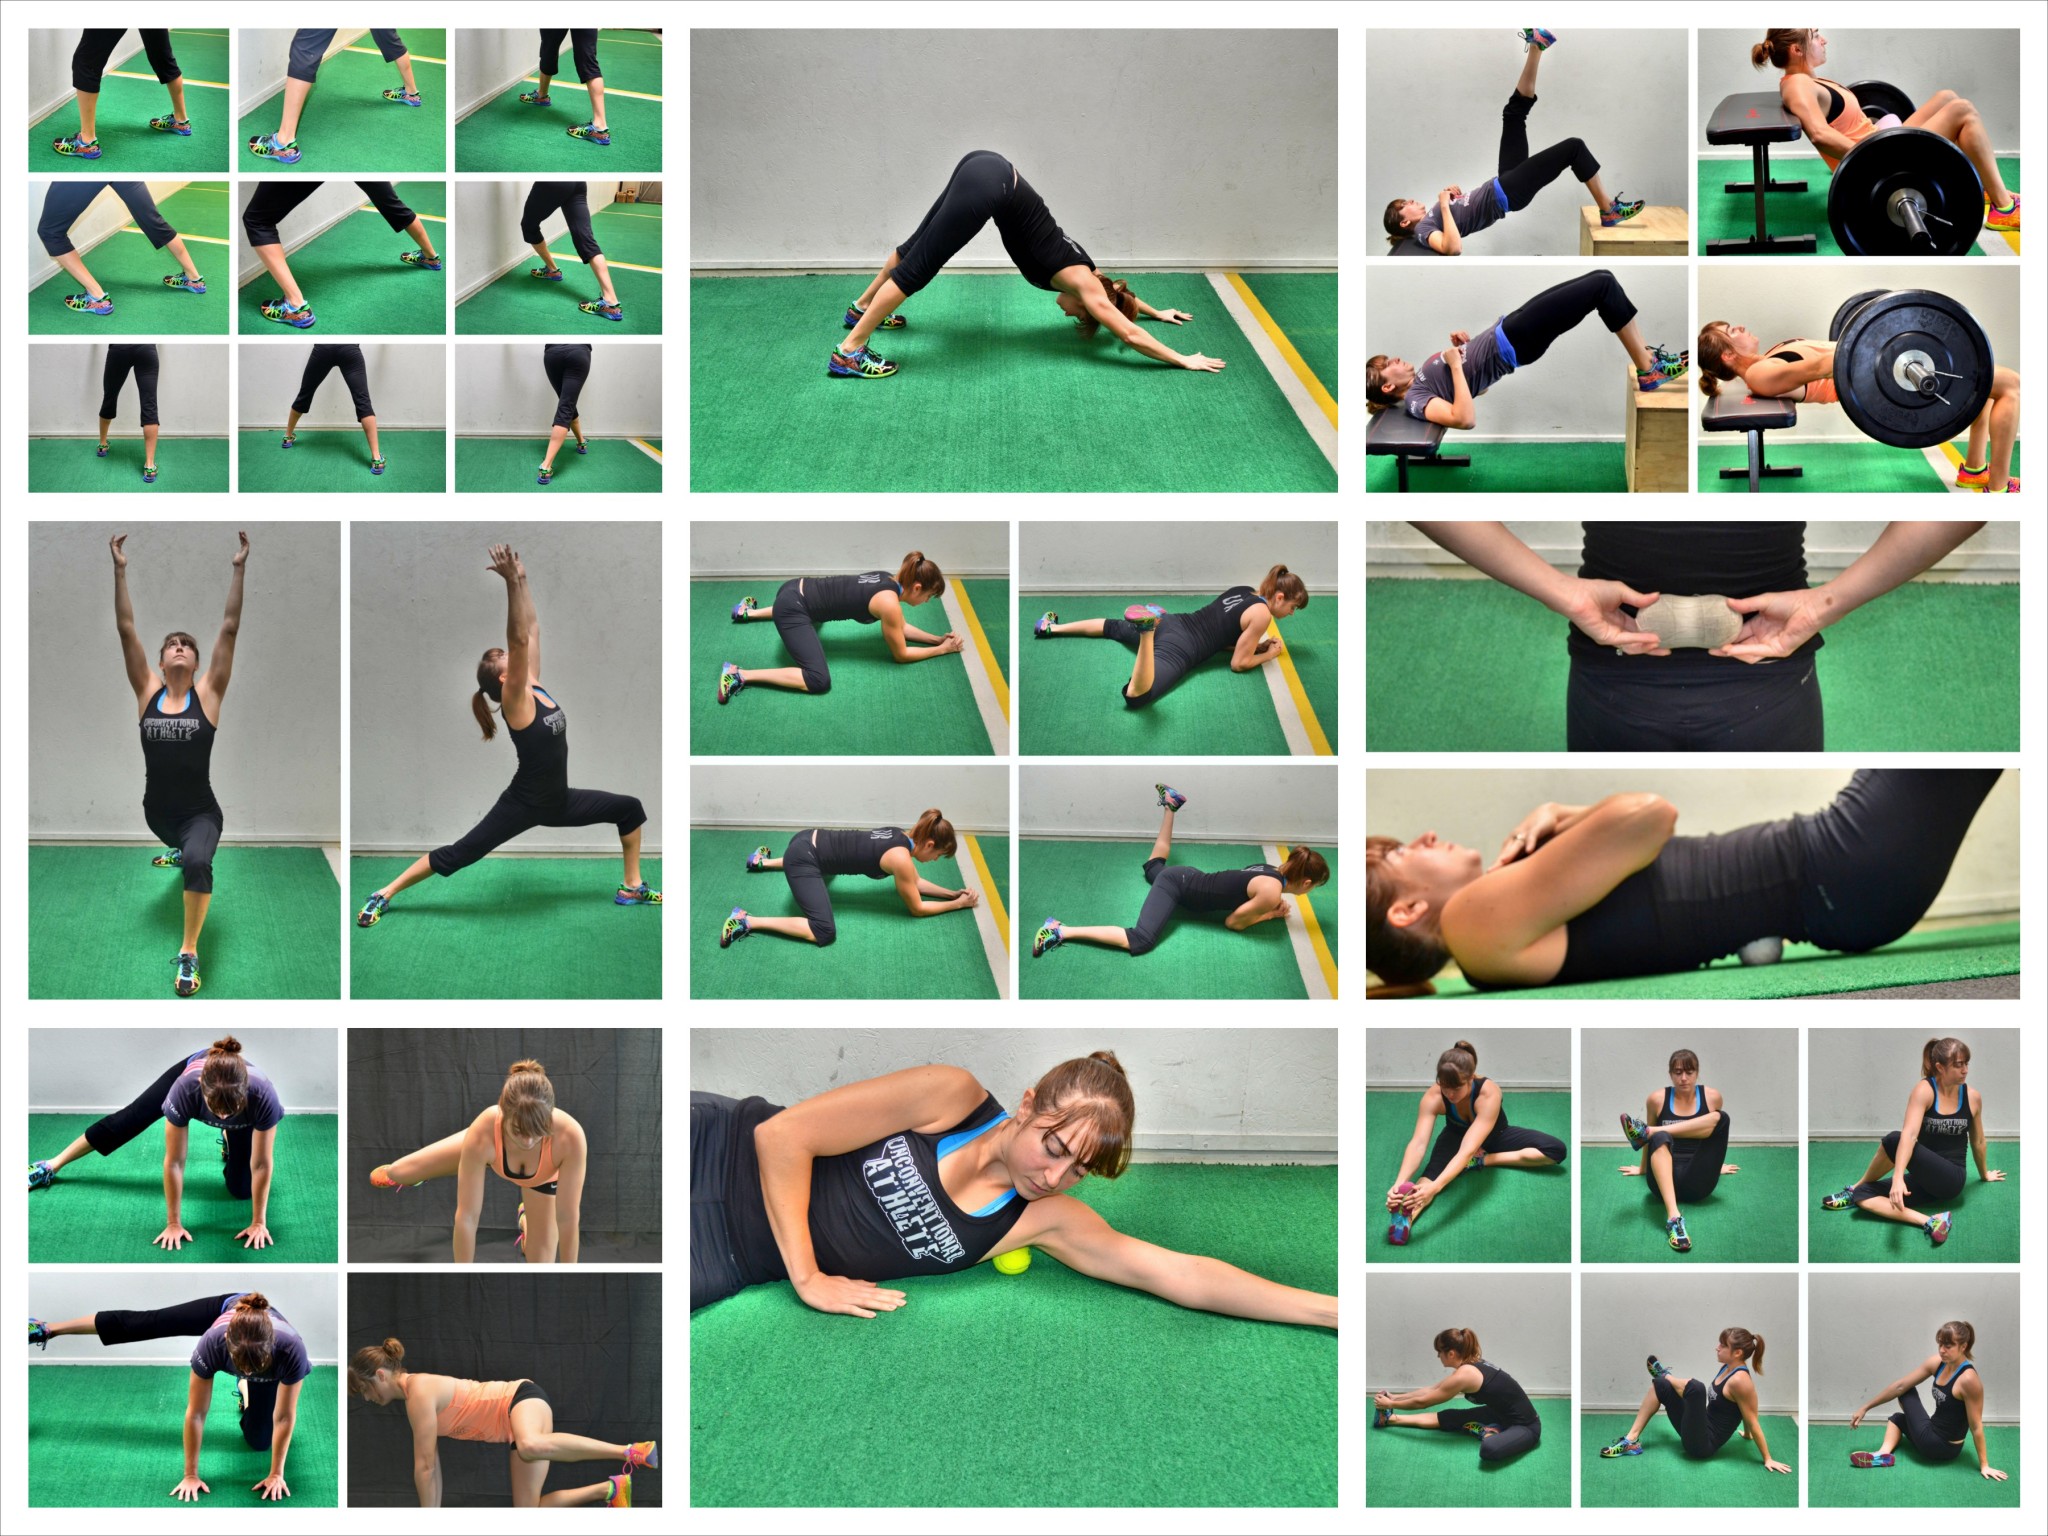
Are you one of the many people out there struggling with tight hips or hip pain? ...
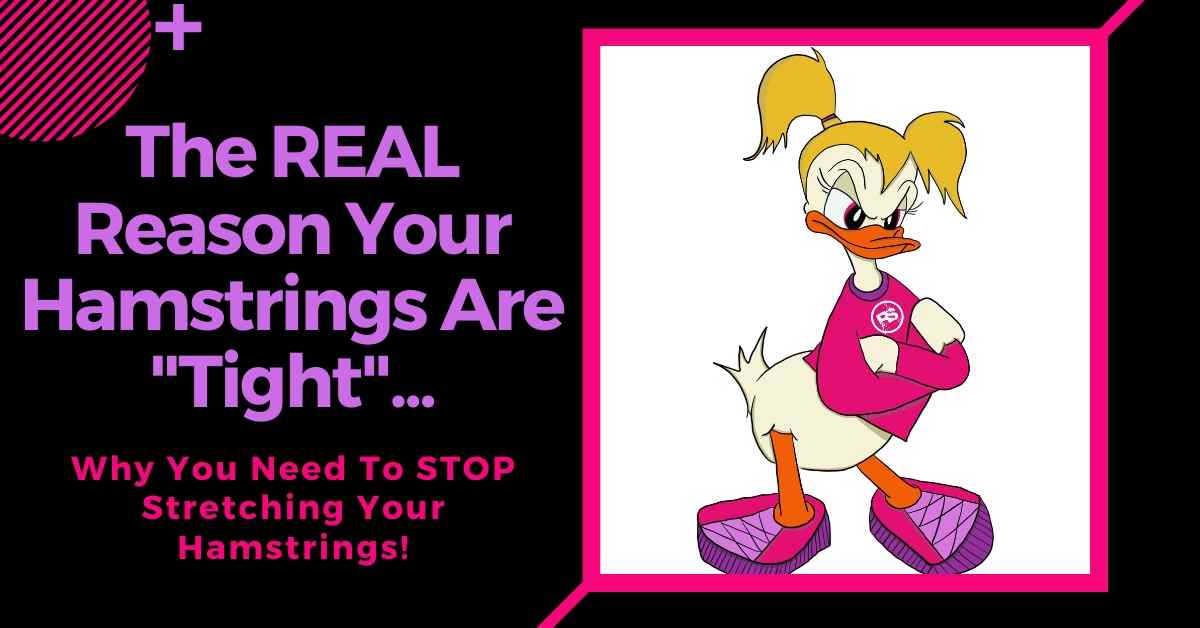
Wish you could touch your toes? Feel like your hamstrings are always tight? What if I...

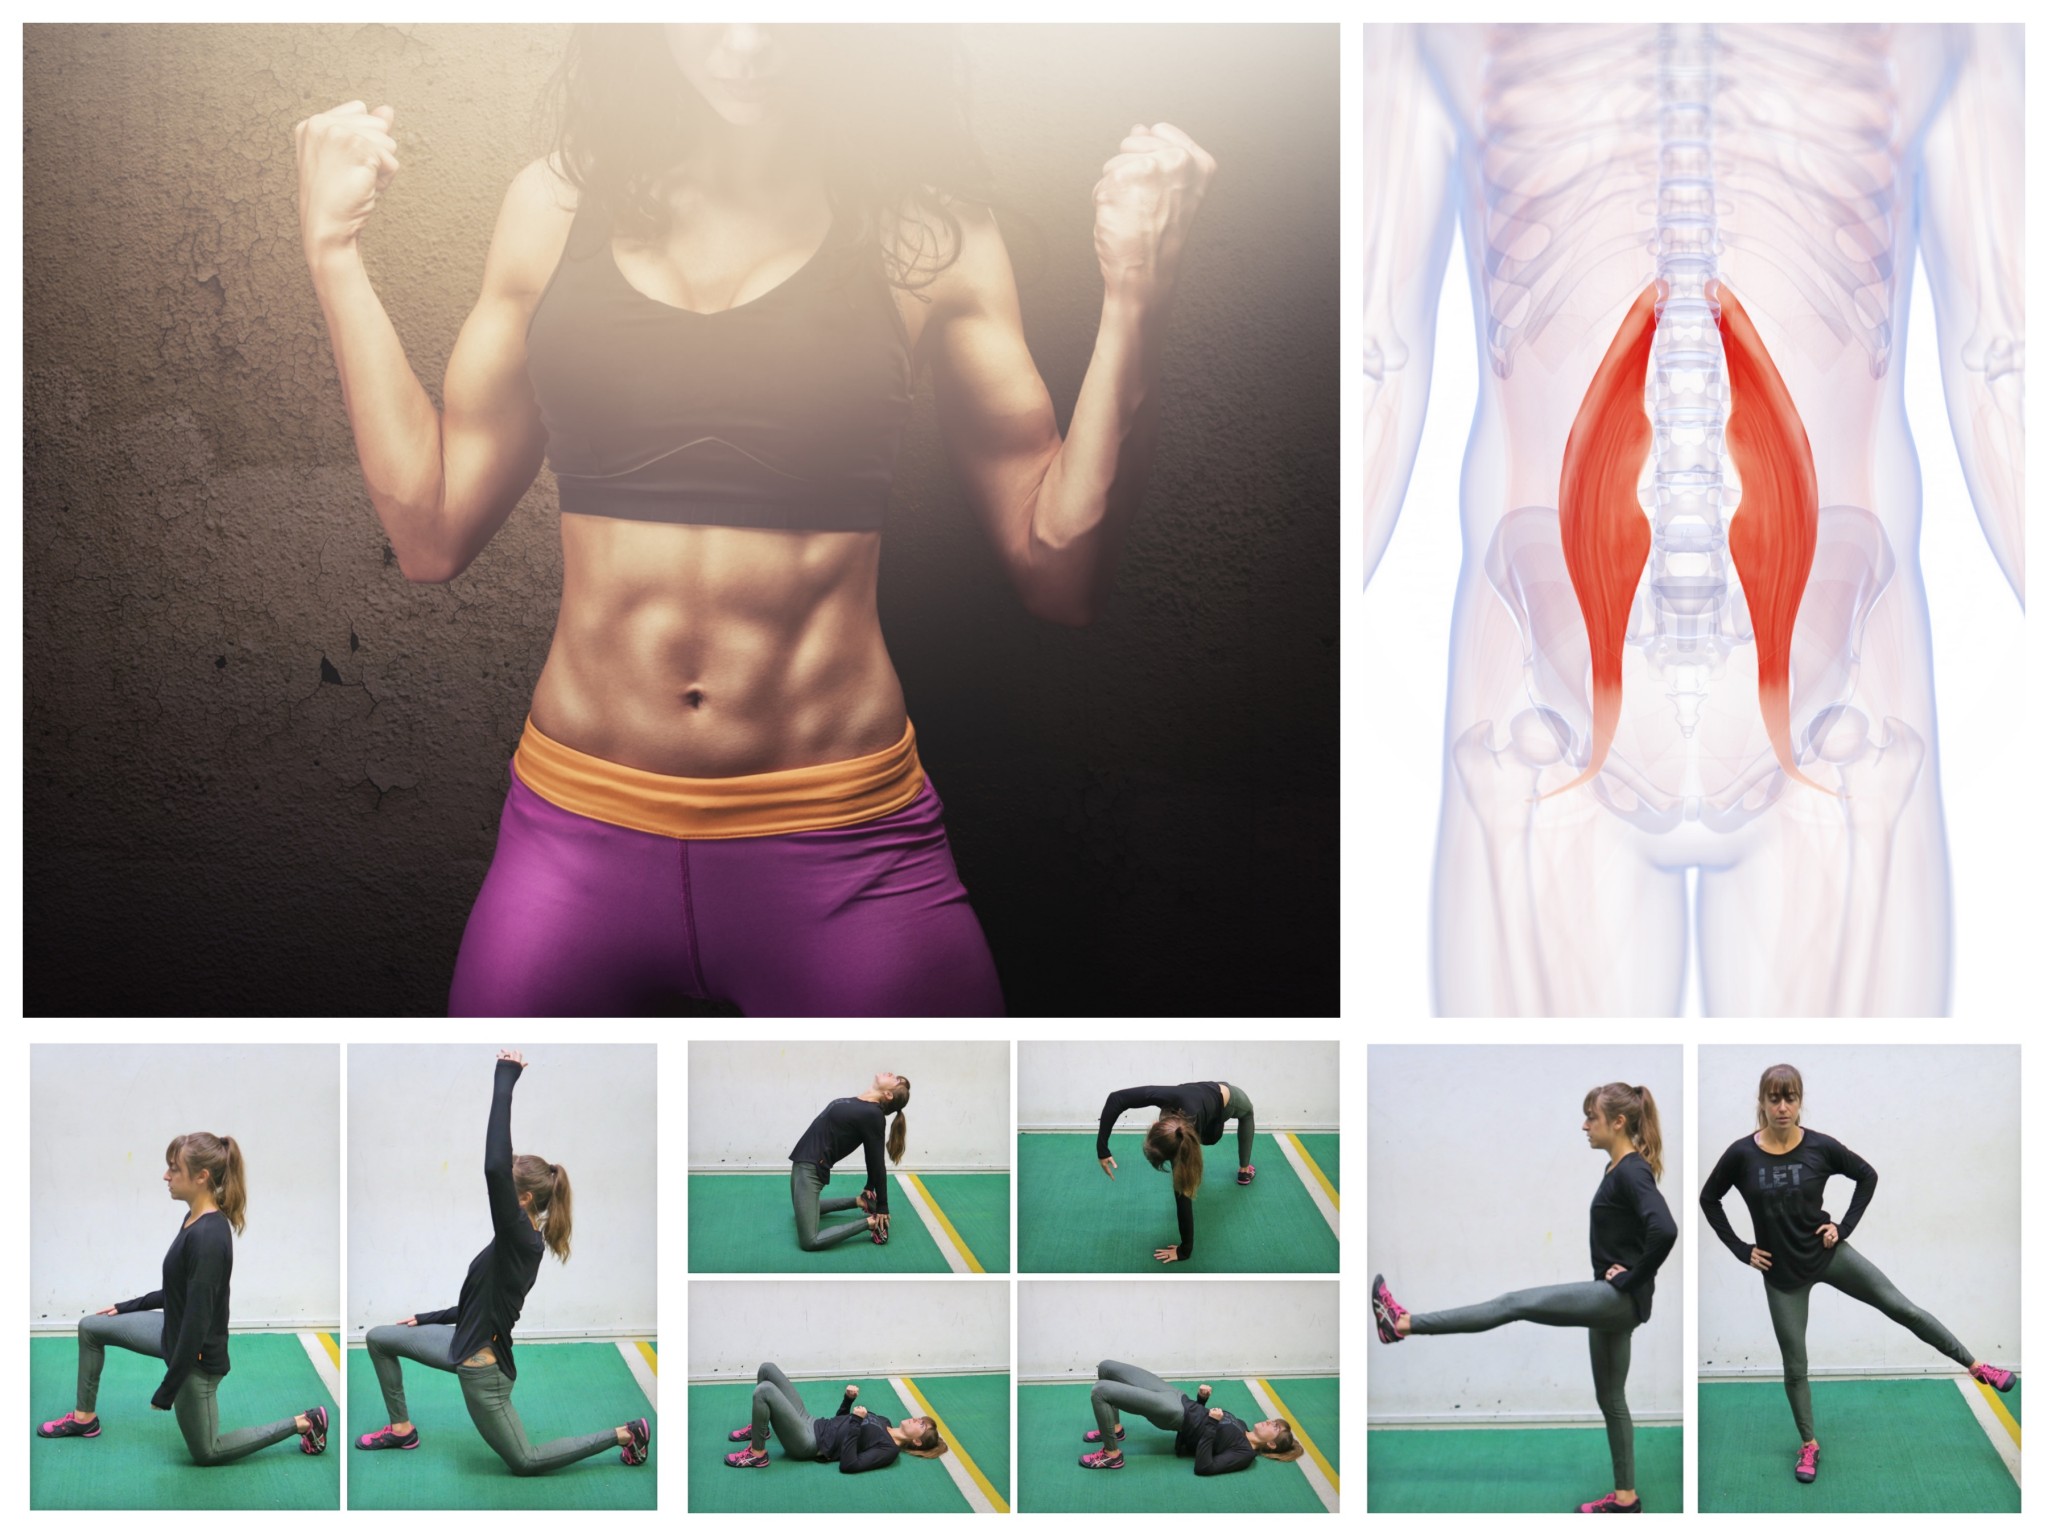
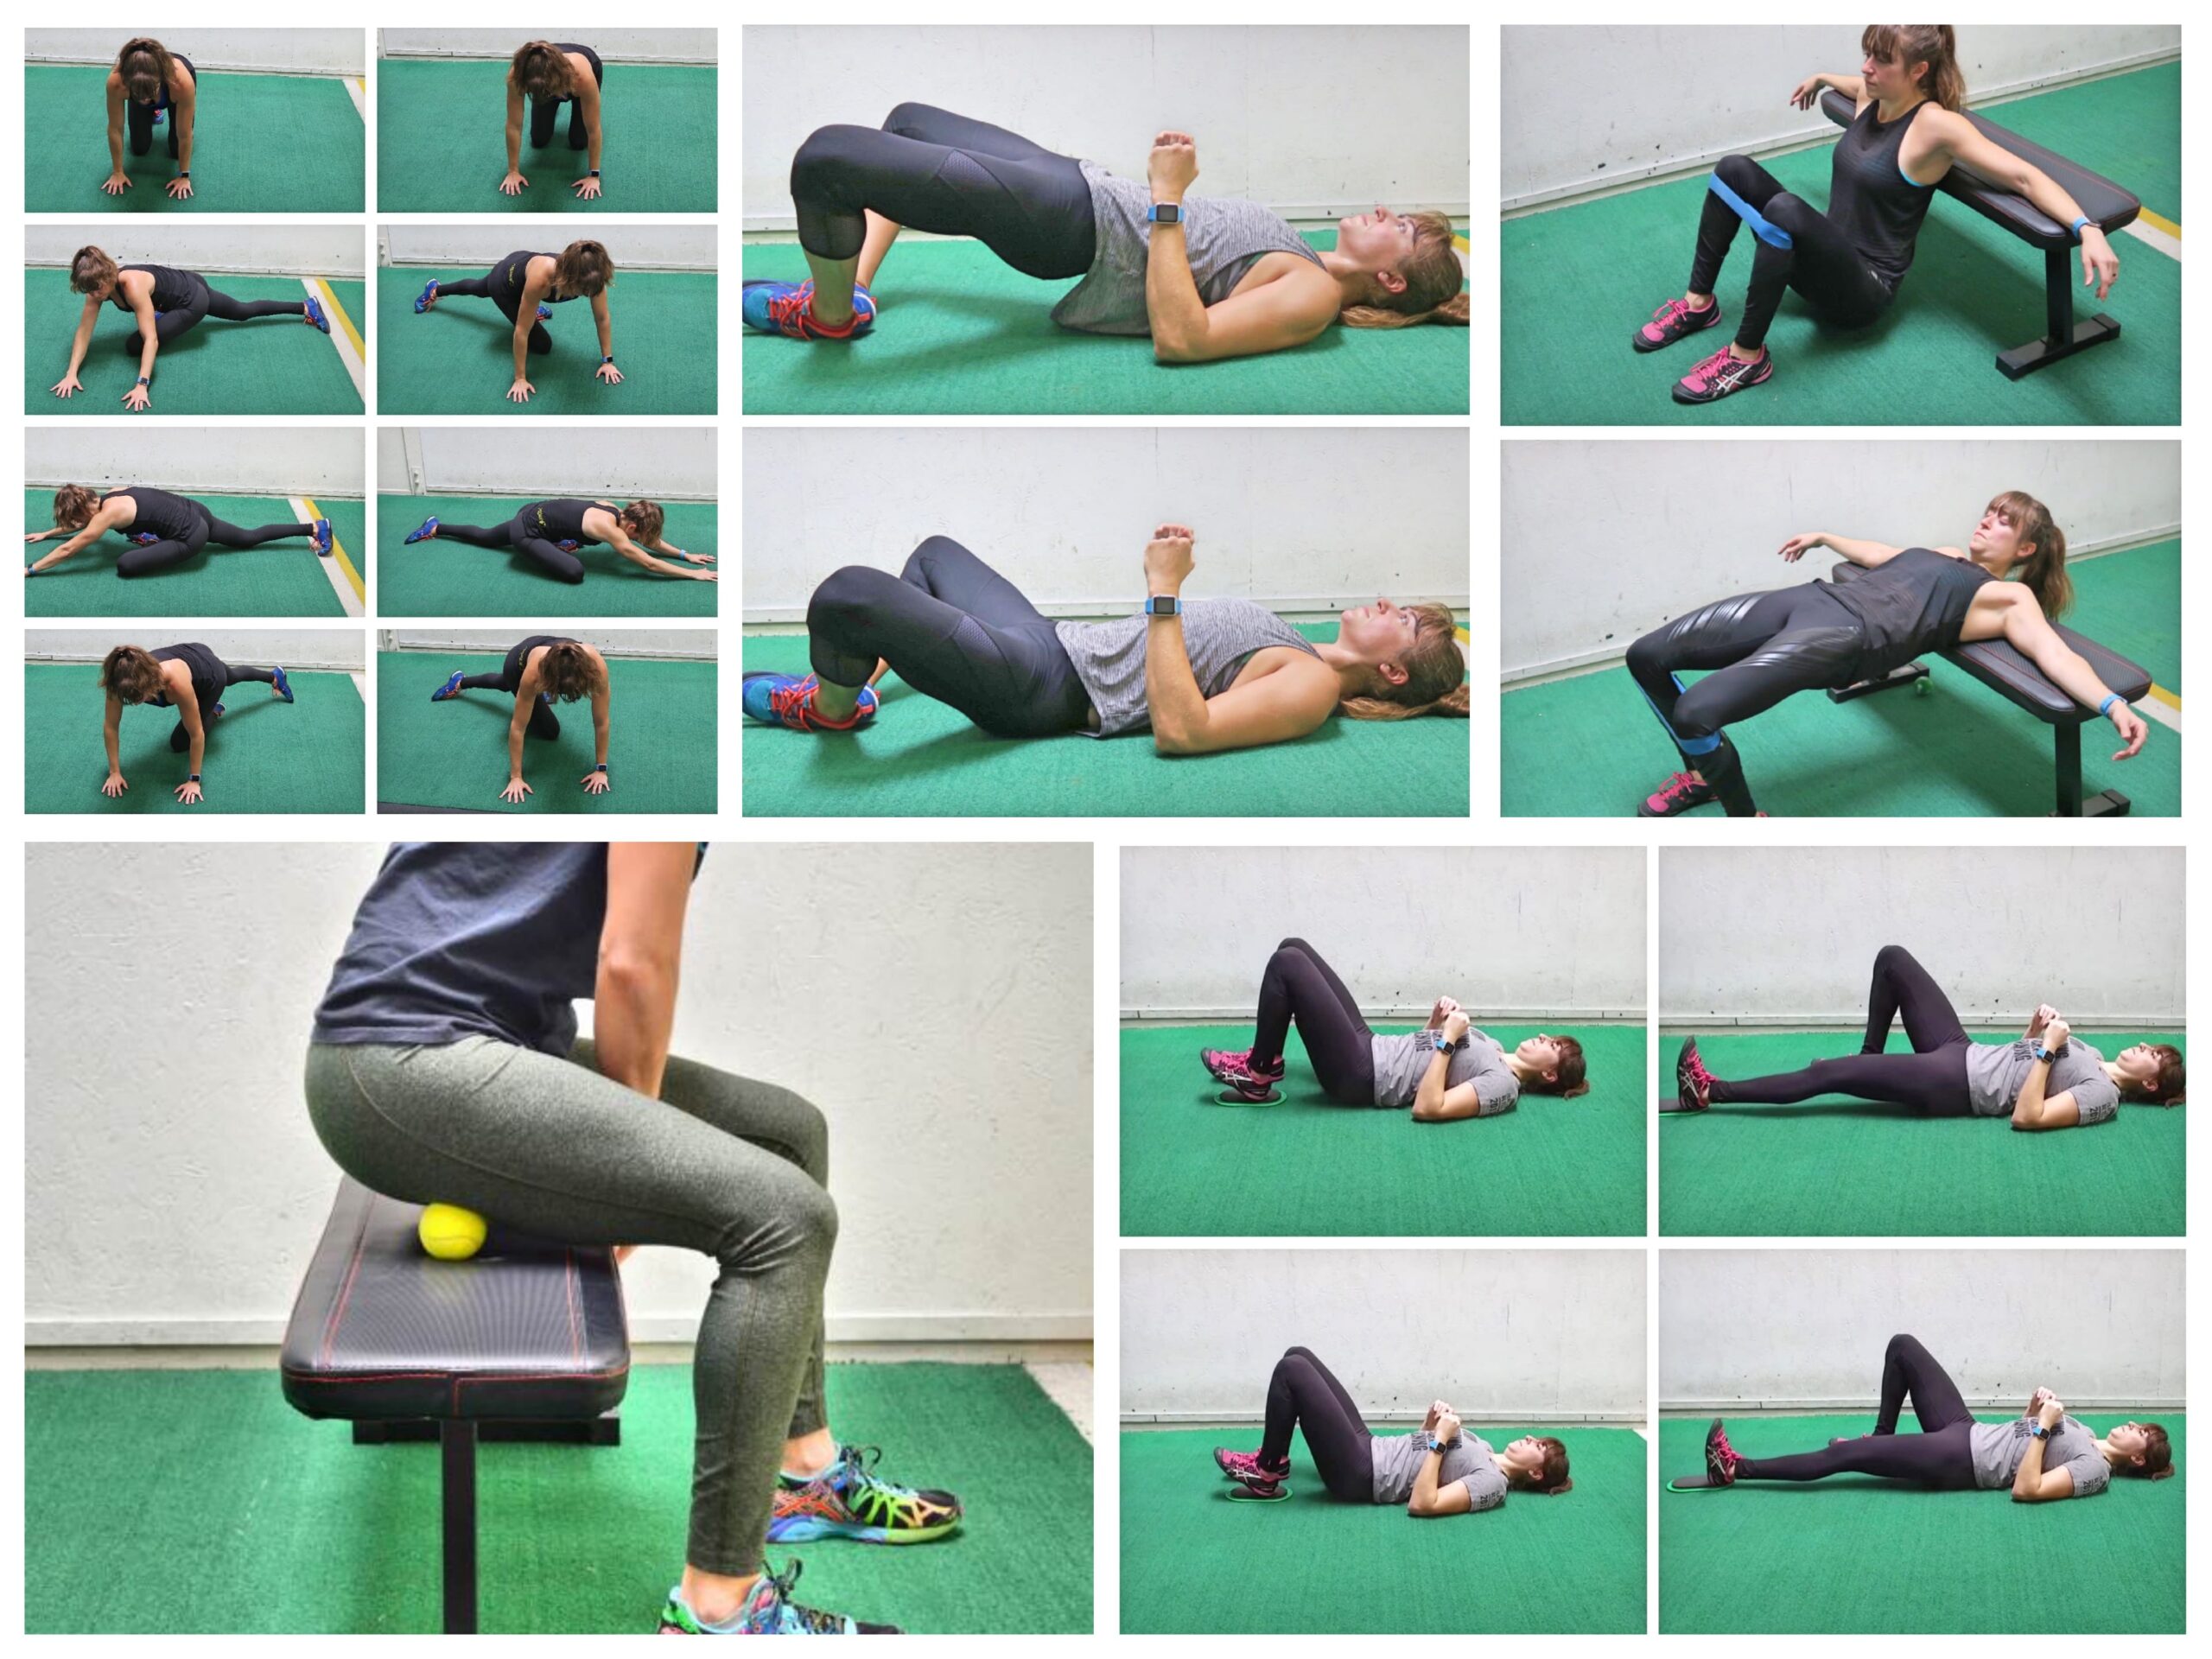
“My low back hurts…How do I strengthen it?” But what if strengthening it isn’t really...
Mobility is not the same as flexibility. Nor is it the same as stability. But for true...
“My low back hurts…How do I strengthen it?” But what if strengthening it isn’t really...
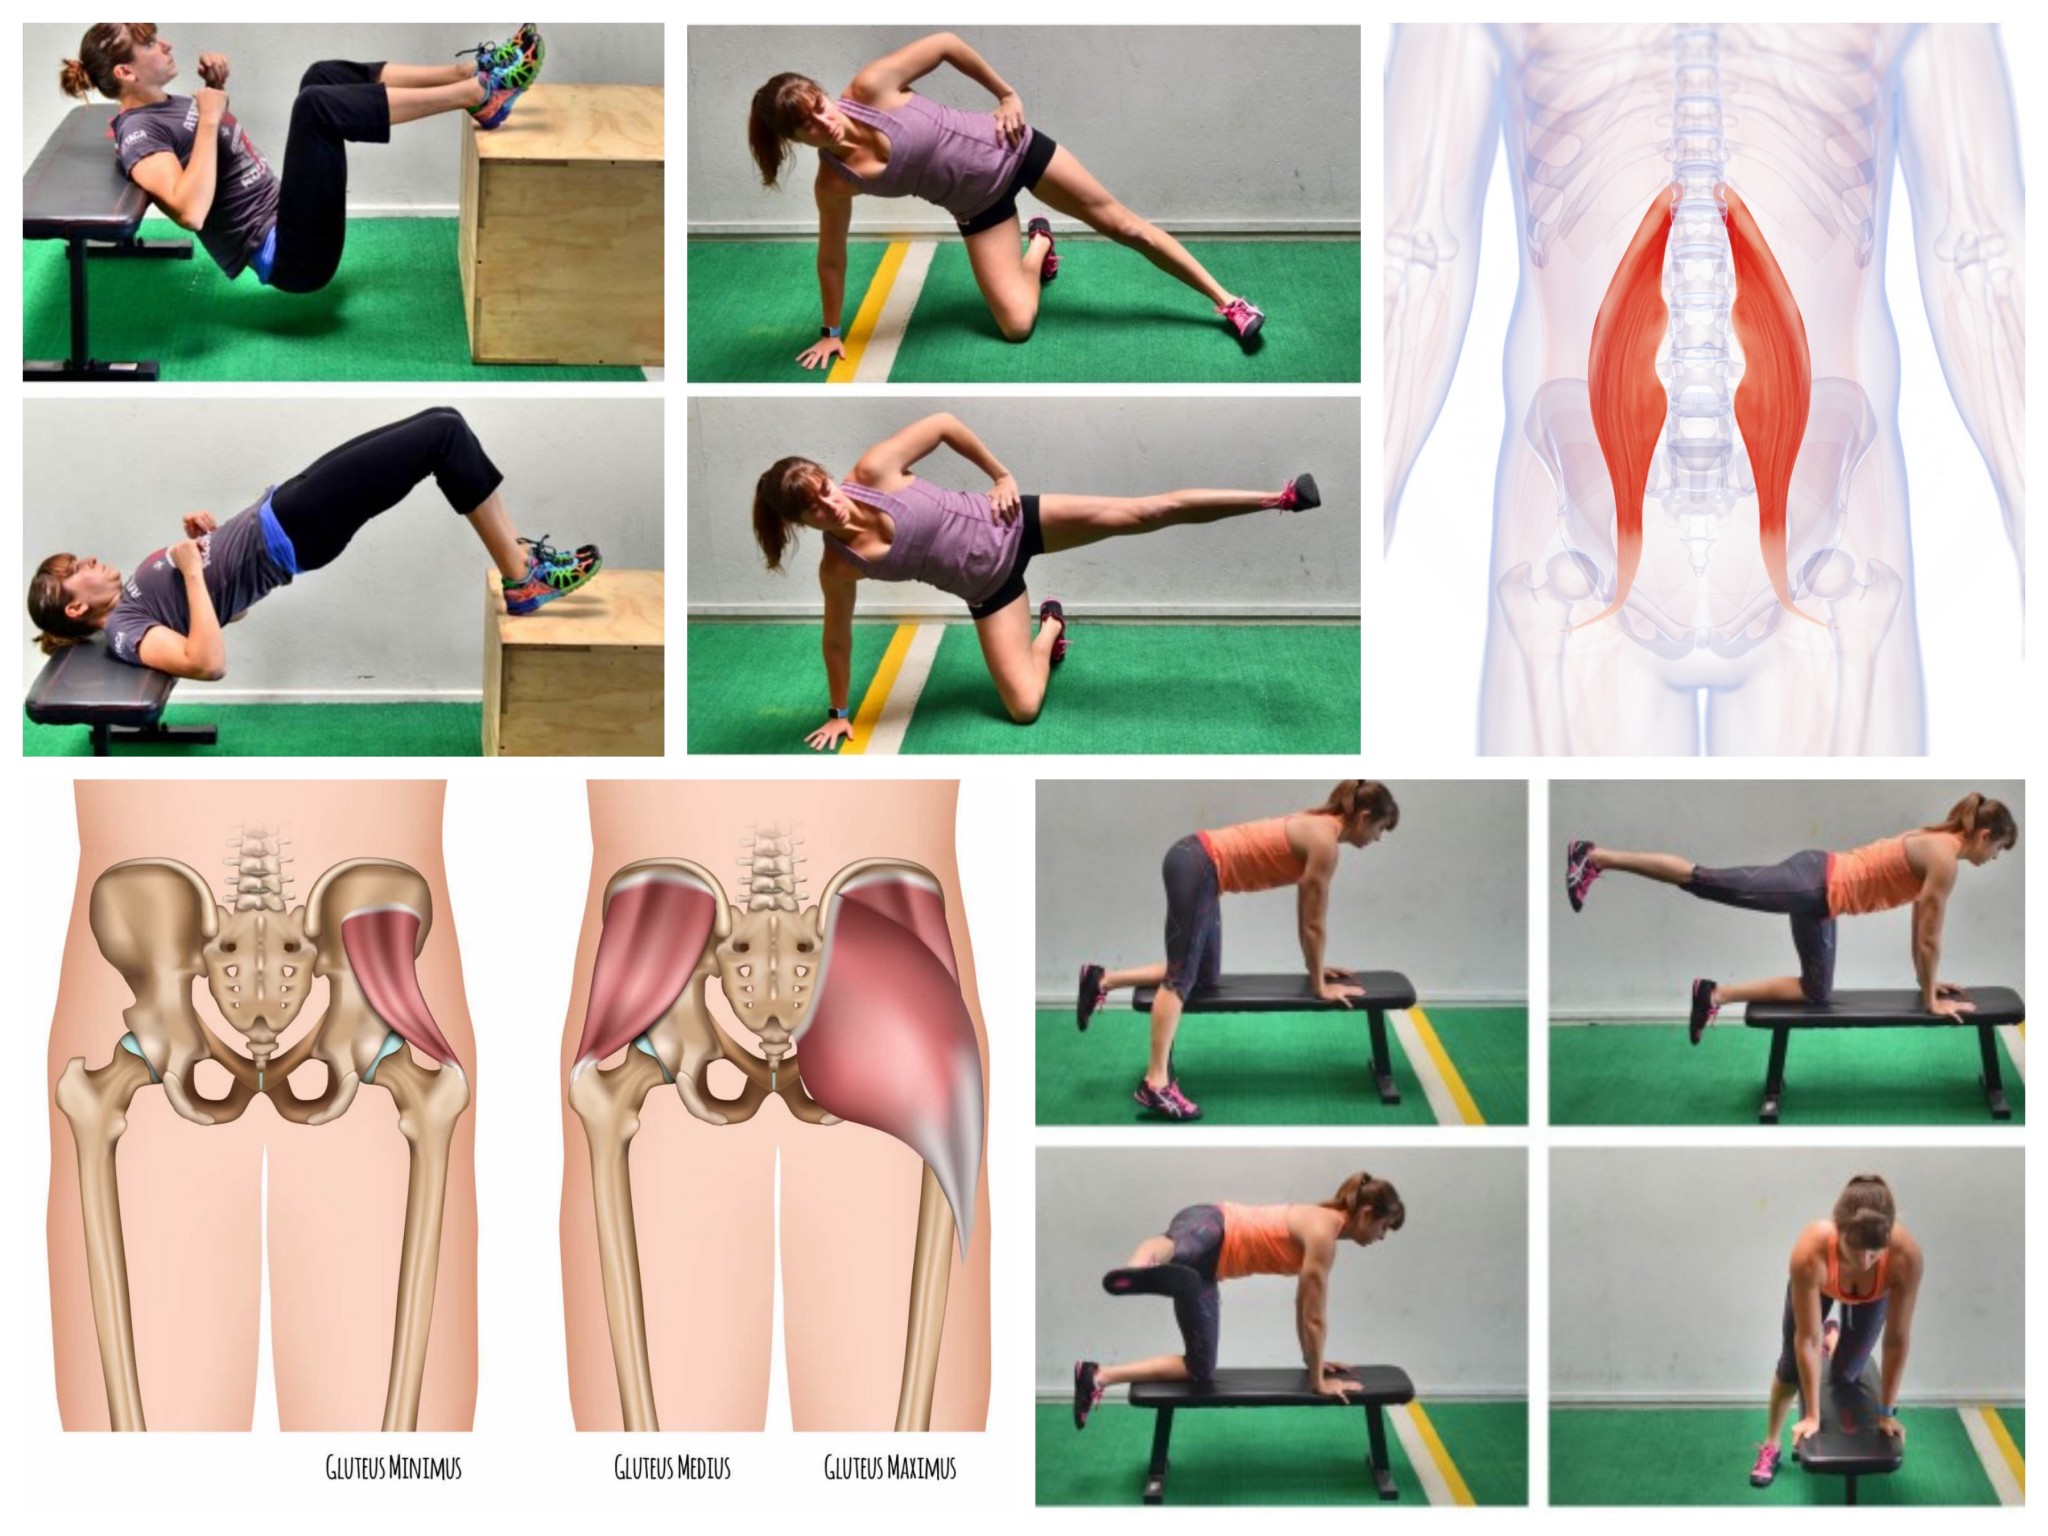
So you want a sexy, strong butt...because let's face it...who doesn't!?! Whether you...
Low back and hip pain are common problems especially for anyone with a desk job....