If you want to stay injury free, it isn’t enough to just rest and then return to your normal routine.
You’ve got to CORRECT the problem that caused the pain to occur aka address the movement distortions, compensations and imbalances that lead to the overload.
And in the case of our lower backs, this is generally tight hip flexors, an immobile spine, overstretched hamstrings and weak abs and glutes.
This is why you need a 3 step approach to improving your movement patterns as well as your mobility and stability so you can prevent the pain from reoccurring – you need to Foam Roll, Stretch and Activation, not only as rehab or prehab but also as part of your WARM UP to your runs, rides or lifts.
If you’re ready to get those glutes and abs activated as you improve your spinal and hip mobility to prevent lower back and even hip and knee pain, check out my RStoration program!
The Prevent Lower Back Pain Workout
FOAM ROLLING:
Complete 1 round through the series, holding on any tight spots you find instead of rolling quickly back and forth. If something isn’t tight, you don’t need to roll it. But if something is tight, don’t hesitate to spend an extra 10-15 seconds on that area.
CIRCUIT:
30 seconds Peanut Foam Rolling
30 seconds per side Psoas Foam Rolling
30 seconds per side Adductor Foam Rolling
30 seconds per side TFL/Glute Foam Rolling
STRETCHING:
Complete 1 round through this series, spending more time on any tight areas. You can do these for about 20-40 seconds per move or side or up to 10 reps per side. Your focus is on improving your range of motion over the reps or time.
CIRCUIT:
4-6 reps per side Child’s Pose with Reaches
5-10 reps per side Active Foam Roller Star Stretch
10 reps per side Half Kneeling Hip and Quad Stretch
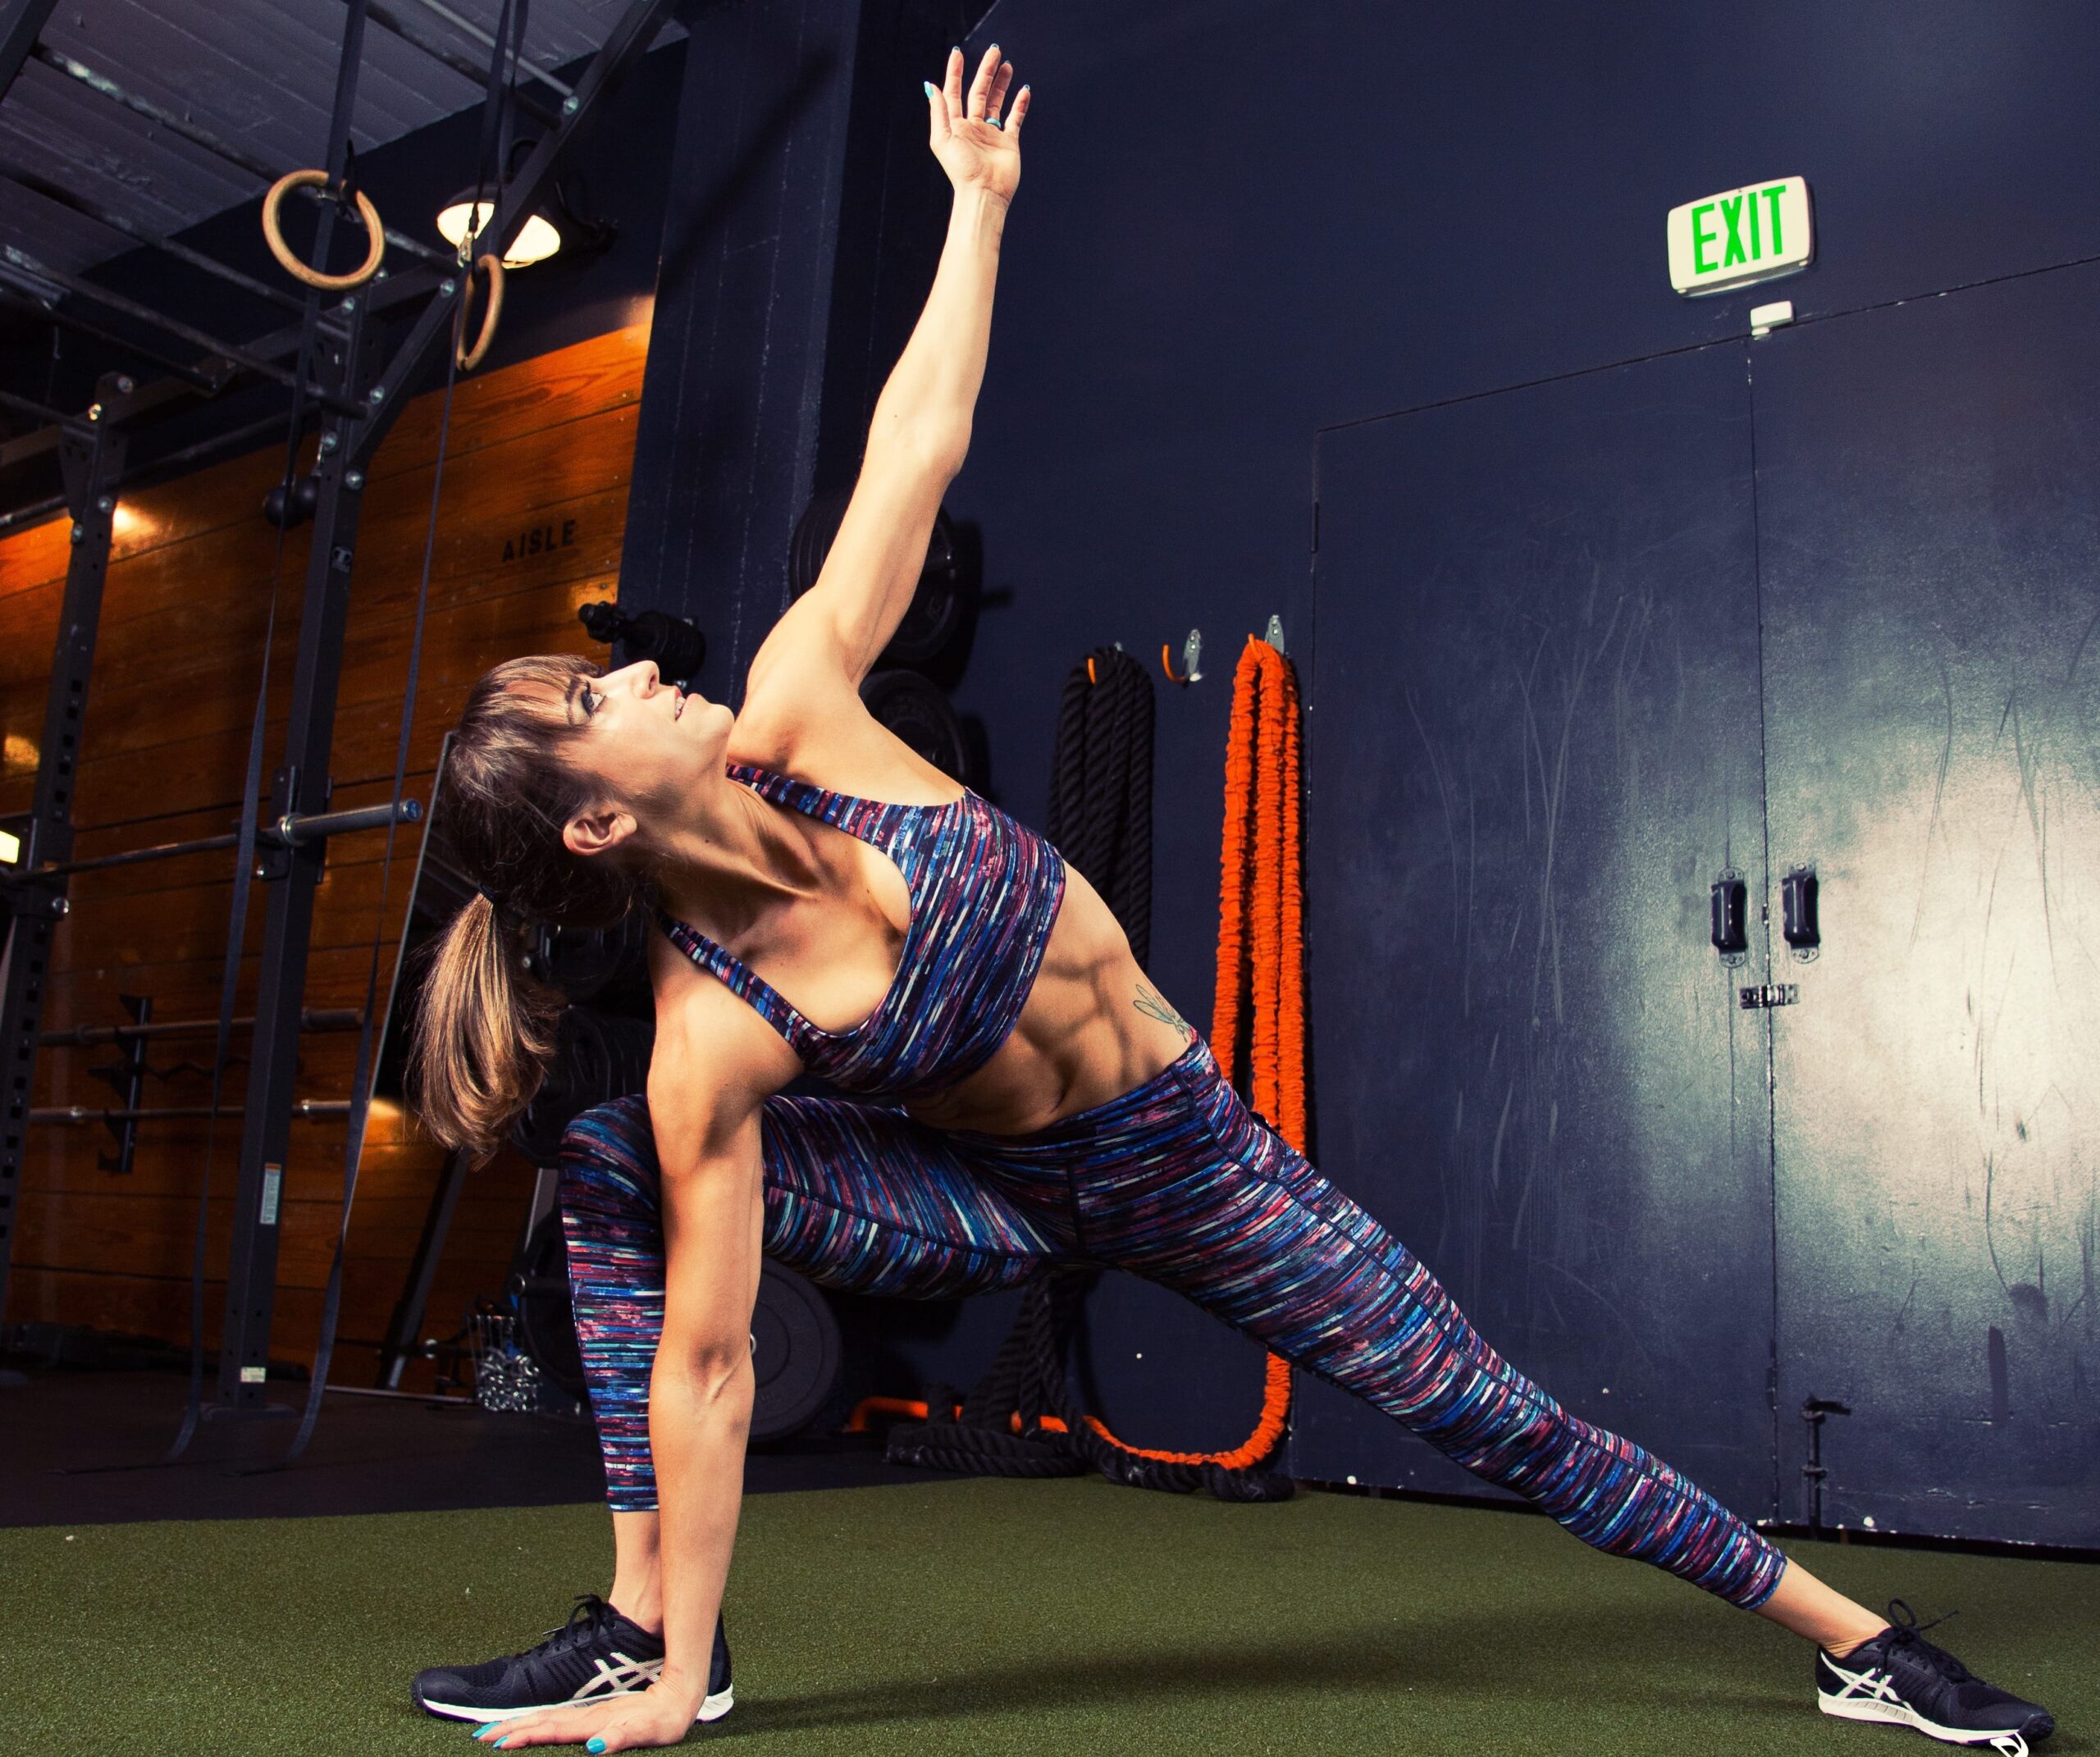
5-10 reps per side World’s Greatest Stretch
ACTIVATION:
Complete 2-4 rounds of each triset, resting up to 30 seconds between rounds if needed. Rest up to 1 minute between trisets as needed. If you are doing this as part of a warm up, 1-2 rounds of each is more than enough.
TRISET #1:
20 seconds Vomiting Cat
20 seconds Glute Bridge with Rocks
20 seconds Swimmers
TRISET #2:
20 seconds Thoracic Bridge with Sit Thru
20 seconds Bulldog Shoulder Taps
20 seconds Frog Bridge
With the stretching and rolling, focus on your areas of tightness even skipping areas that aren’t tight especially if you are short on time!


hi dear
Thanks for sharing it. LOVELY !!!
I need your help dear! when I raise my legs off the ground, my lower back hurts in swimmers exercise.
Secondly, when I do crunches, I try to lift my shoulders only and not neck, still I can’t relax my neck as if overactive neck flexors. How to fix it?
Exactly what I need!! This will be my new dynamic warm up. Your movement patterns are excellent and this targeted my weak and tight areas perfectly.
Thank you!
Do you have a routine for upper back pain? Shoulder,traps and neck
Your lower back, while it should work, should be supported by engaging your glutes and it sounds like your spinal mobility is limited. I mentioned to you in another comment checking out my RStoration. It sounds like too you need to learn to stack your head over your neck instead of trying to jut your chin forward in your hands.
Glad it helps Terri!
You may want to check out my RStoration program for full-body mobility work. These moves may also help – https://redefiningstrength.com/alleviate-neck-pain-10-tips-make-feel-better-fast/
Thank you for the great post. Never heard that movement called the vomiting cat before. I am so gonna use that name going forward.
hehe glad it helps! The name helps me separate it from the simple stretch to the activation move it can be!
Your approach is exhaustive and so thorough. As a scientist, I appreciate your thoughtful and holistic methodology of treating the upstream and downstream areas of the pain.
Brilliant program, I’m going to use this twice weekly to help ease lower back tightness
Glad the workout helps! Hope you check out the full RStoration program as often even addressing mobility restrictions at other joints can prevent further overload!