7 Tips To Start Back in the Gym After a Layoff
Starting back to working out is HARD.
It’s easy to do too much too fast and prevent ourselves from getting into a routine or even end up injured.
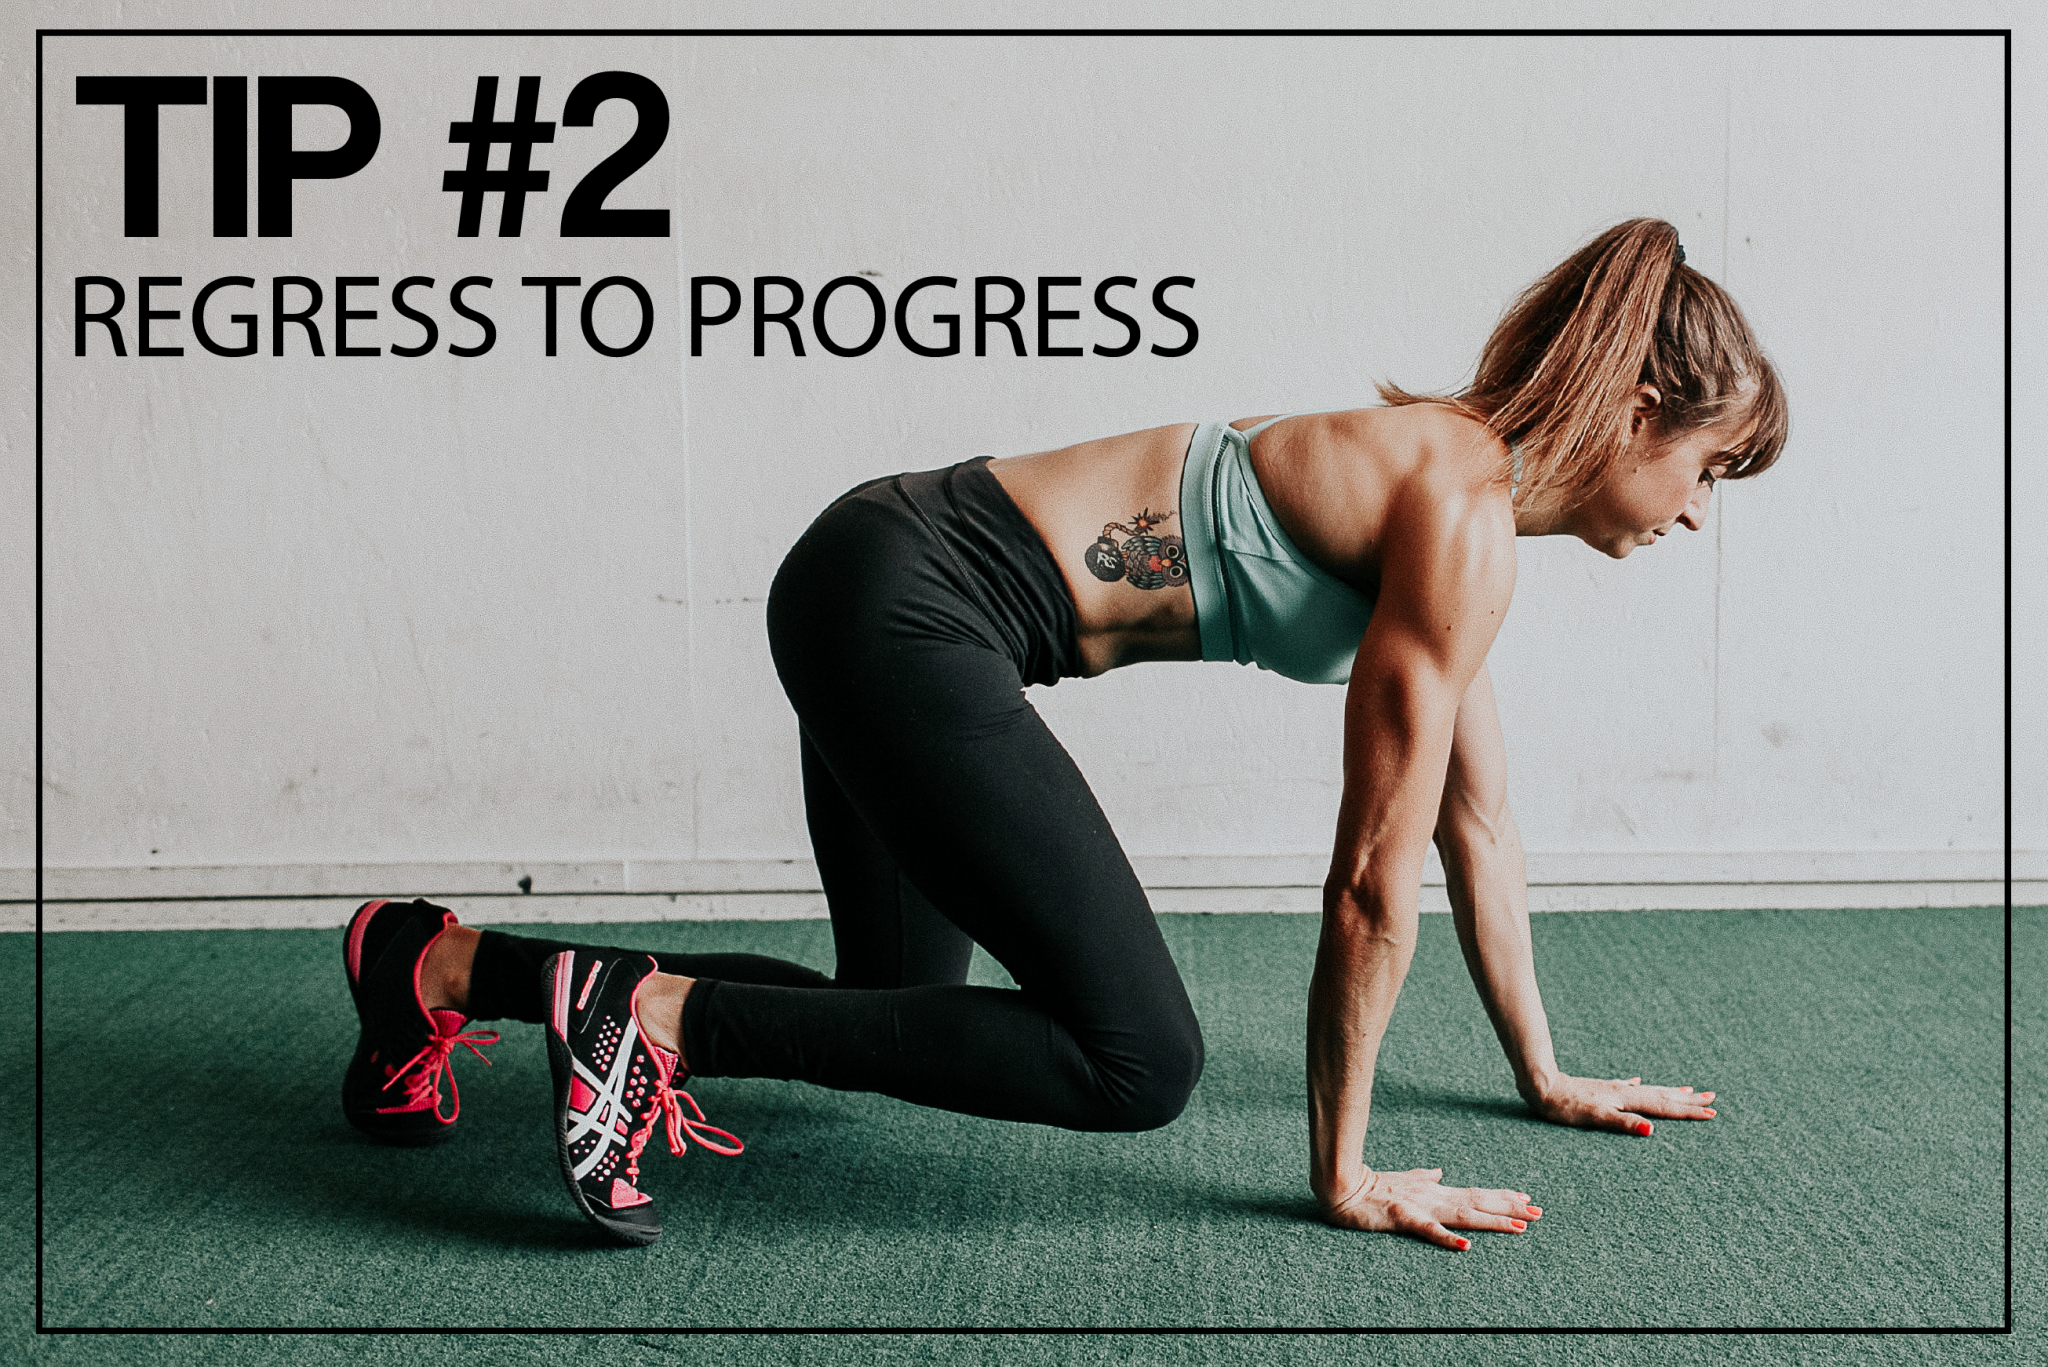
It’s hard to regress to progress and even check our egos to do less than we were doing before.
But meeting ourselves where we are at to rebuild is key.
That’s why I want to share 7 tips to help you avoid the common training mistakes I see people making when starting back so you can rebuild even stronger and get that momentum going so results snowball!
And I will warn you…as you build back, it can be hard at times to not compare to where you were at before.
But this comparison can kill our gains.

Which is why tip number 1 is to remember every move is EARNED!
It’s tempting to try to go back to what you once did before you took time off.
But that is a recipe for injury or at least soreness that may sideline you for weeks, holding you back from getting consistent.
You have to build back. You have to earn those moves again.
And often it isn’t enough to just think “do less.”
You truly need to focus on modifying to match where you are at now.
It may mean taking more than one or two steps back to focus on fully re-establishing those movement patterns and that mind-body connection.
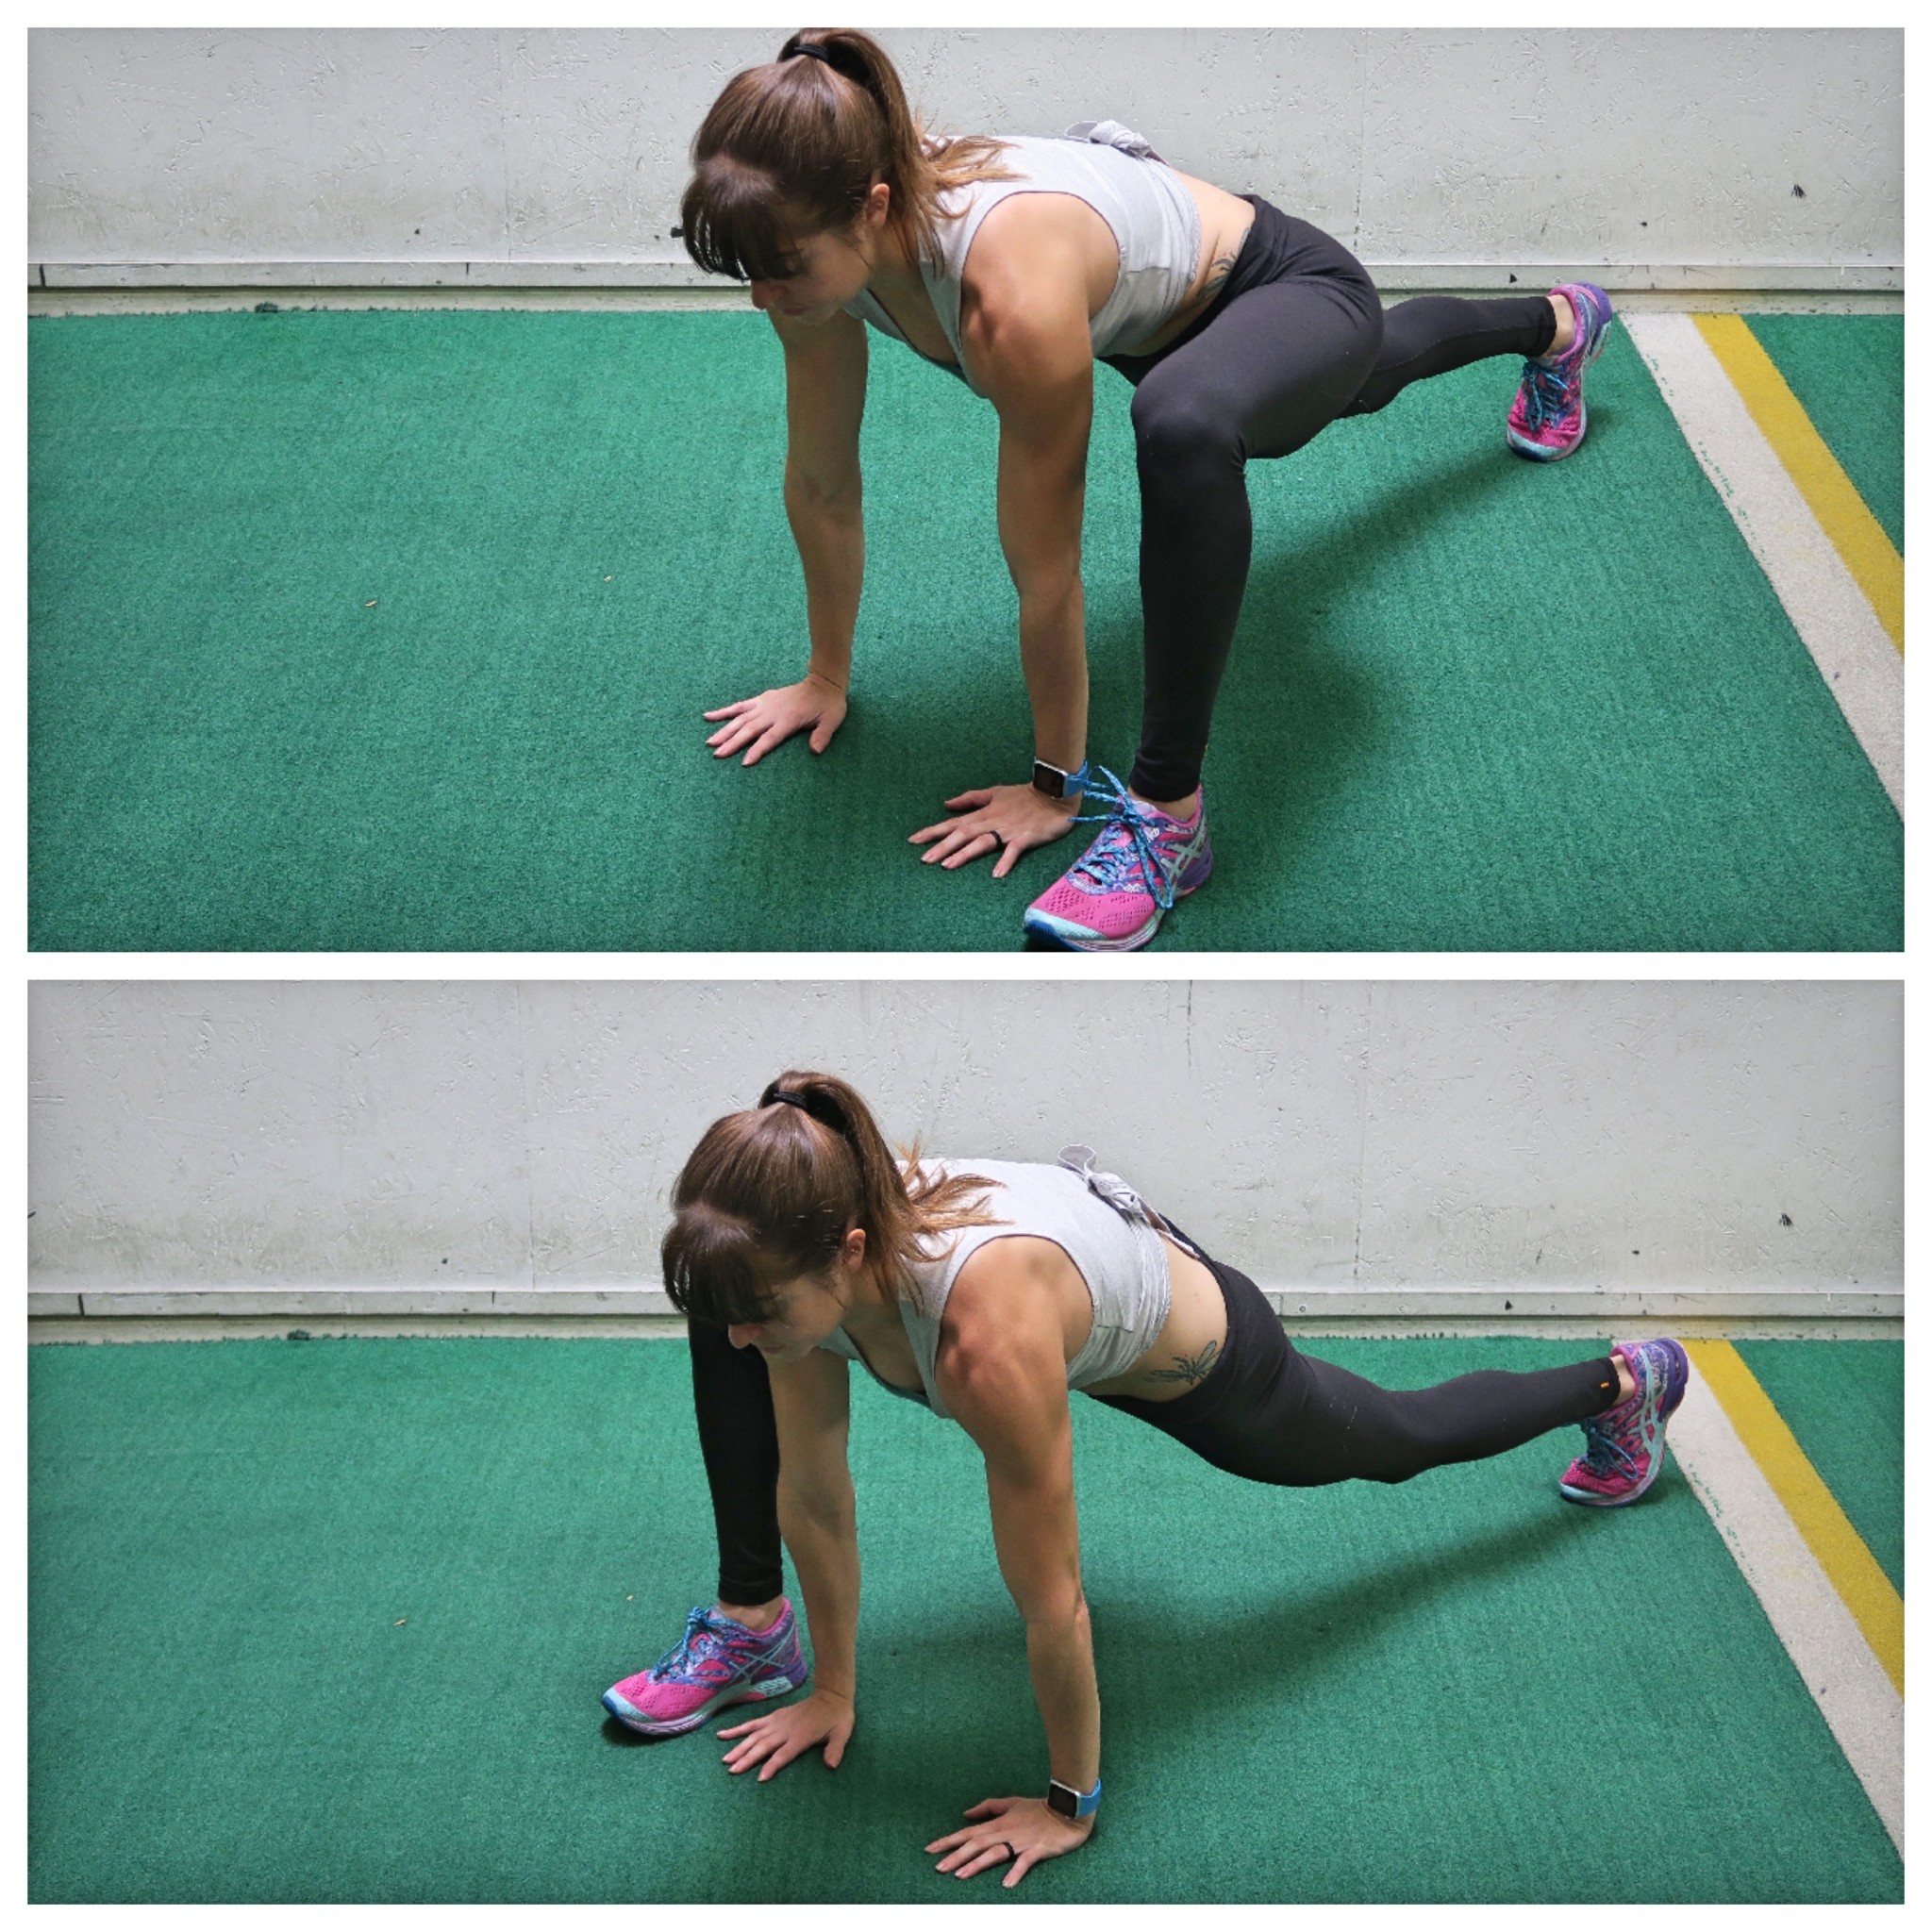
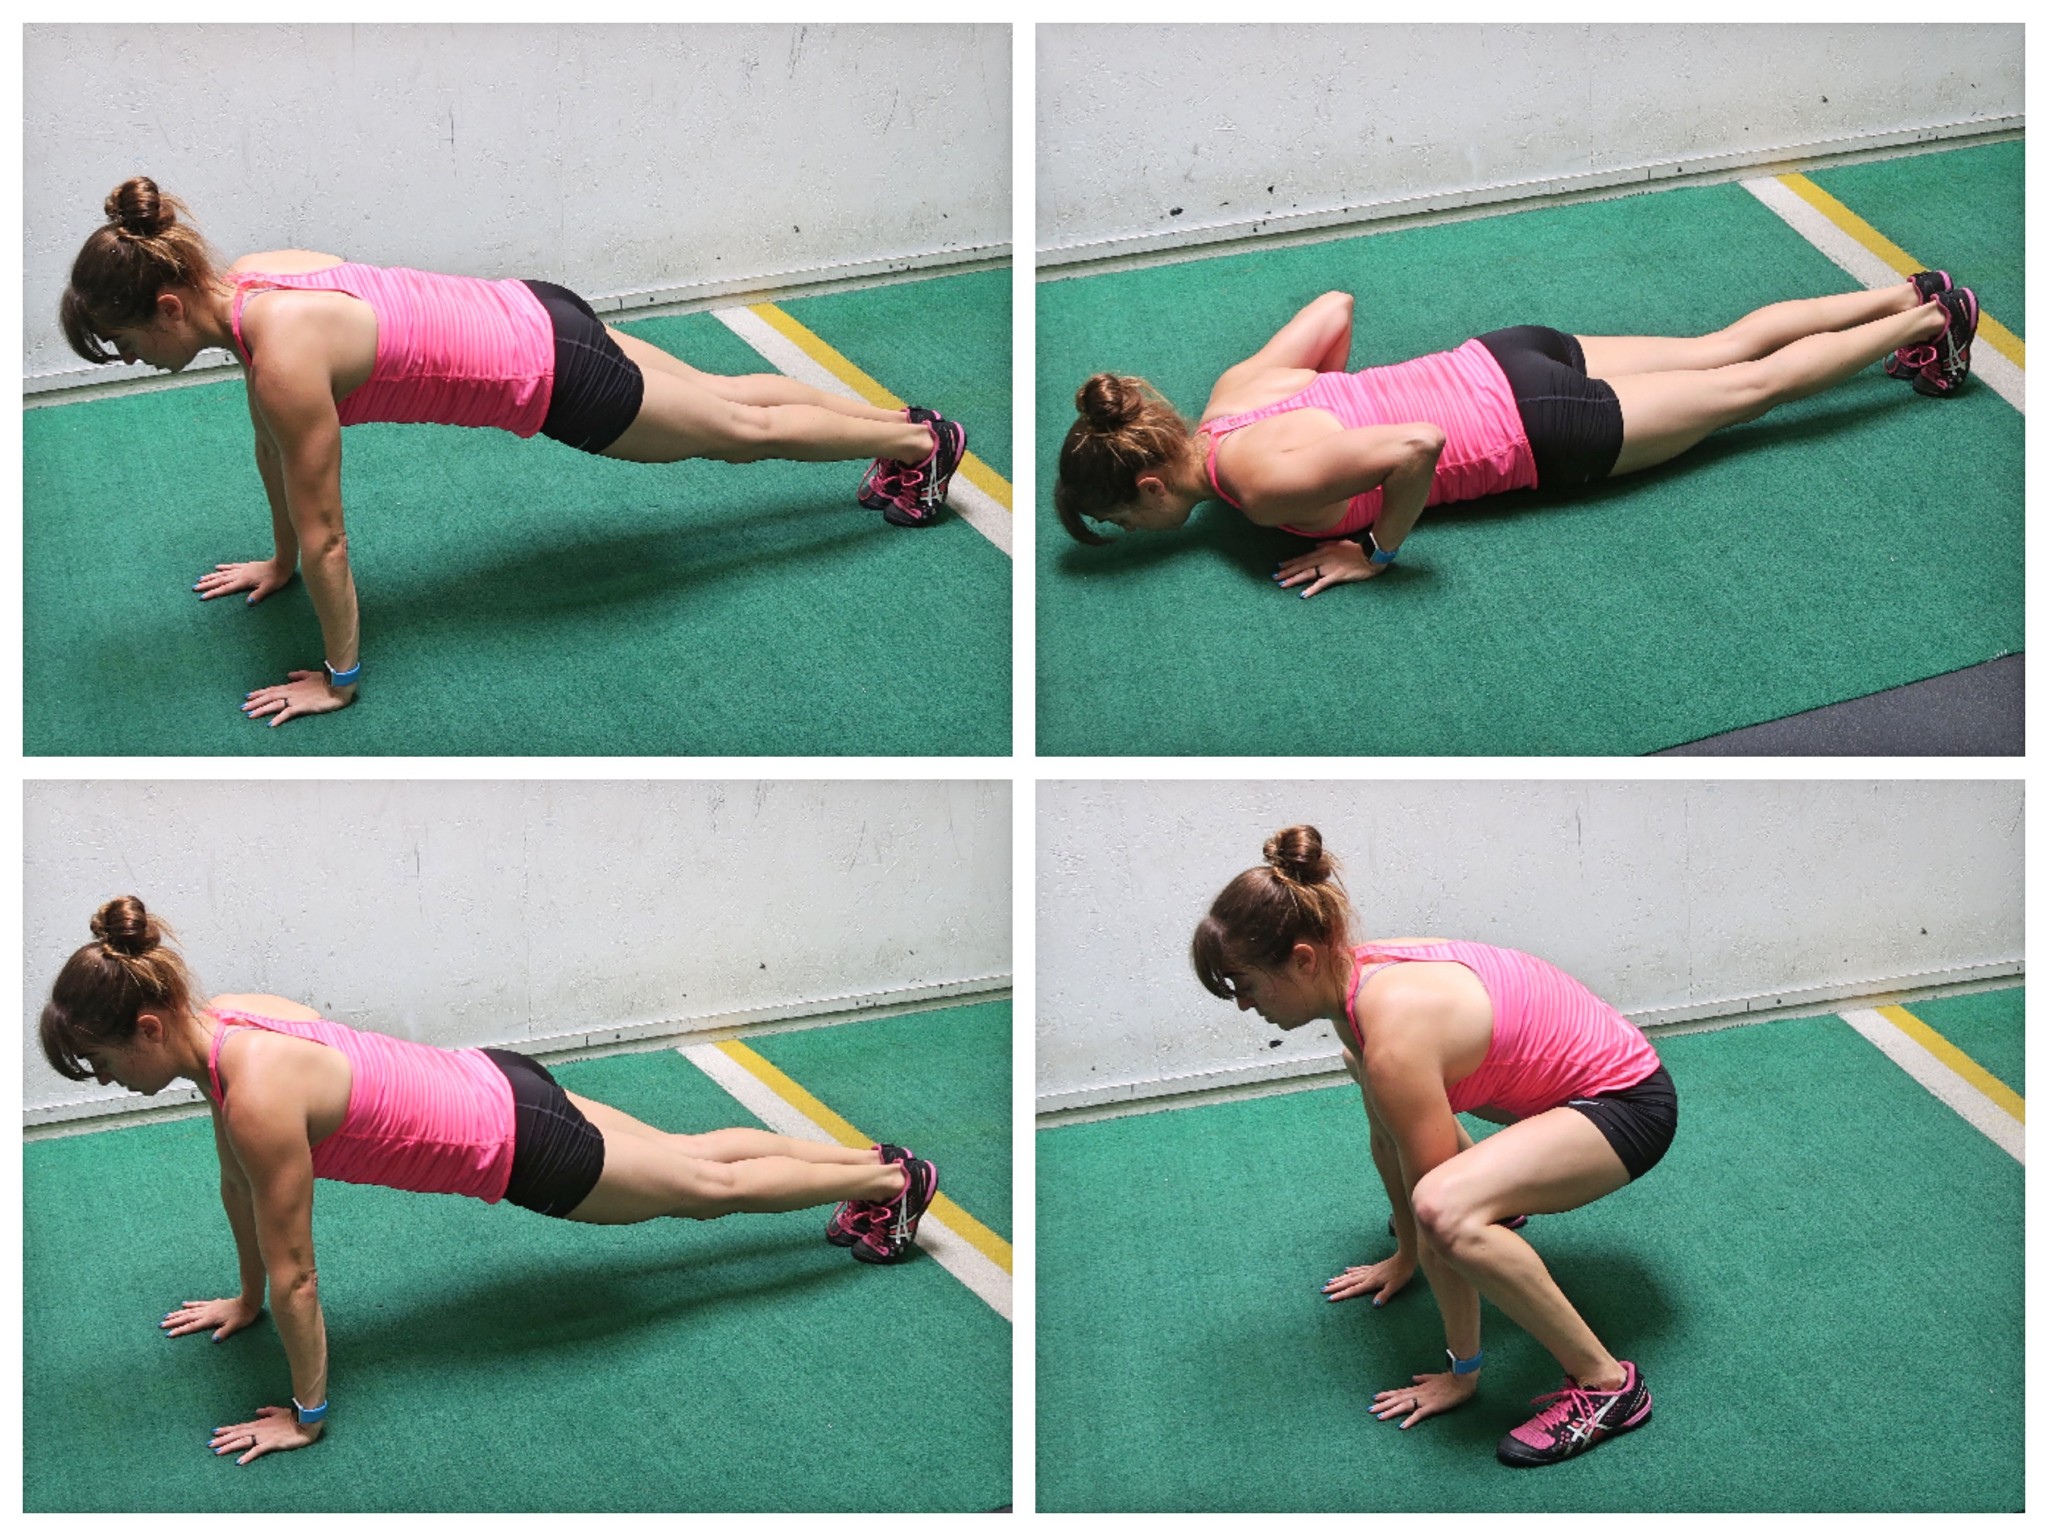
So when you first start back, go back to those basics.
Focus on what you feel working with fundamental moves you can then build off of.
Even film your movements to check form.
Take pride in earning those exercises and weights back with slow progression.
But enjoy re-learning to move well first.
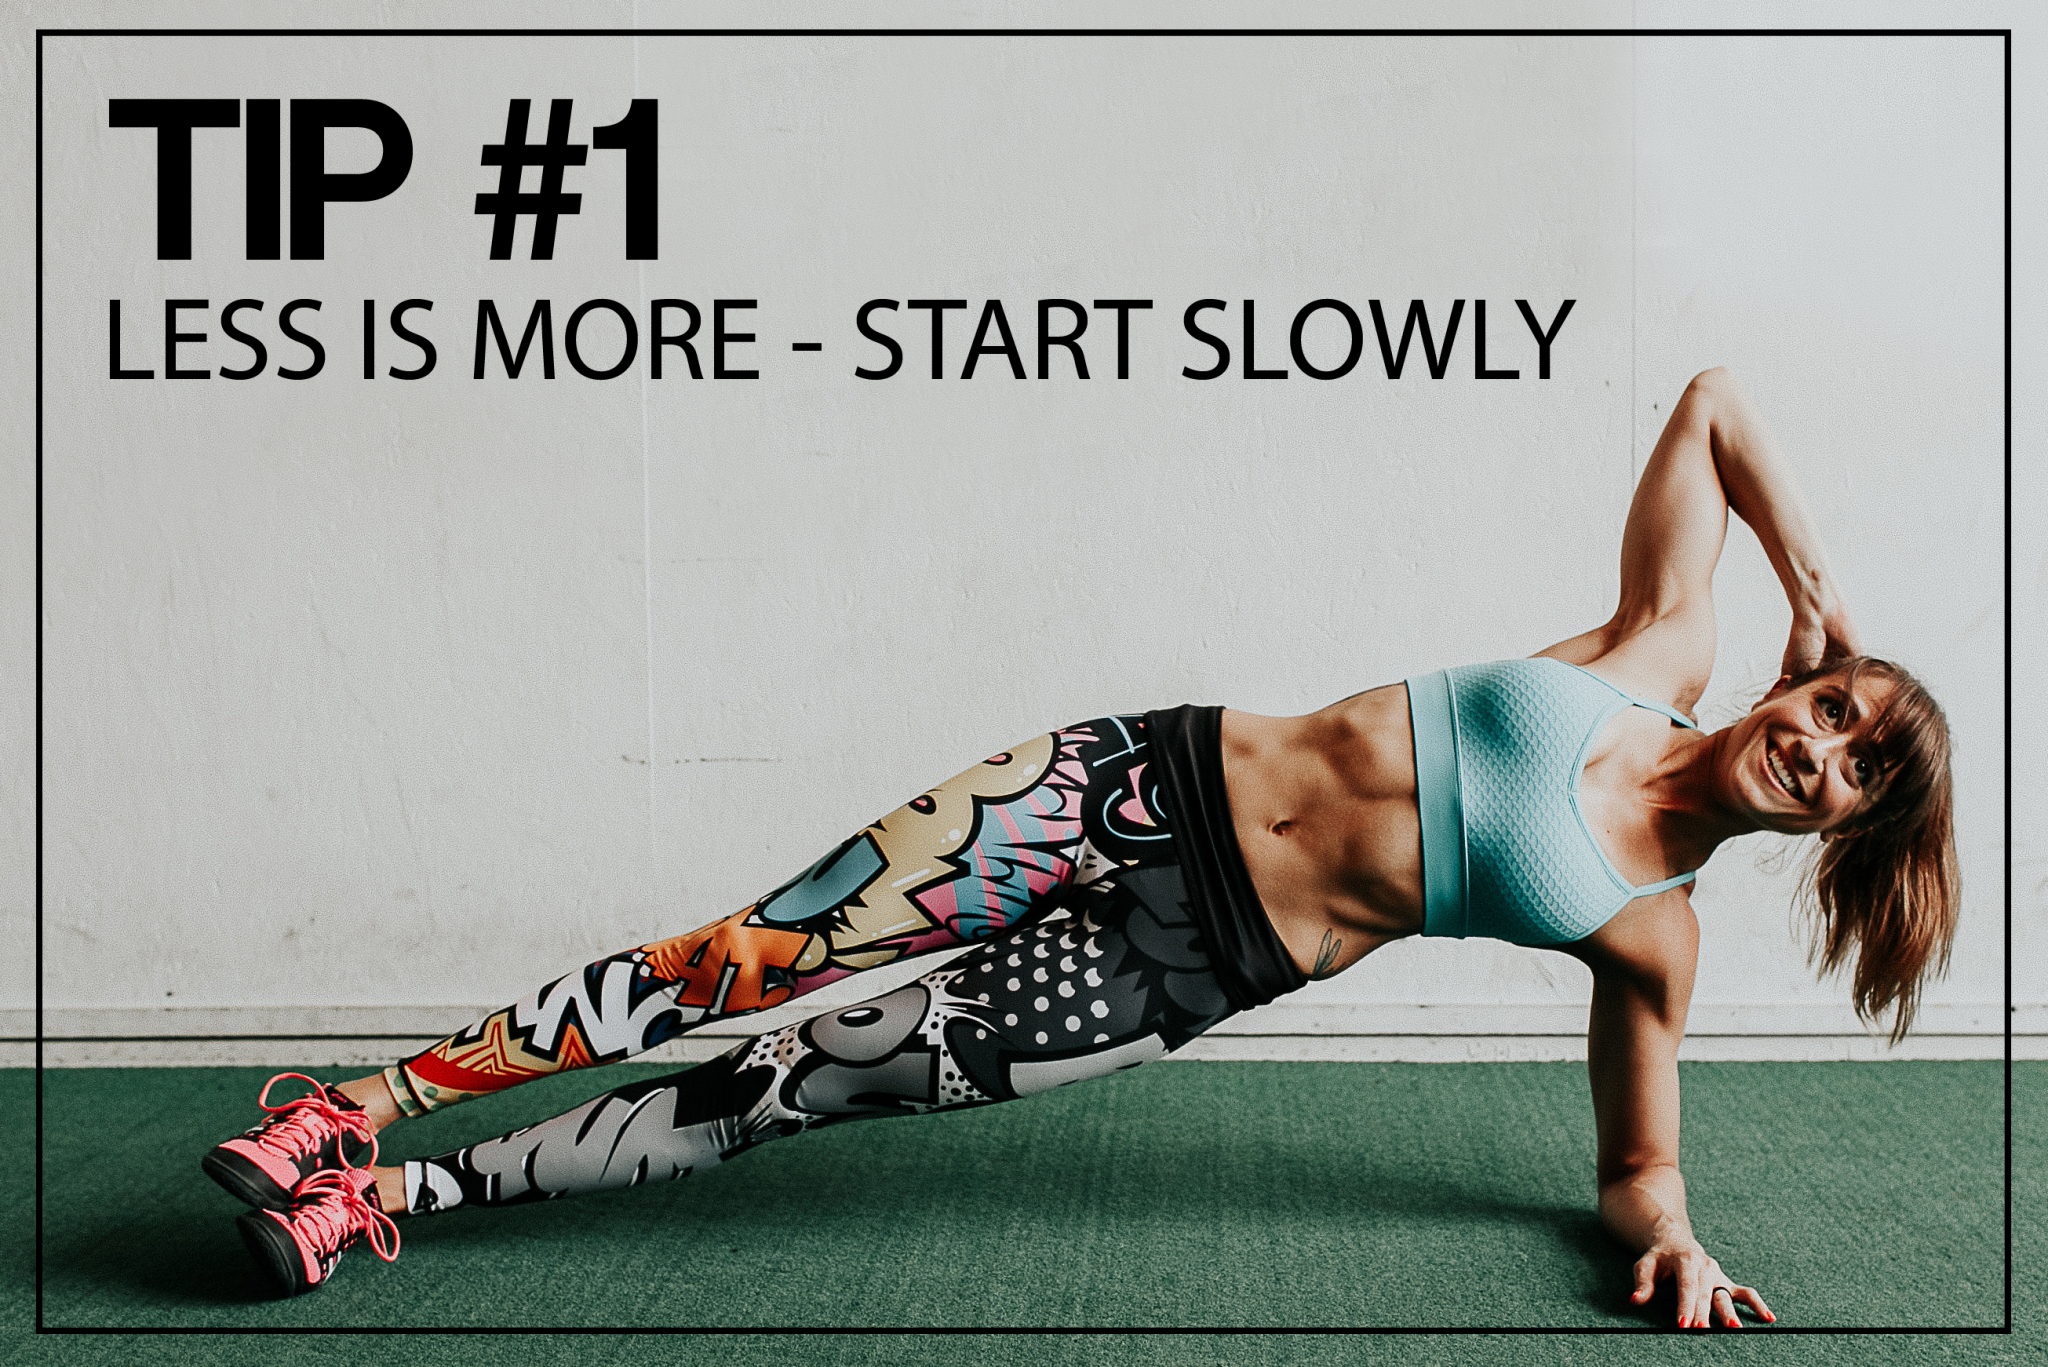
And note…I said SLOW progression with earning those moves.
A common mistake we make when building back is not only not having earned the moves we include and simply doing what we’d done before…
But also doing too much too fast.
We go 0-60.
We jump off the couch and expect to be back to running half marathons right away.
Instead we need to take the approach of doing just enough that we CRAVE more and feel we could have done more.
This will help us ultimately not make ourselves so sore we can’t be consistent or compensate due to fatigue so we end up with injury.
We have to remember that everything is sort of NEW again.
And that new again can make us sore.
Being too sore can stop us from doing our weekly workouts as they are laid out, which can make it hard to build that routine and momentum.
Not to mention, being sore can change our recruitment patterns, impacting how muscles engage in other moves.
This can lead to us not getting the most out of our workouts or ending up injured so we’re starting over again.
So remember less is more starting back. Do just enough that you’re craving doing more but DON’T until you have a few weeks under your belt!
And make those progressions in moves incremental, tracking them over the weeks!
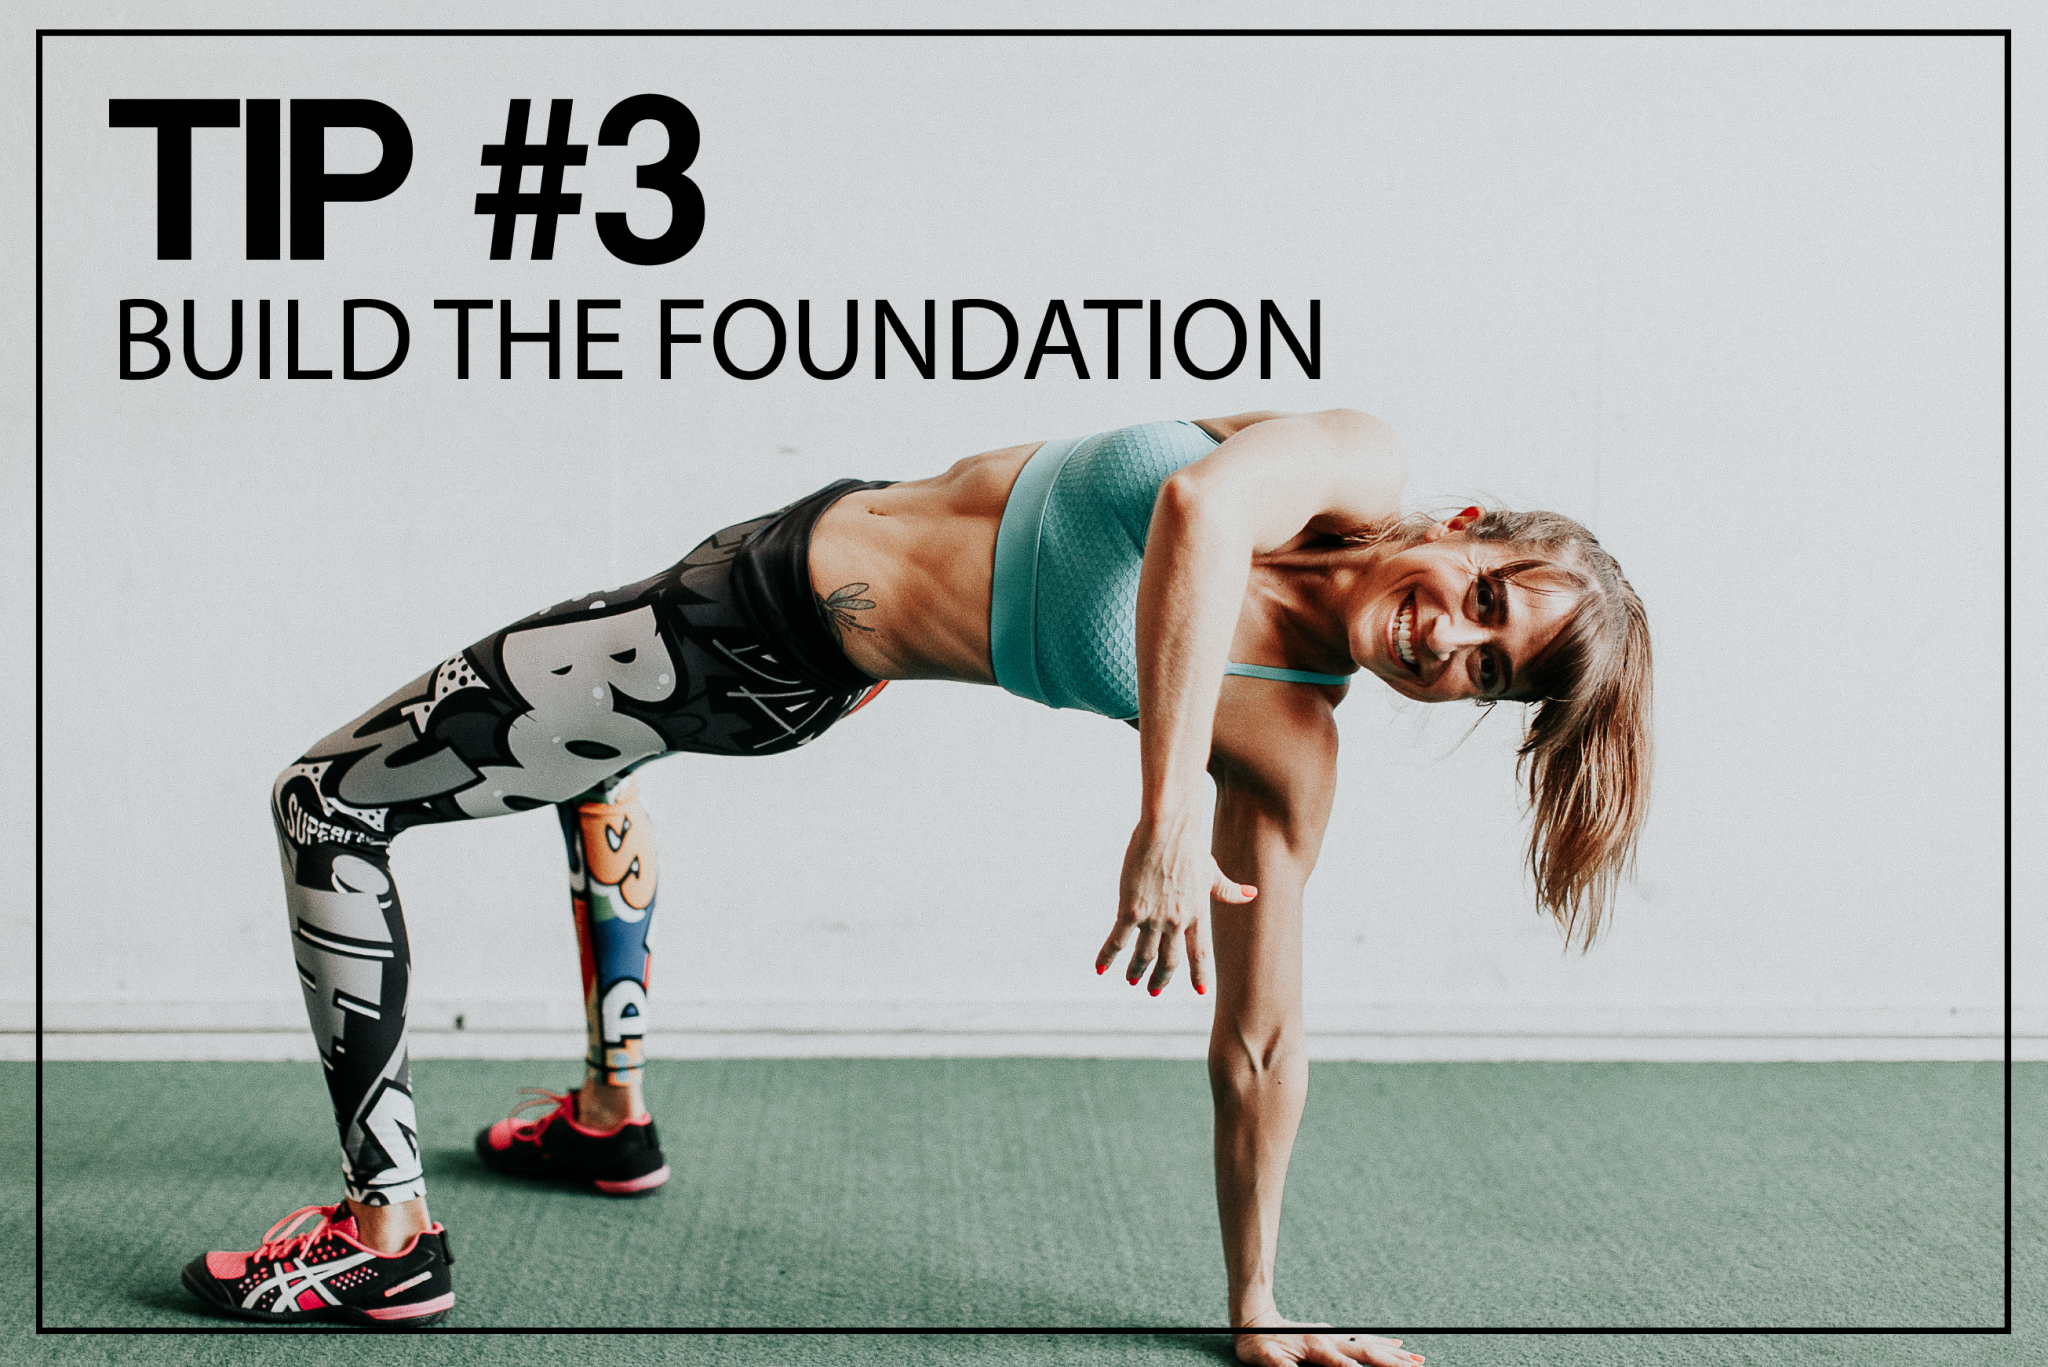
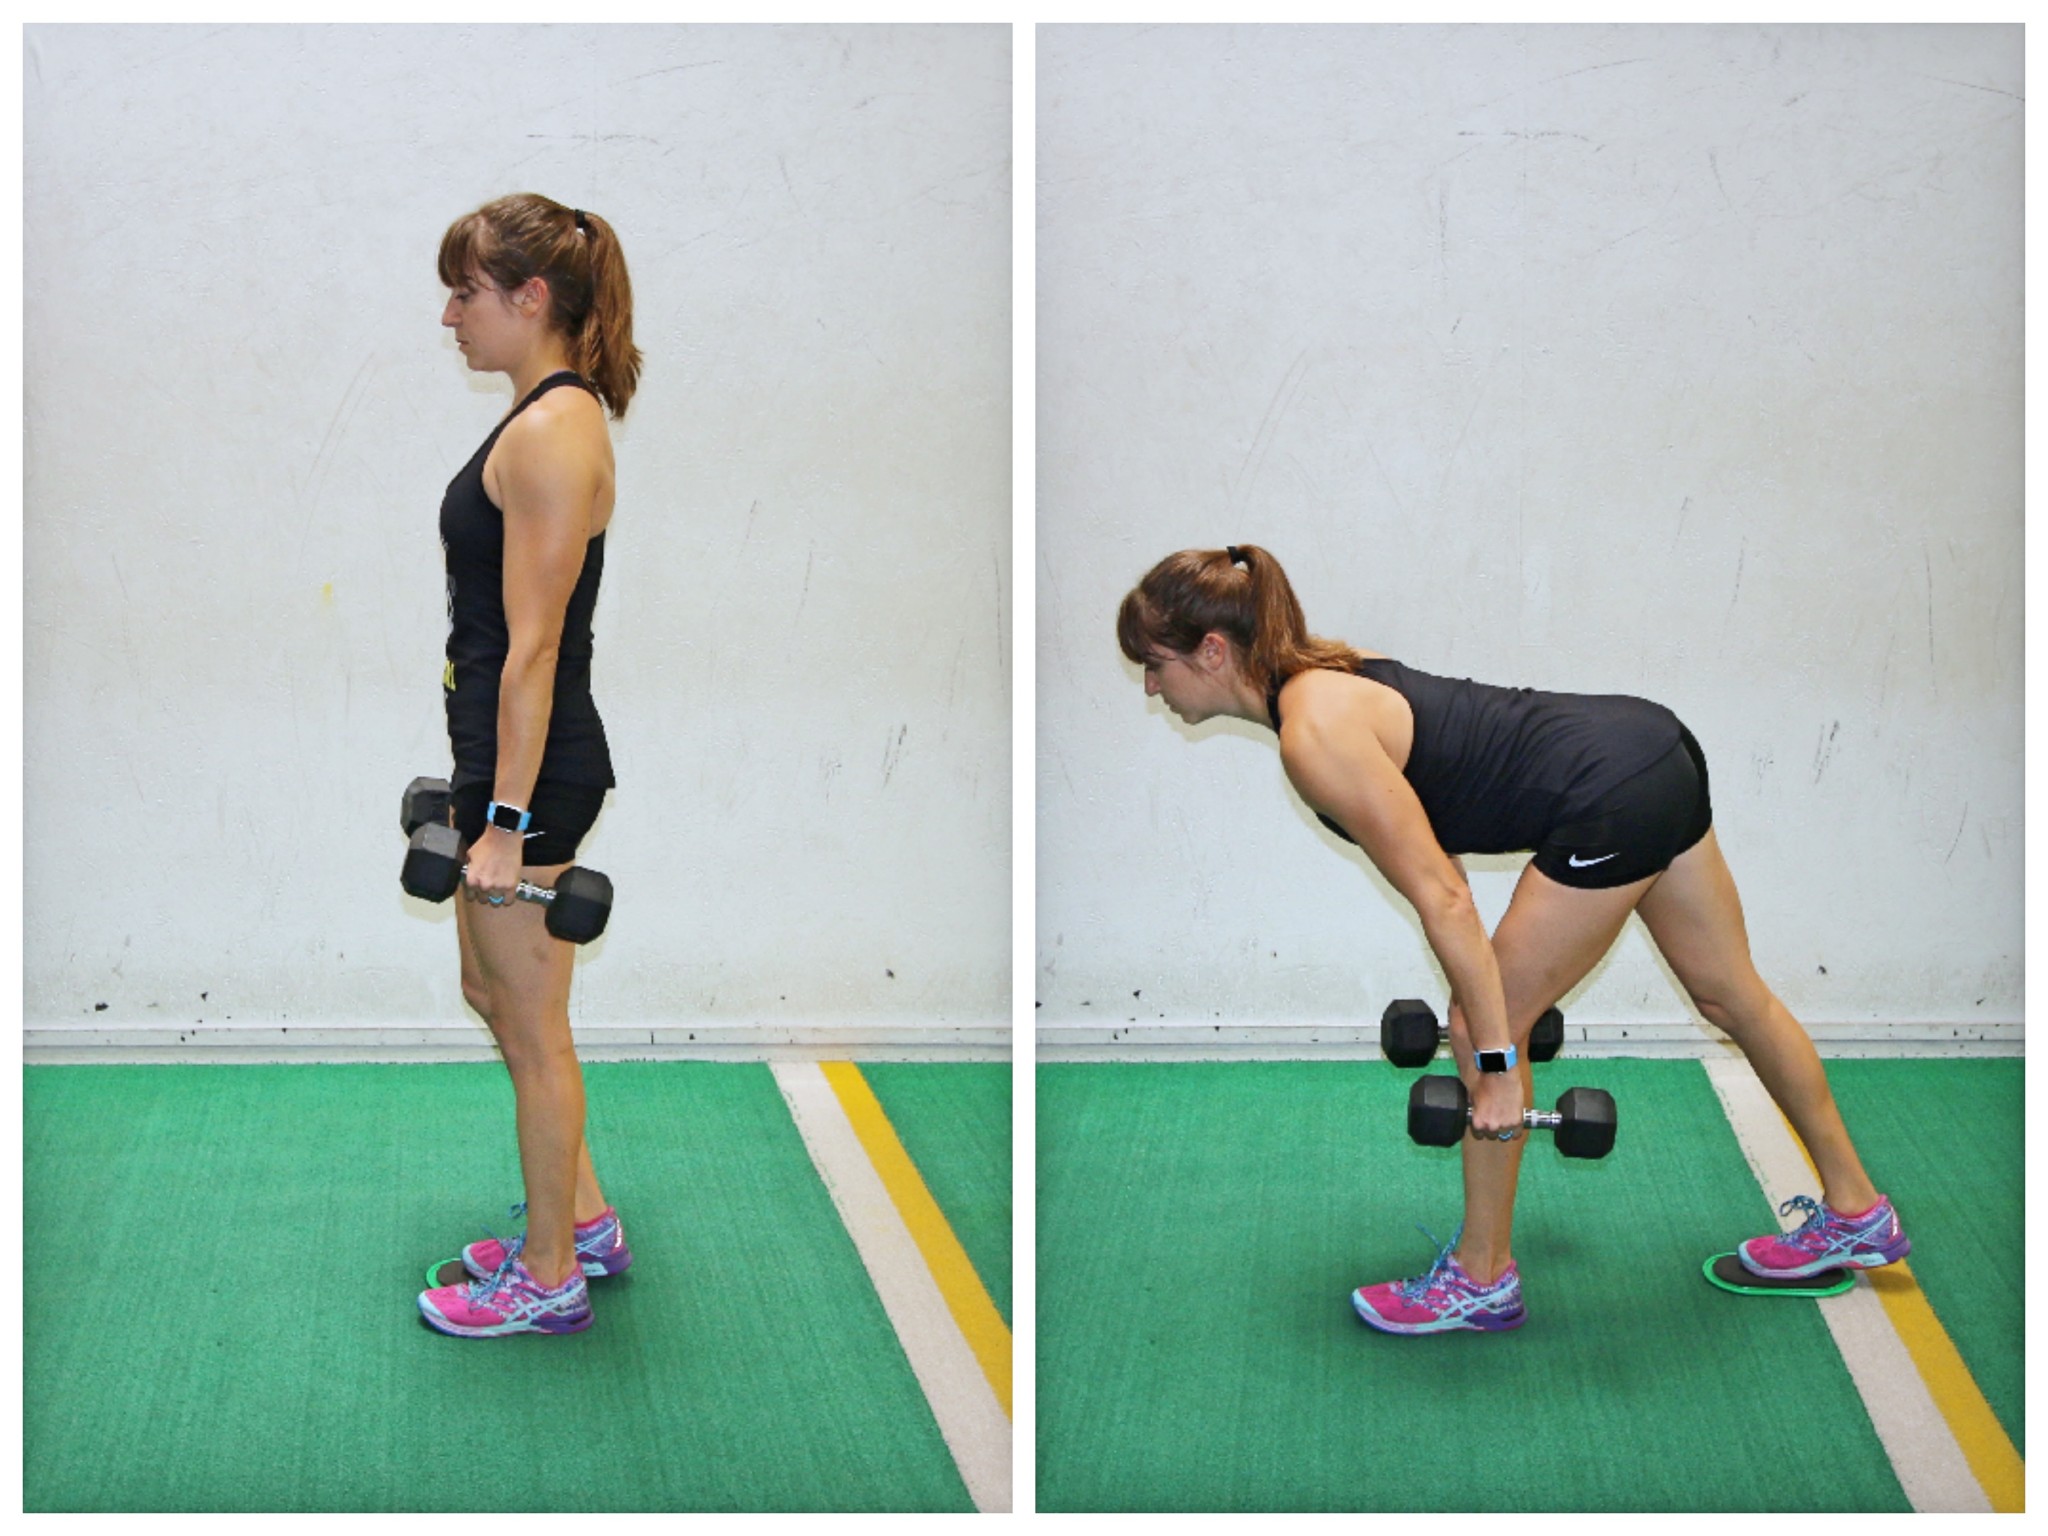
Which leads me to tip #3…Don’t jump to adding weights first.
Adding weights or using a form of resistance is the easiest way to progress a move often.
So our first thought as we build back is to simply load moves down.
And if we can do a weight, we add more!
But just because you can lift a weight doesn’t mean your body is truly ready to.
While you may be strong enough, we have to remember that our connective tissues aren’t as fast to heal and build.
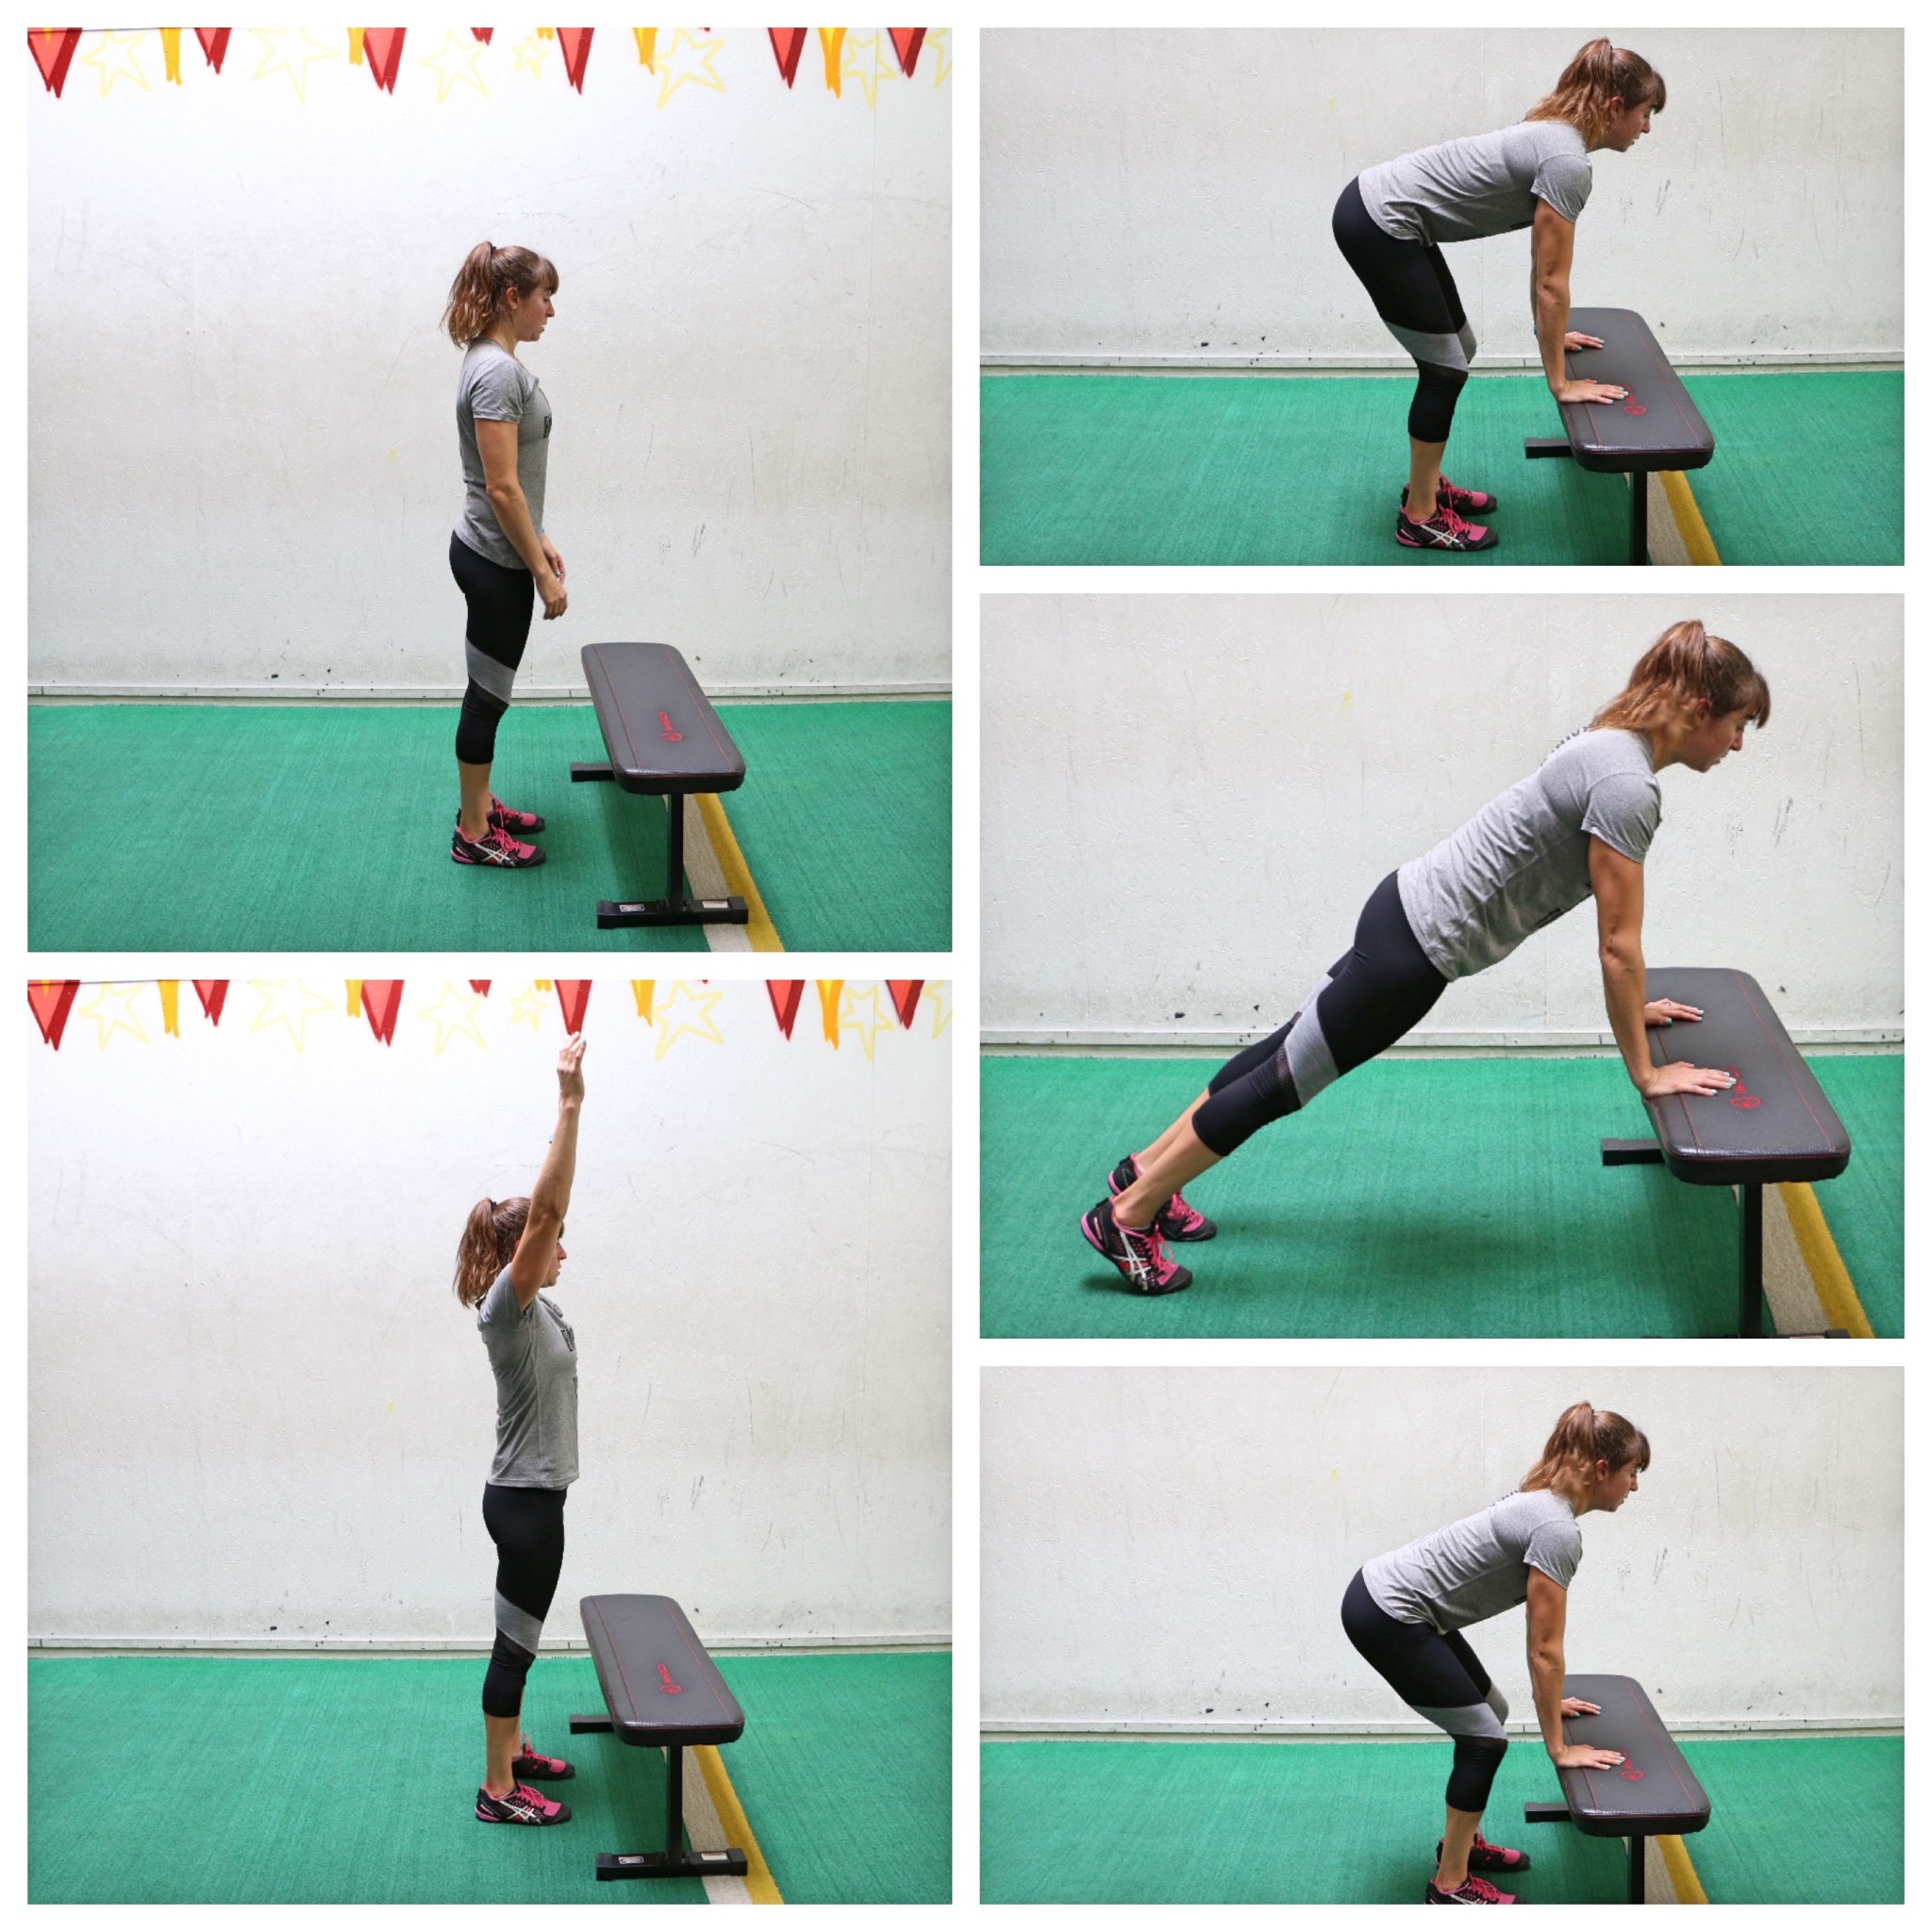
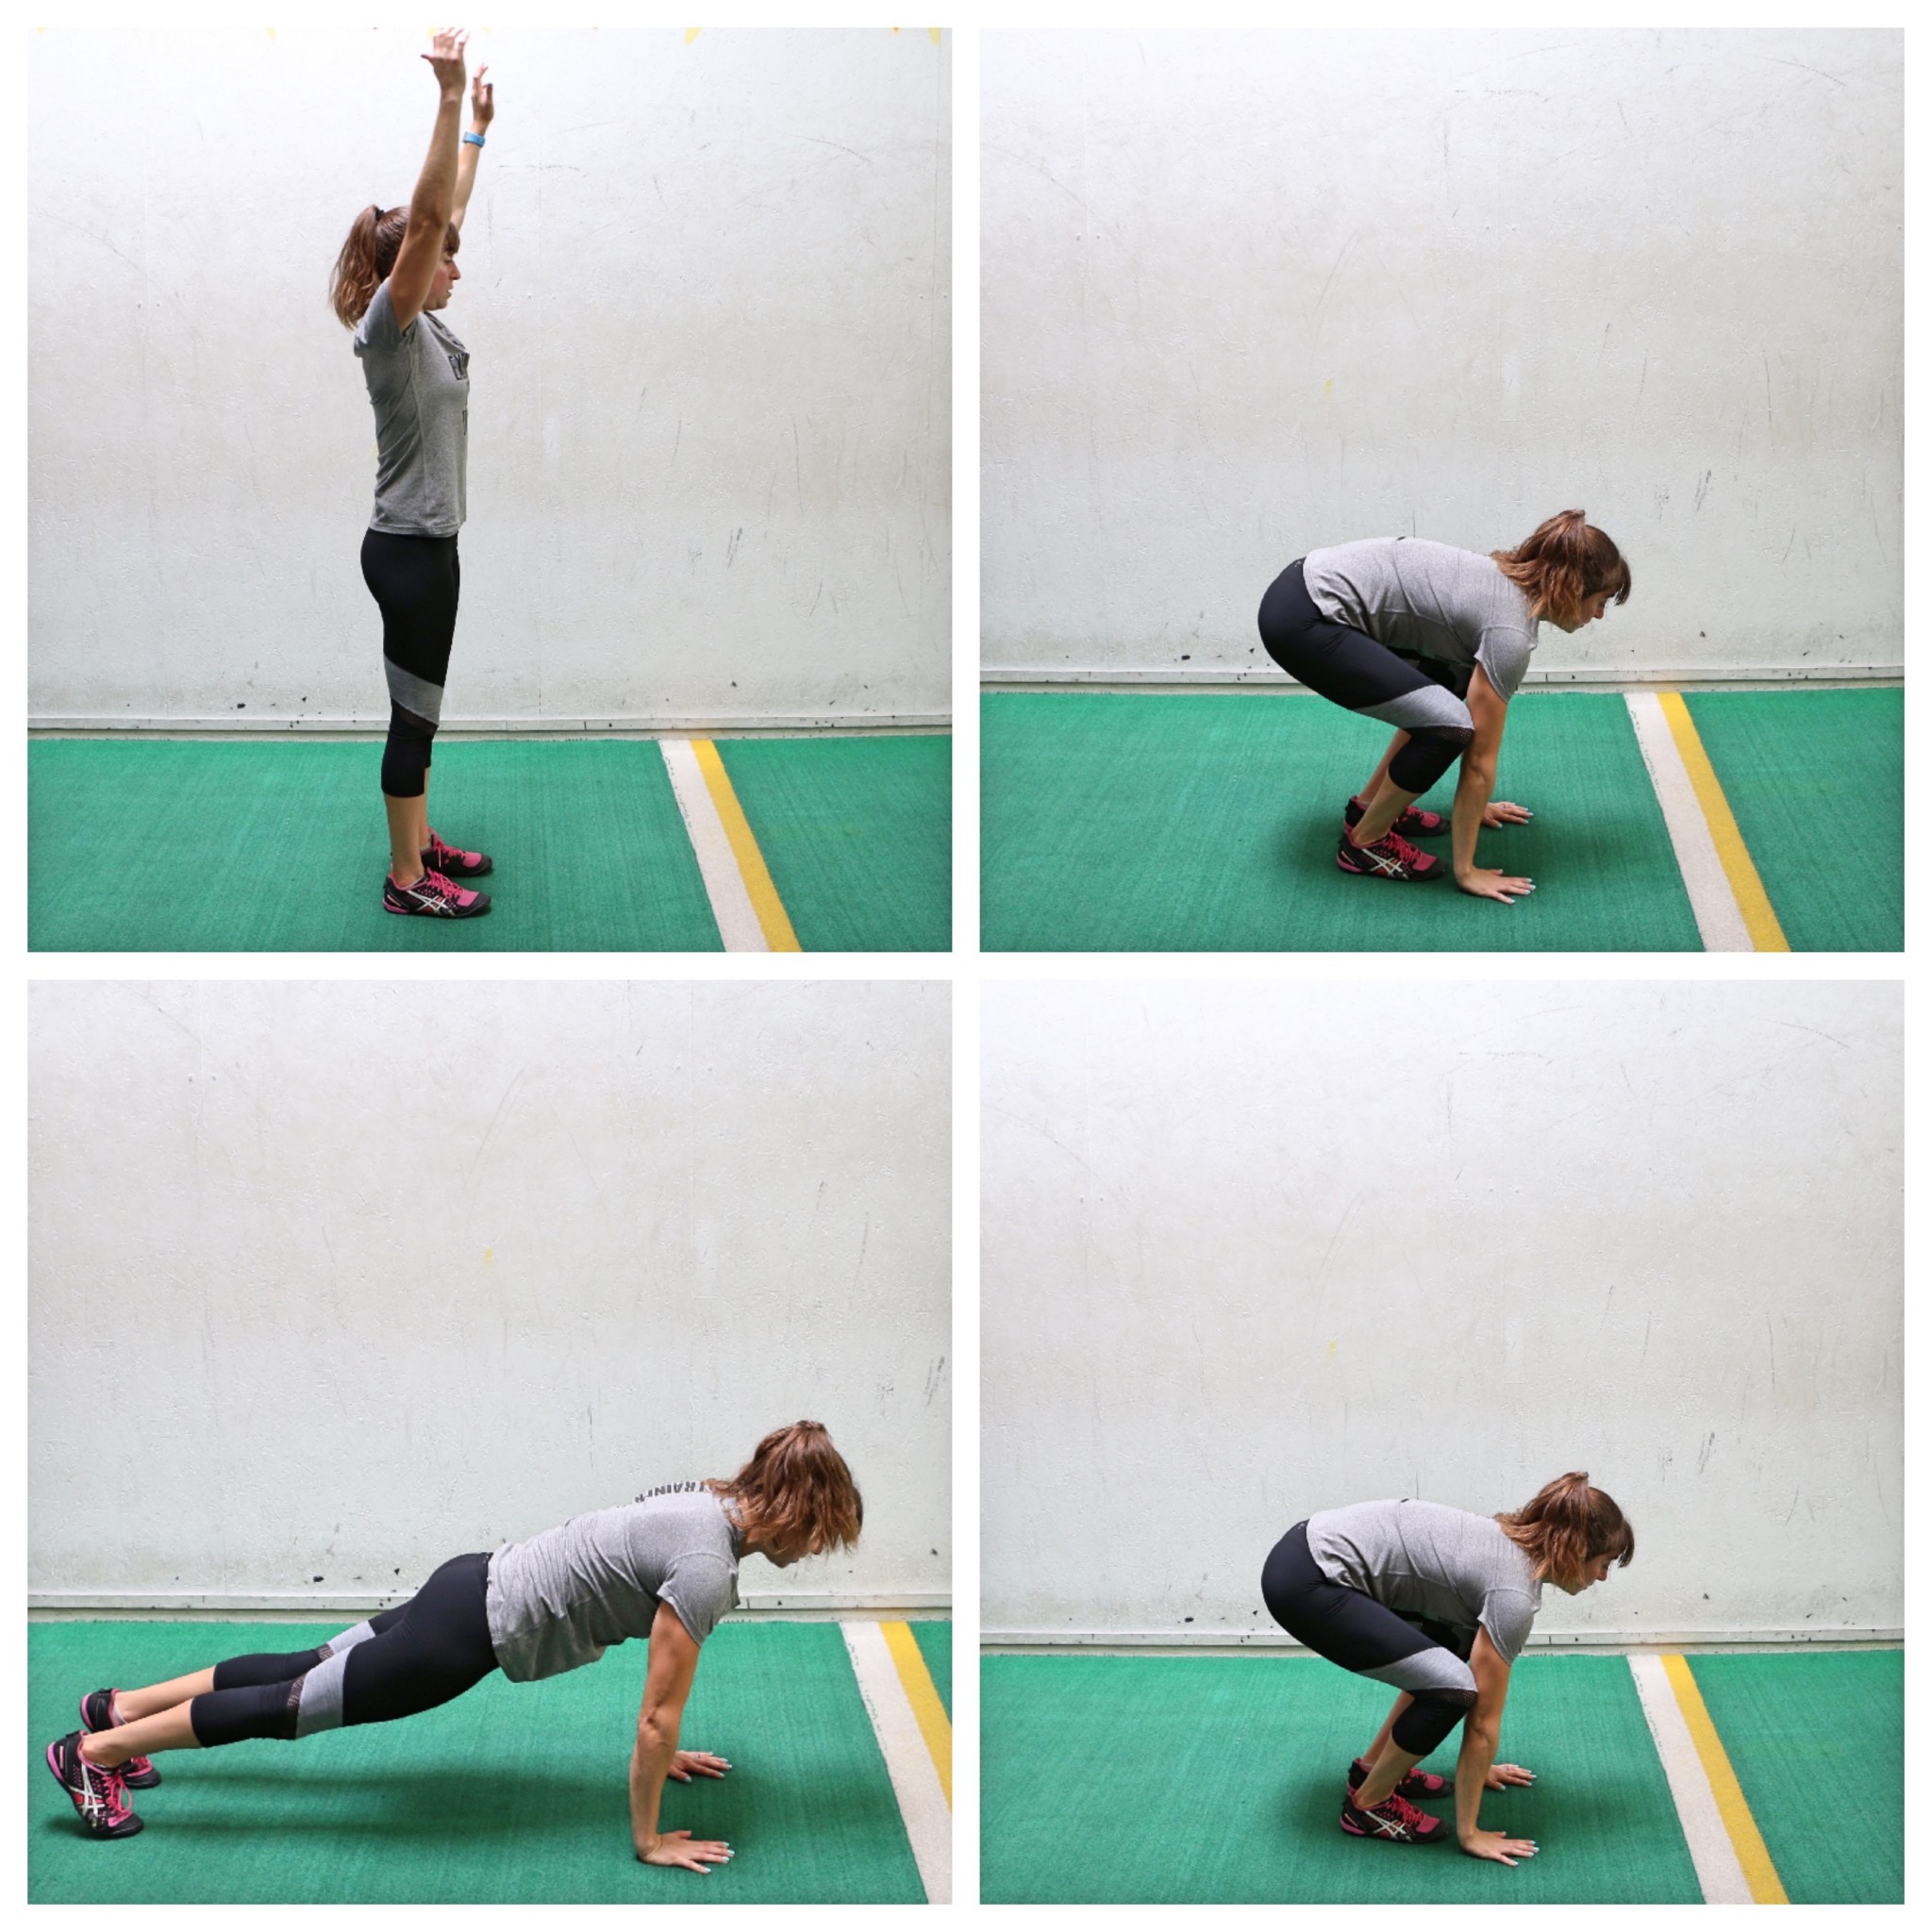
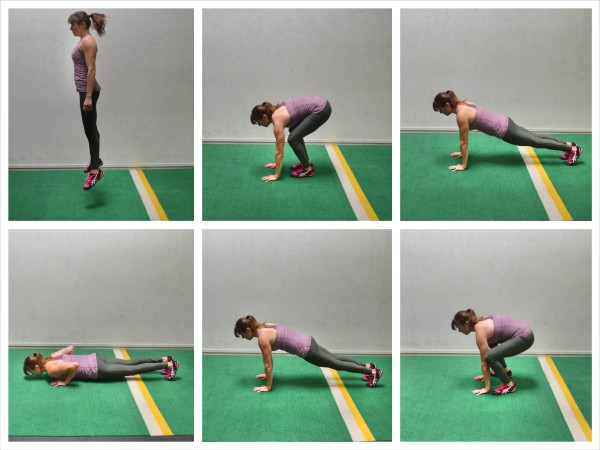
So not only do you want to take your time and slowly add loads to give your body fully time to catch back up, but you may want to start with other forms of progression first.
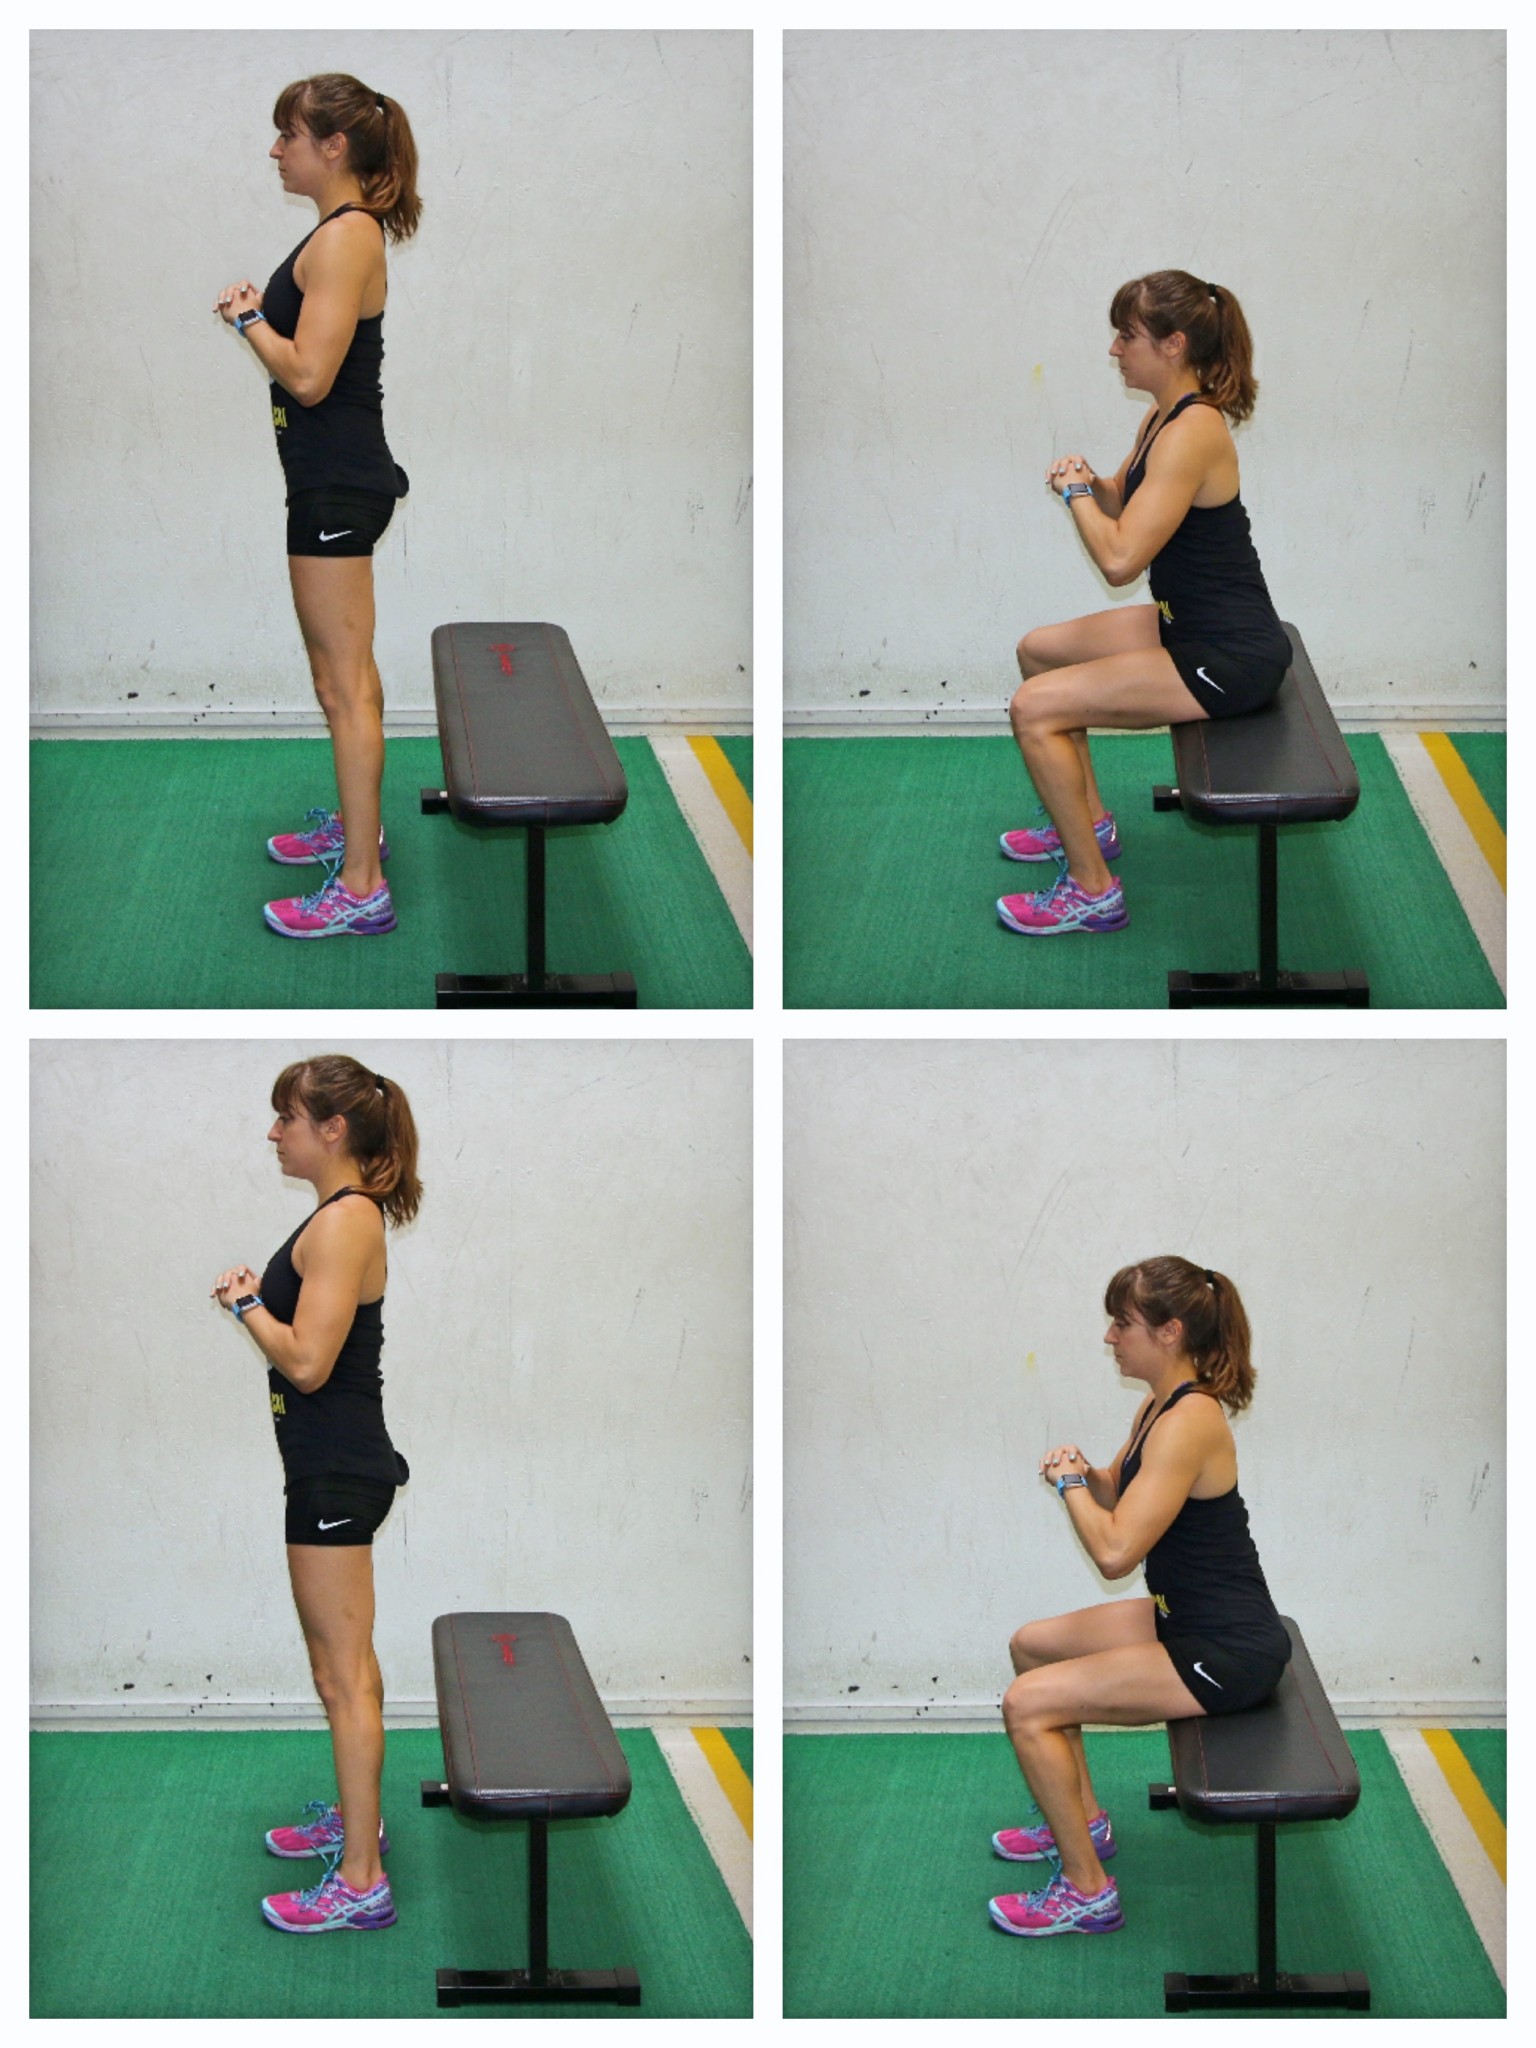
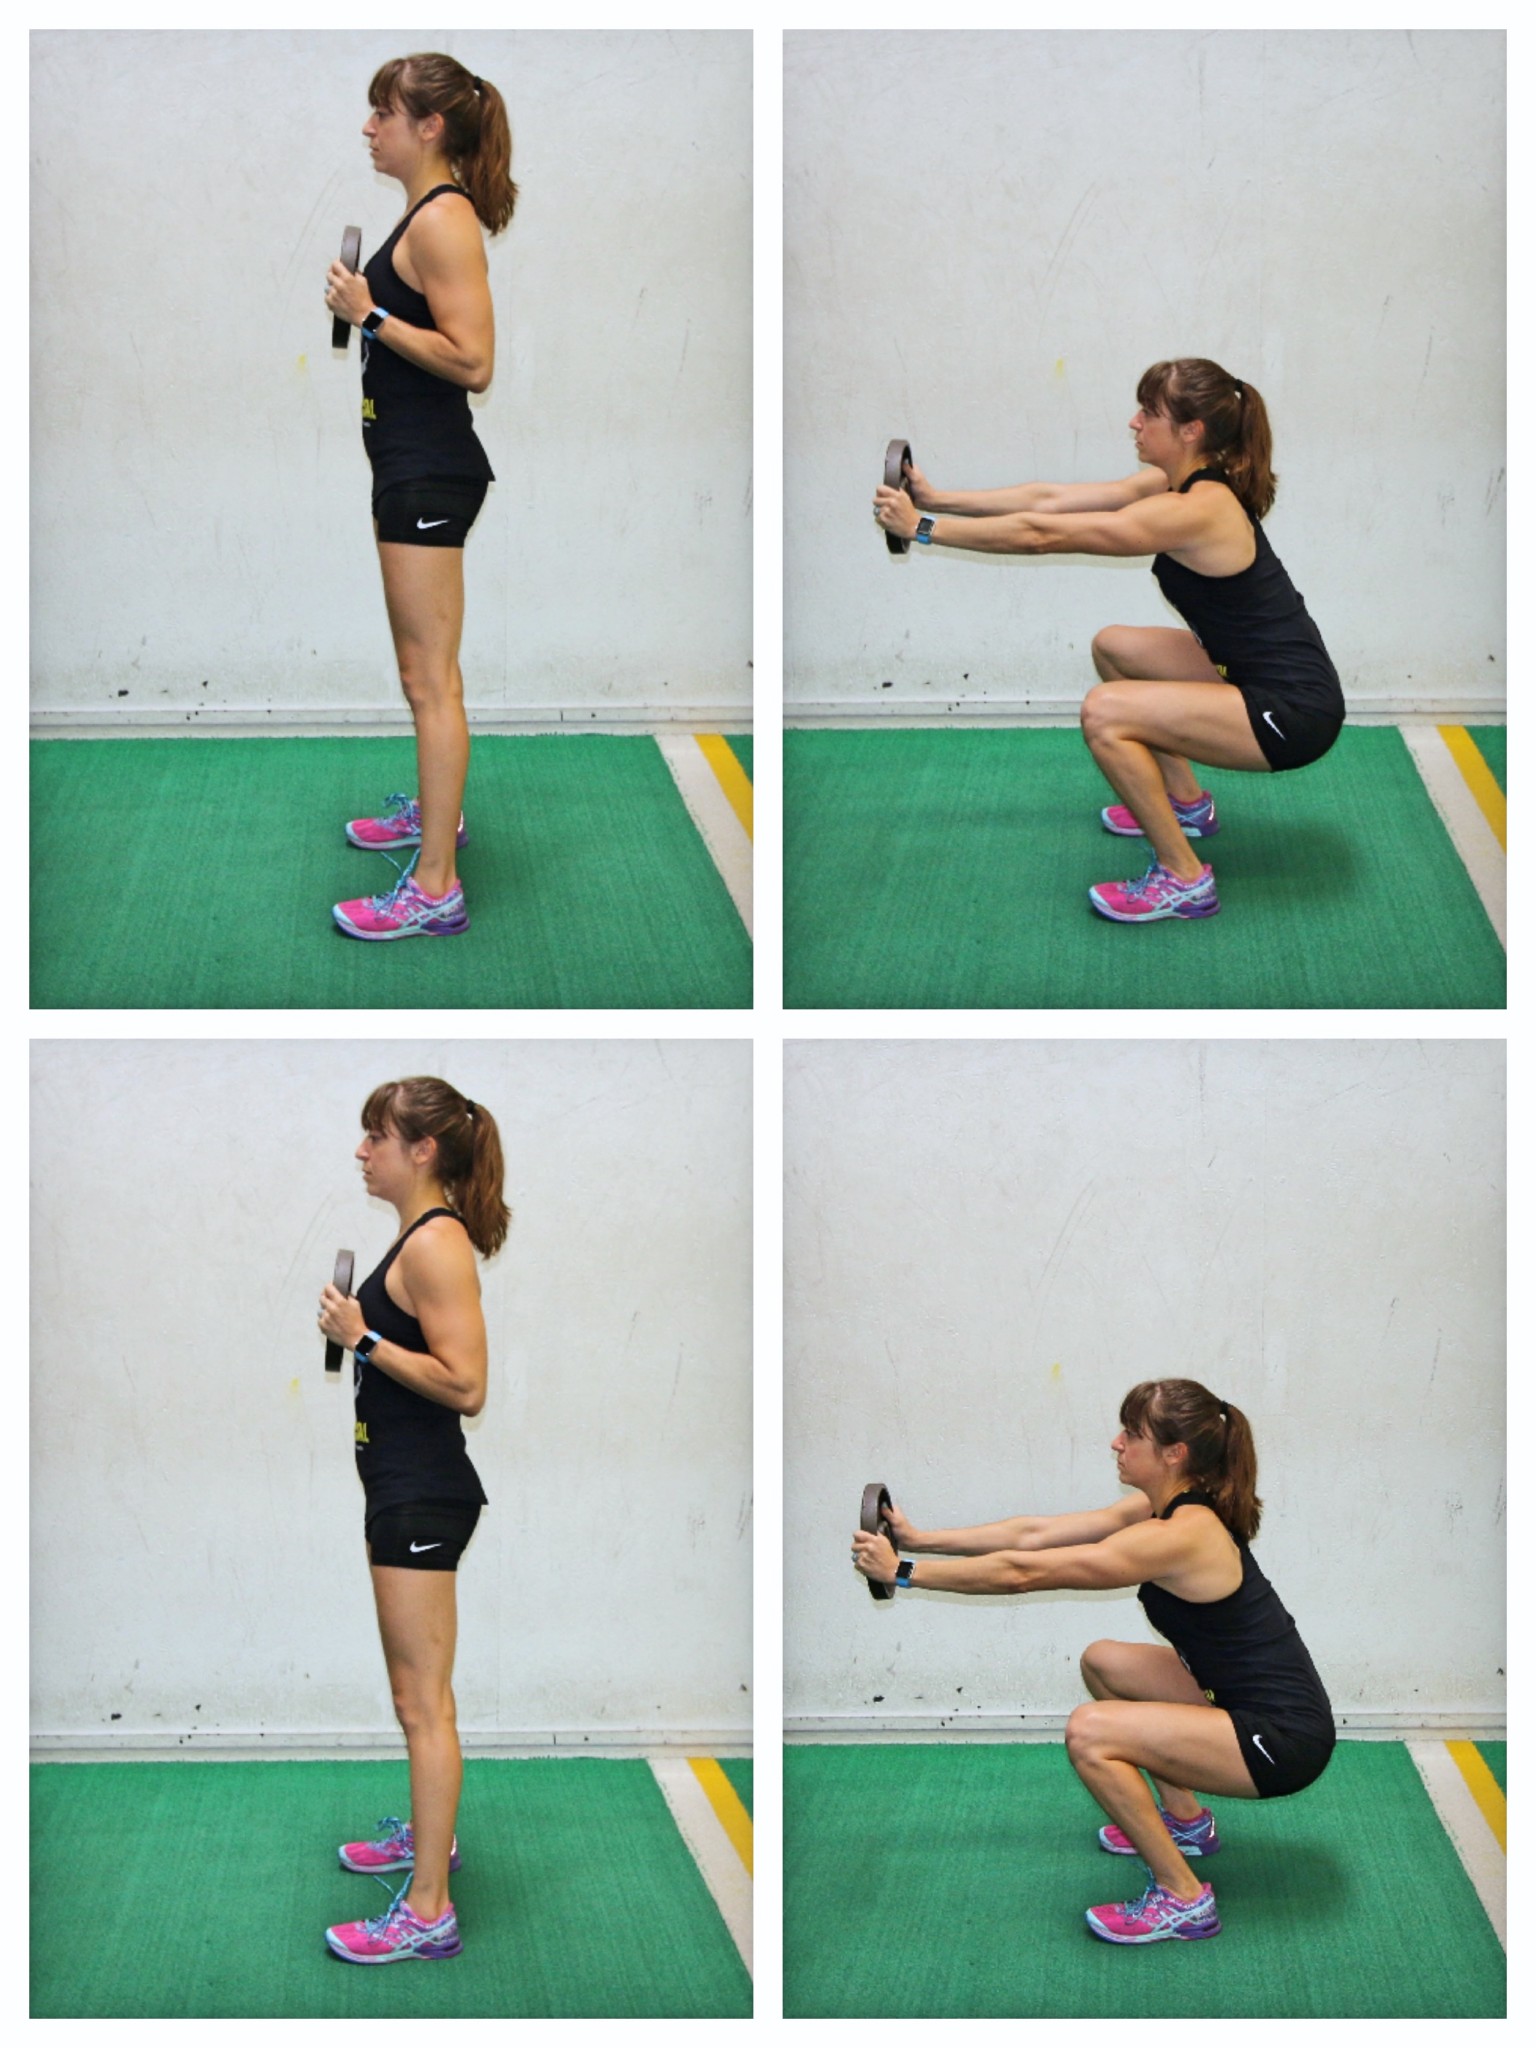
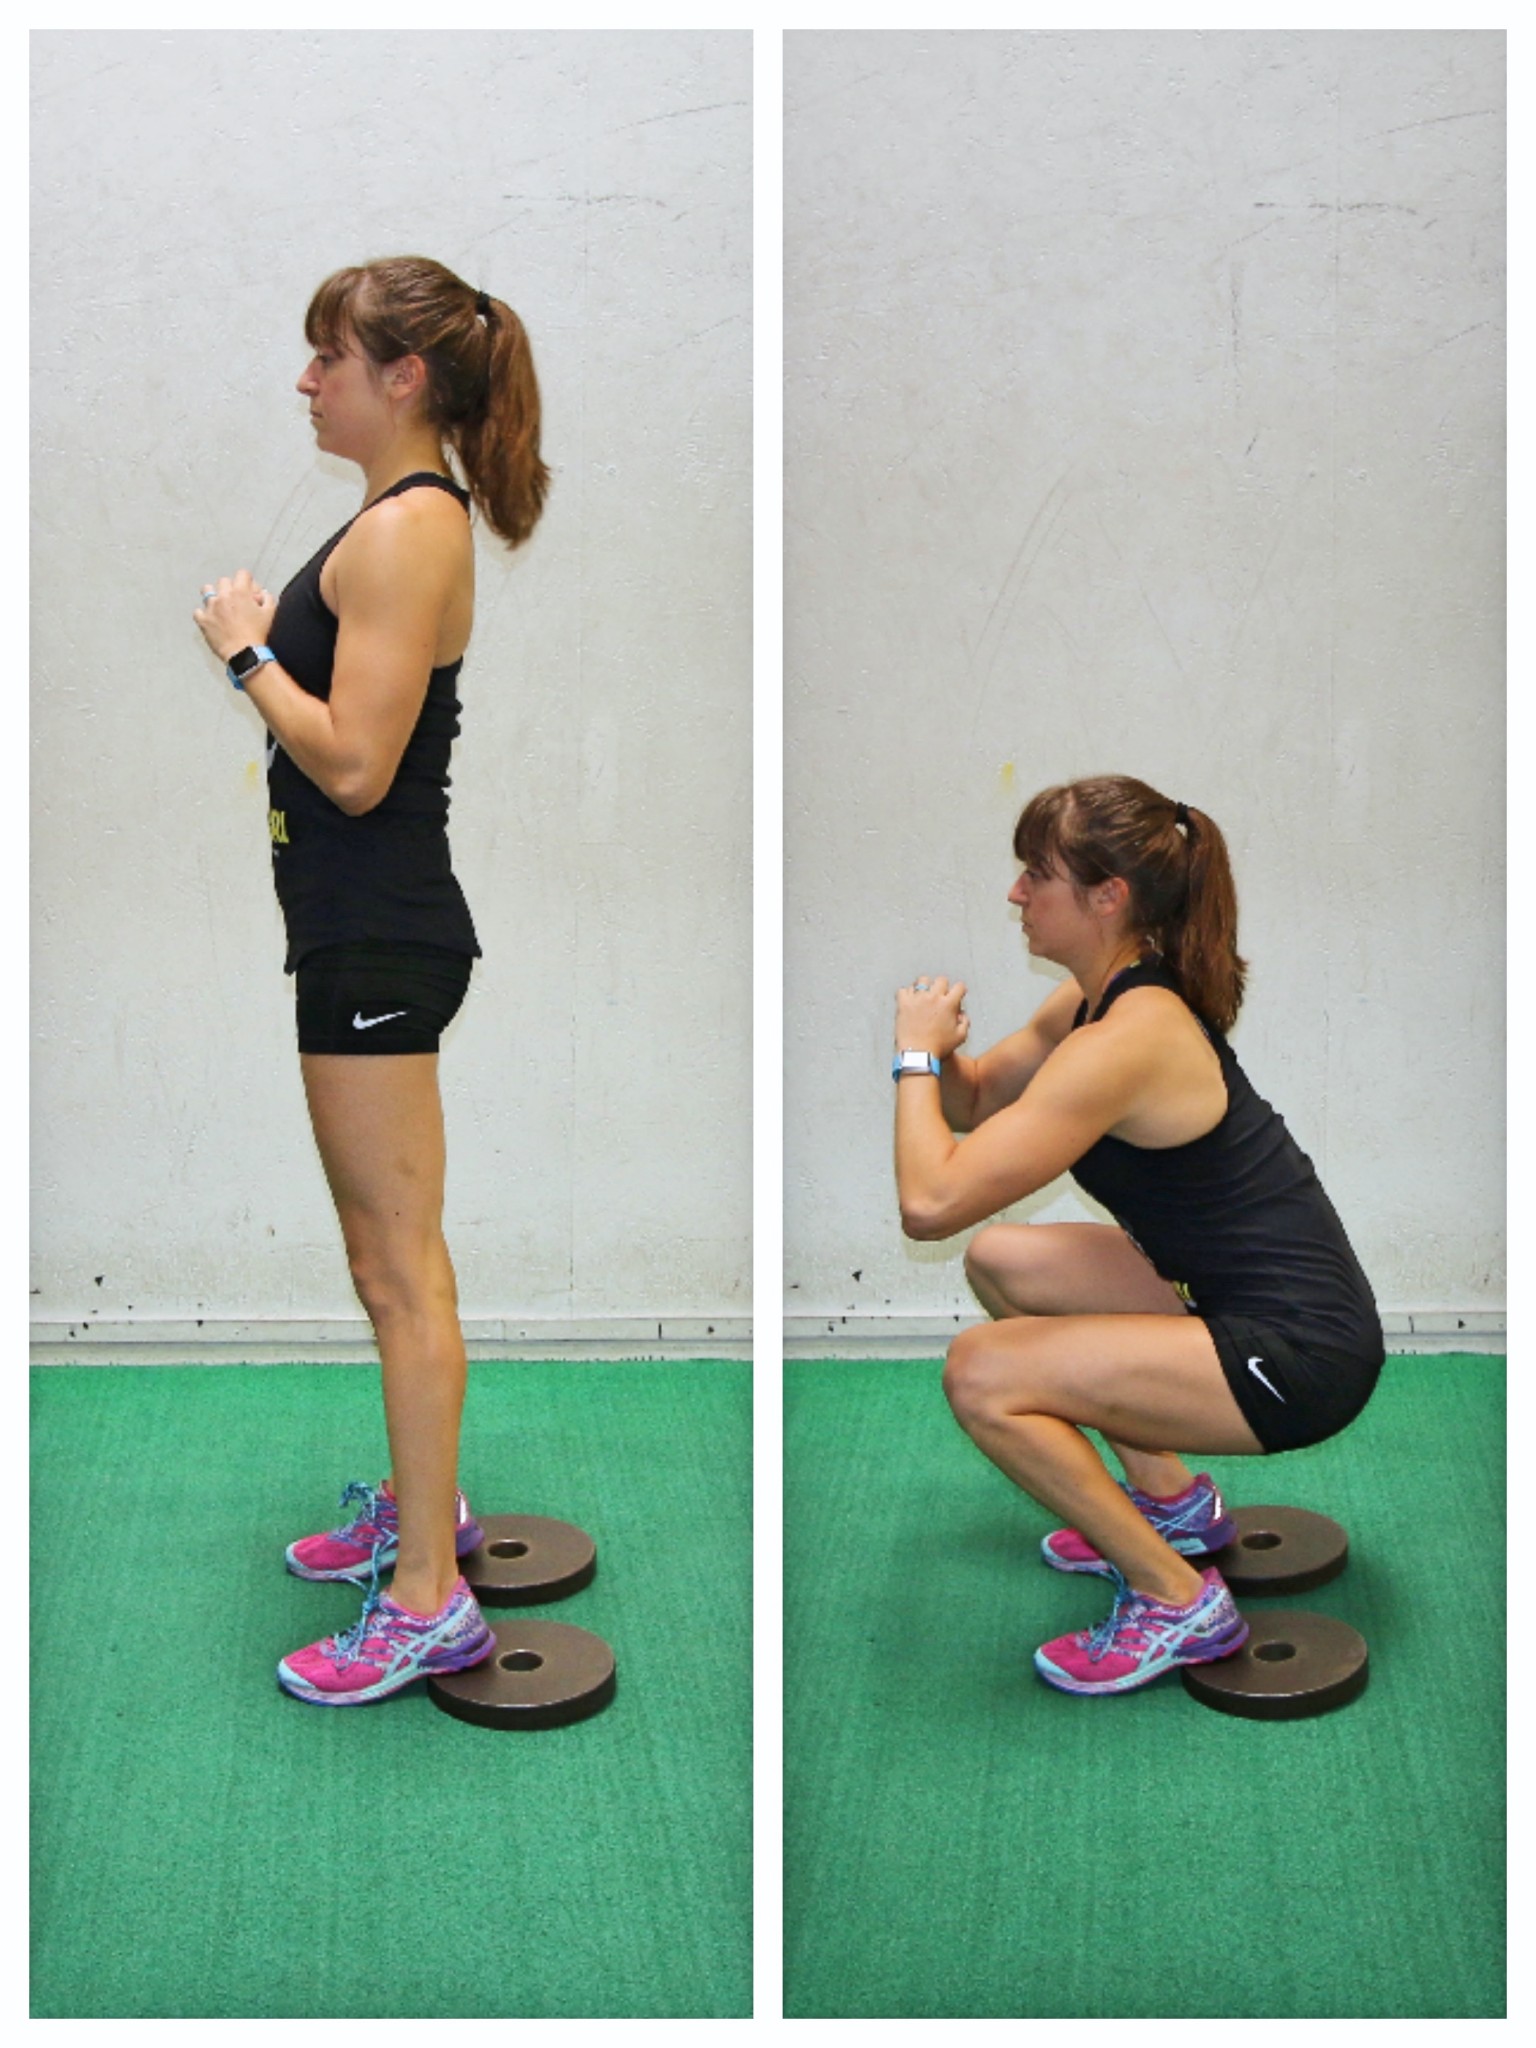
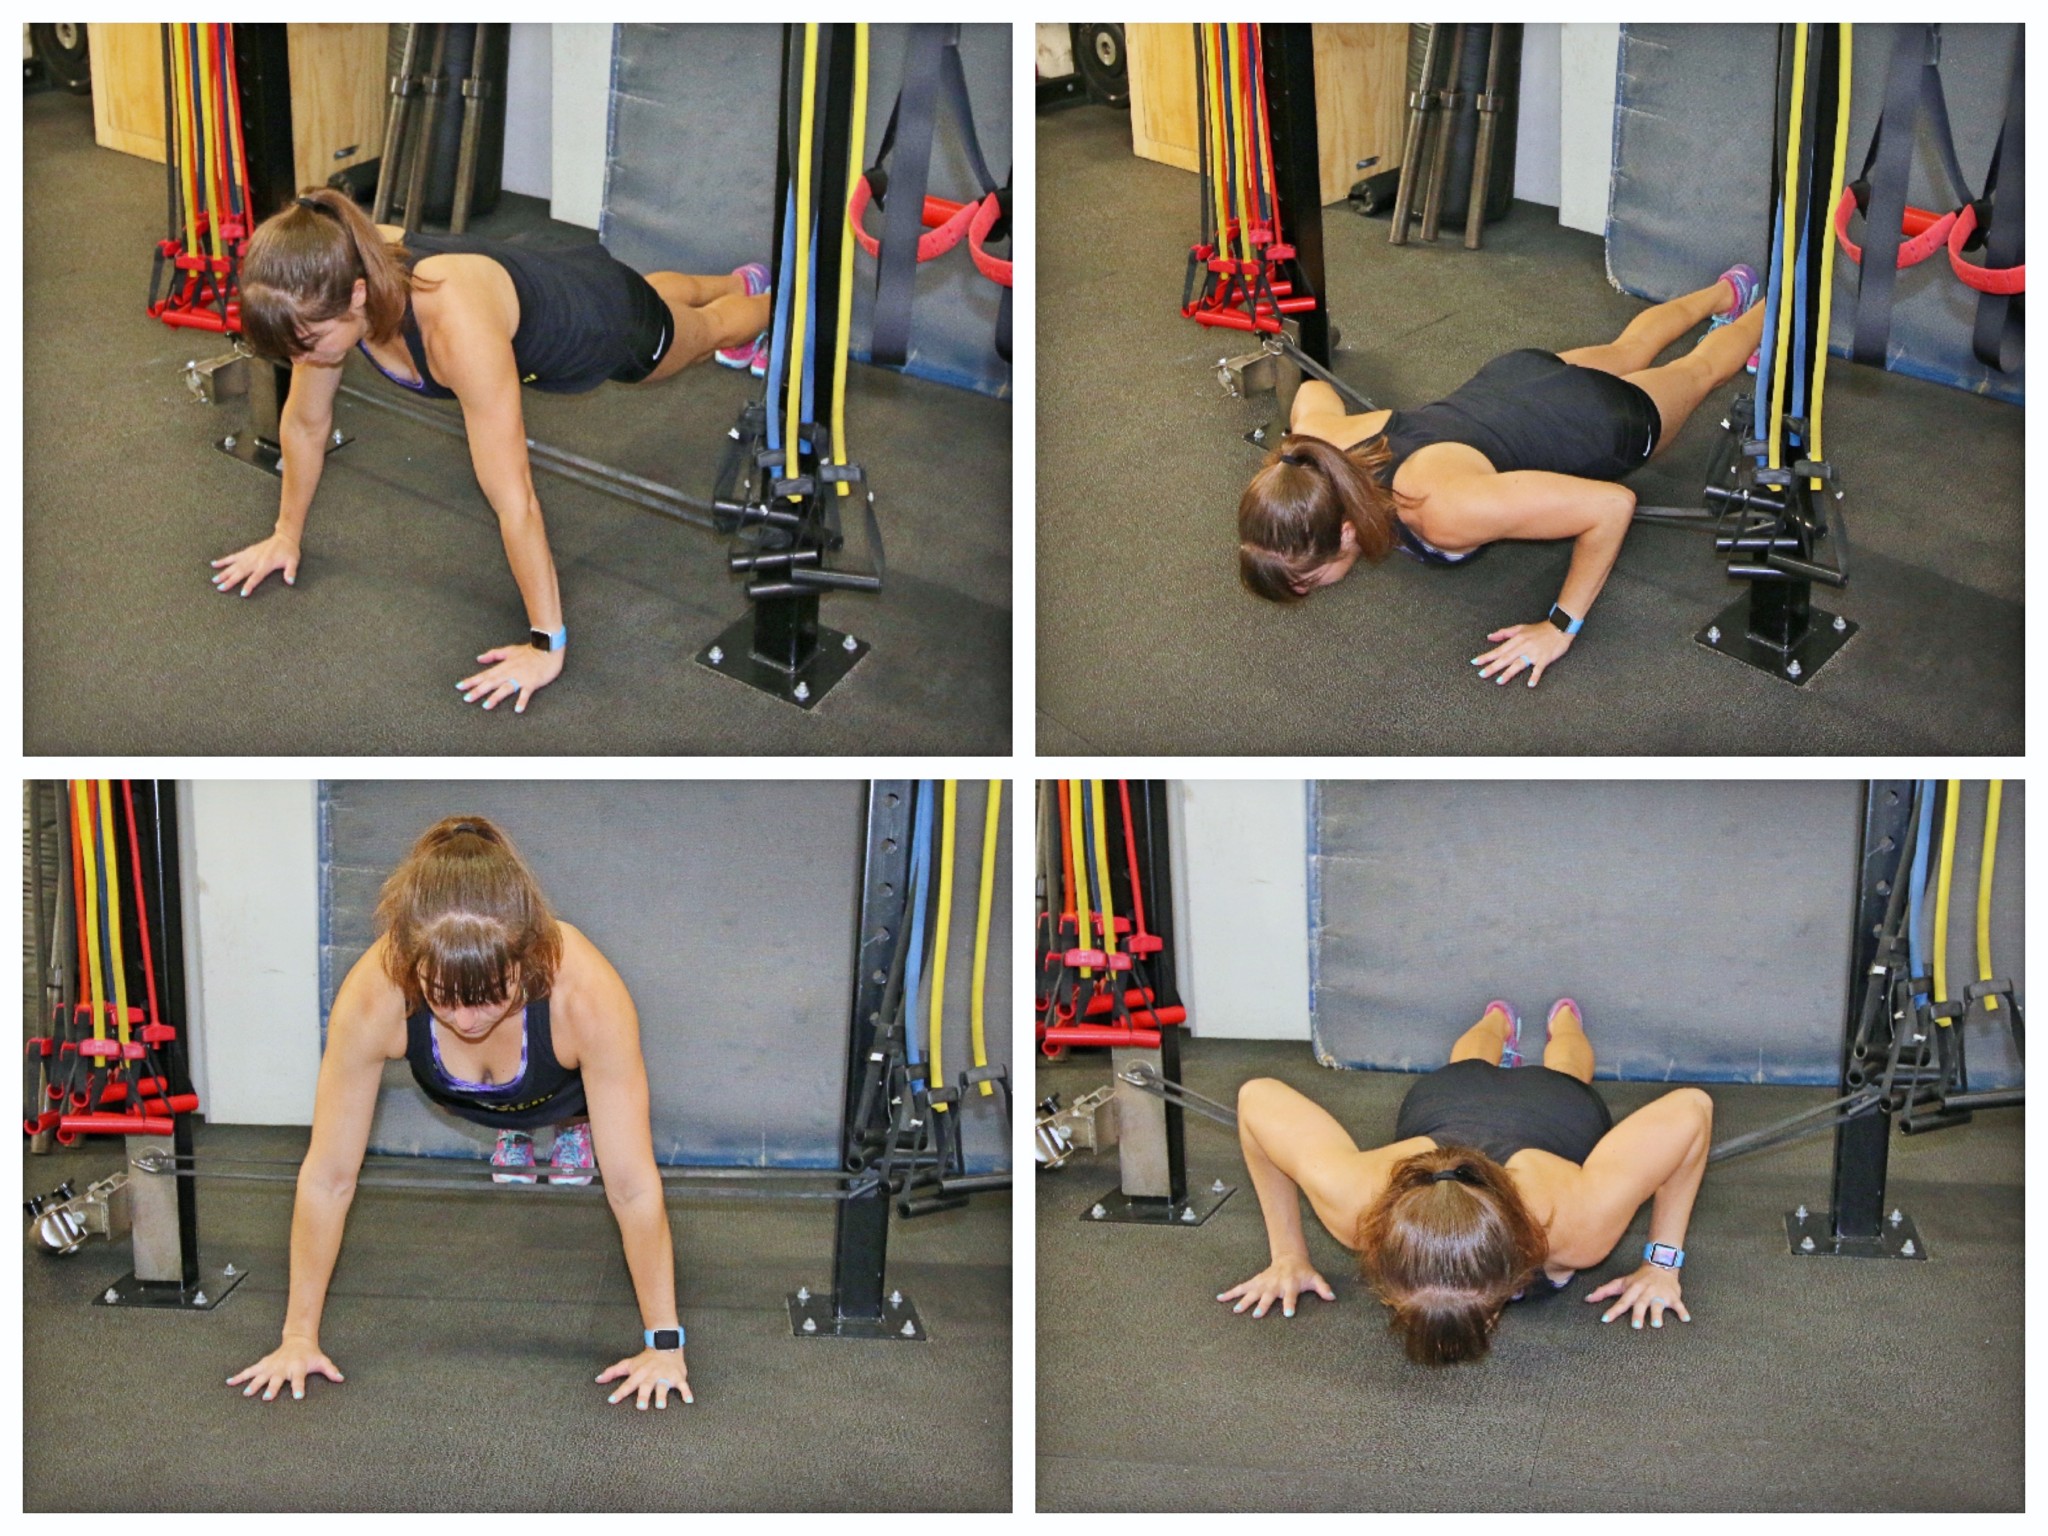
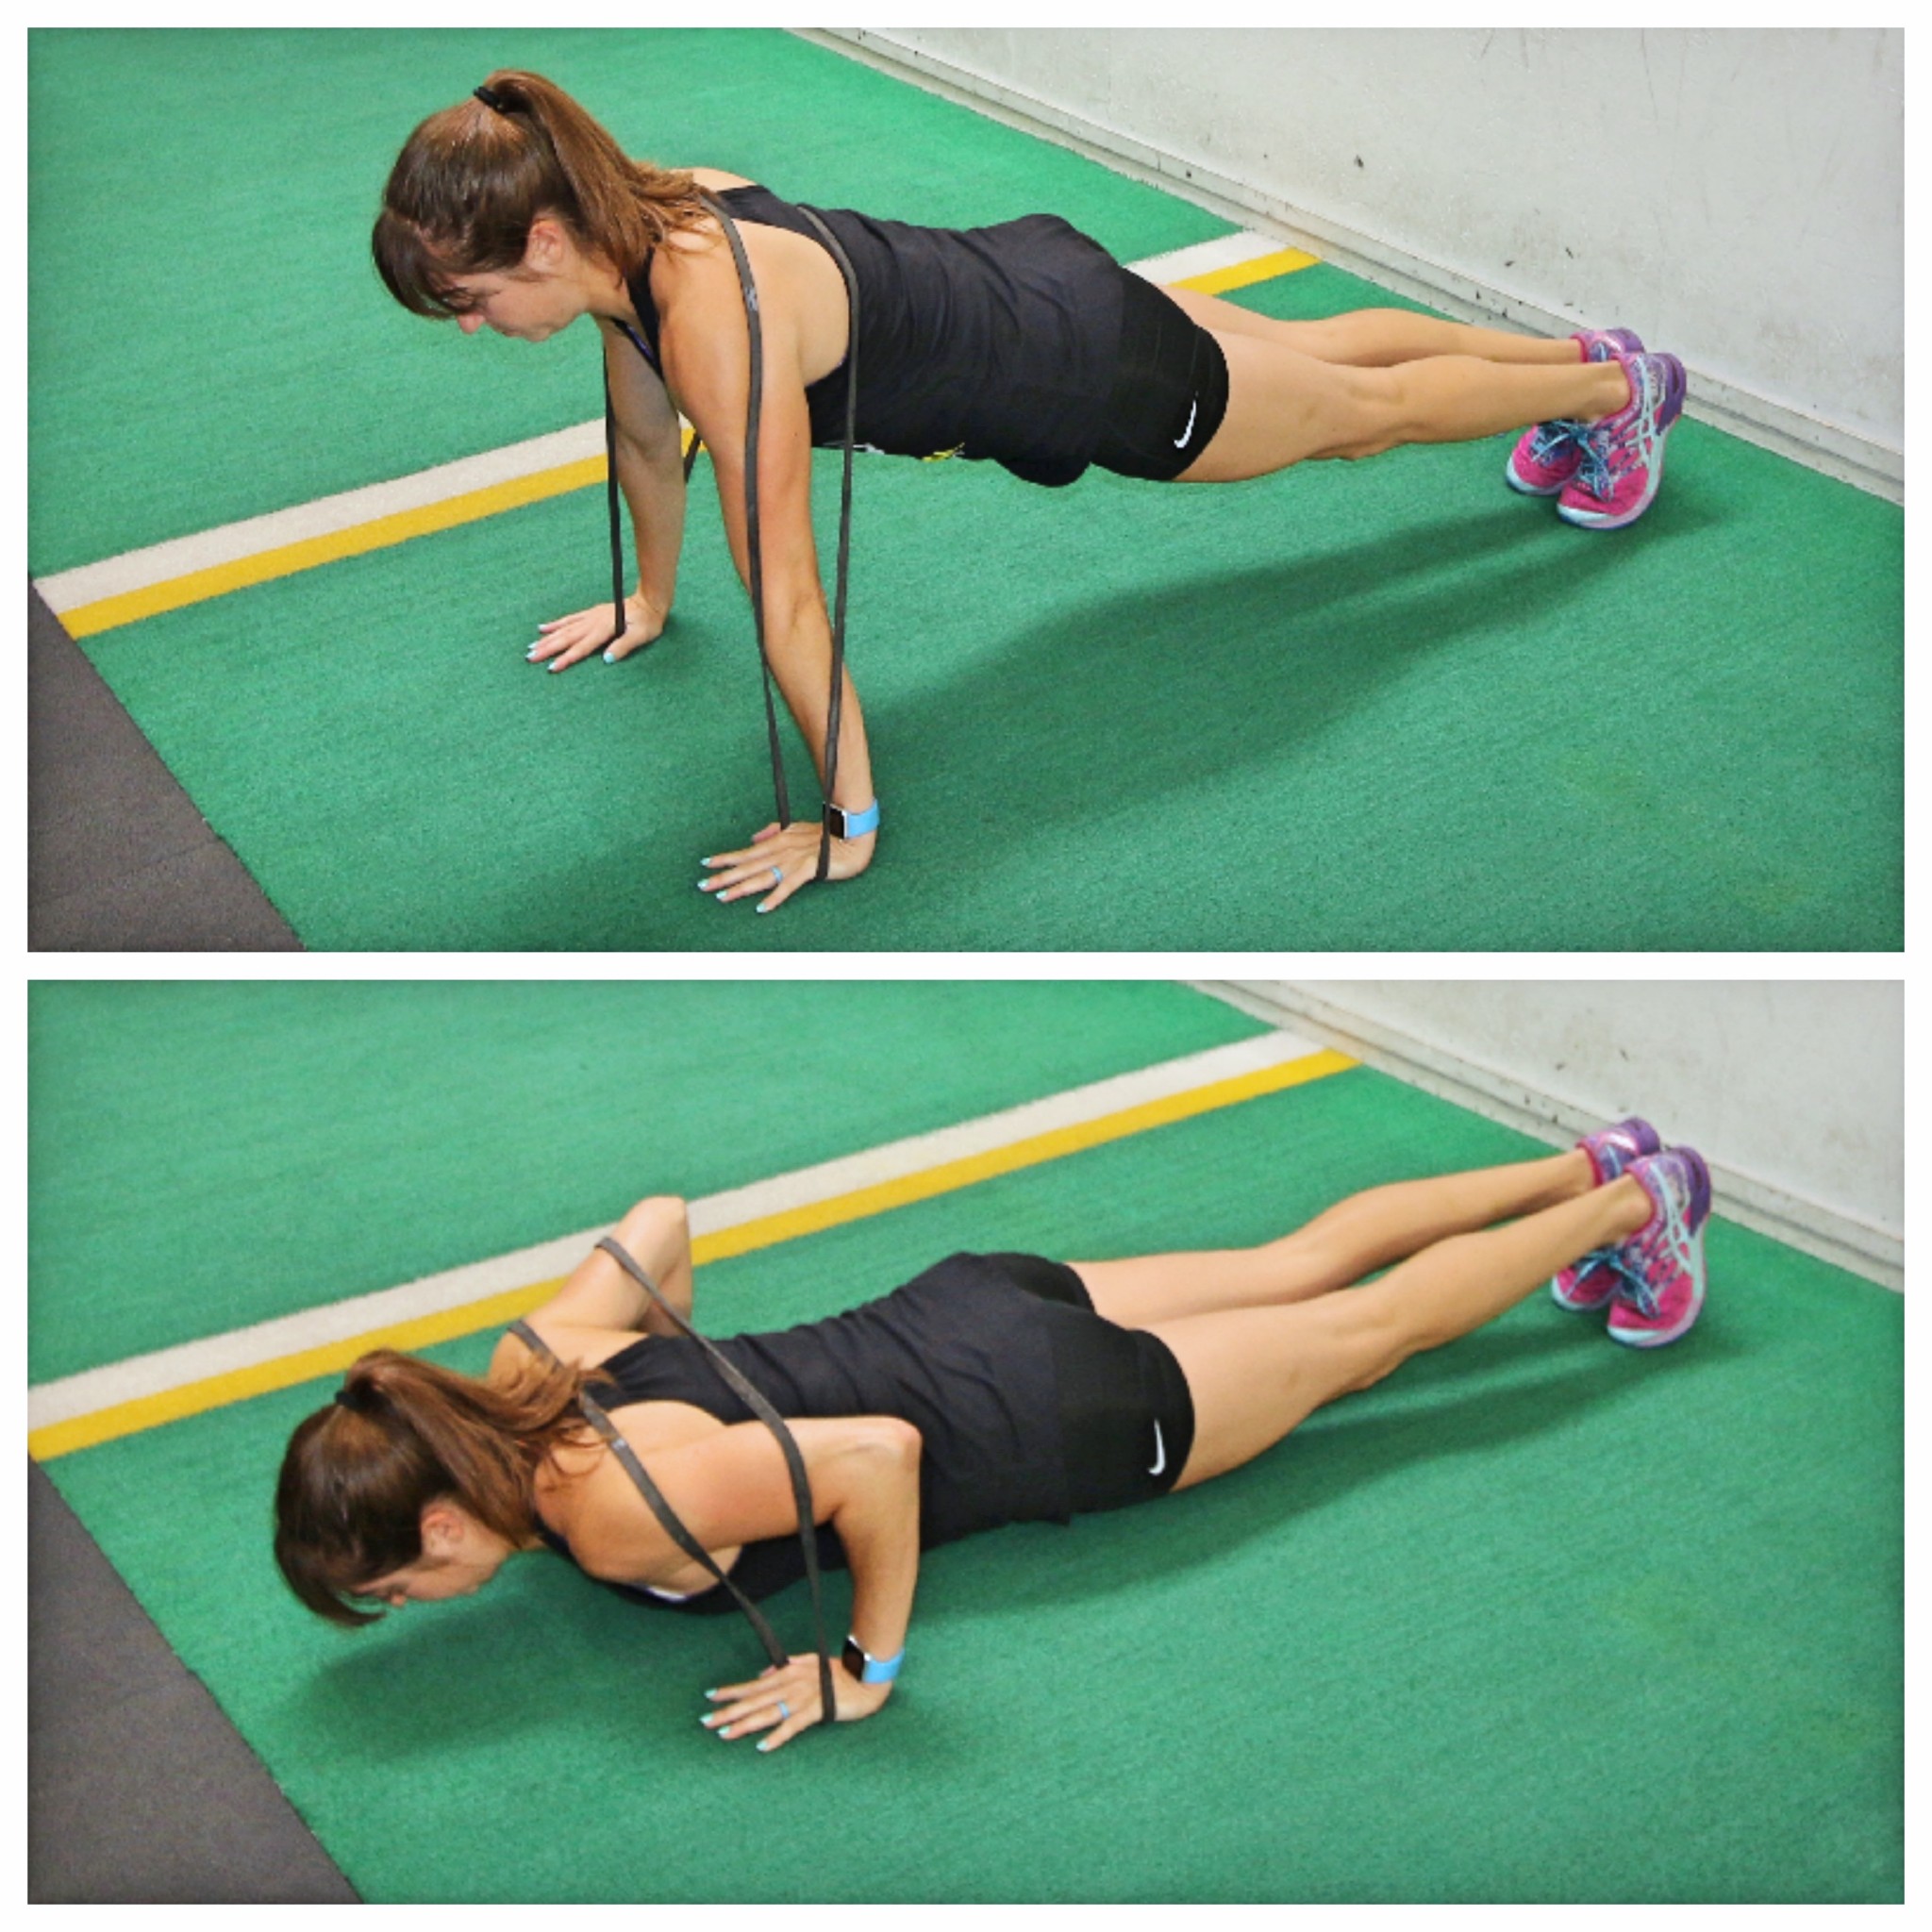
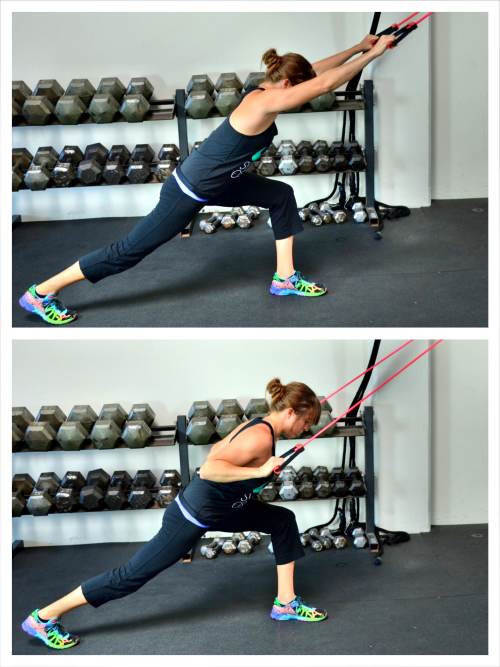
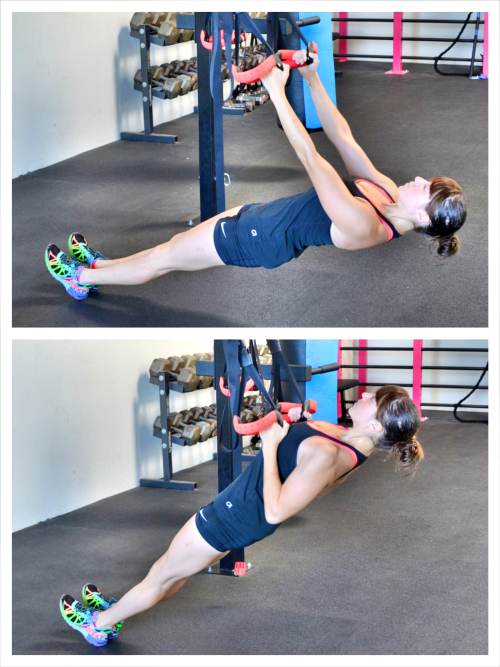
Progression or advancement in moves can be achieved through the same but different!
Consider first increasing your range of motion for a movement. This can help you build mobility and stability as you progress.
Or work up toward the top of your rep range over hitting the bottom to create that strength but also muscular endurance.
Even consider adjusting the tempo of the move, speeding moves up to work on your mind-body connection and fast recruitment patterns and even power or slowing moves down to focus more on strength and control.
But don’t just jump to adding weights.
Too often we do this and then ego even starts to get in the way pushing us to do more than we’ve earned!
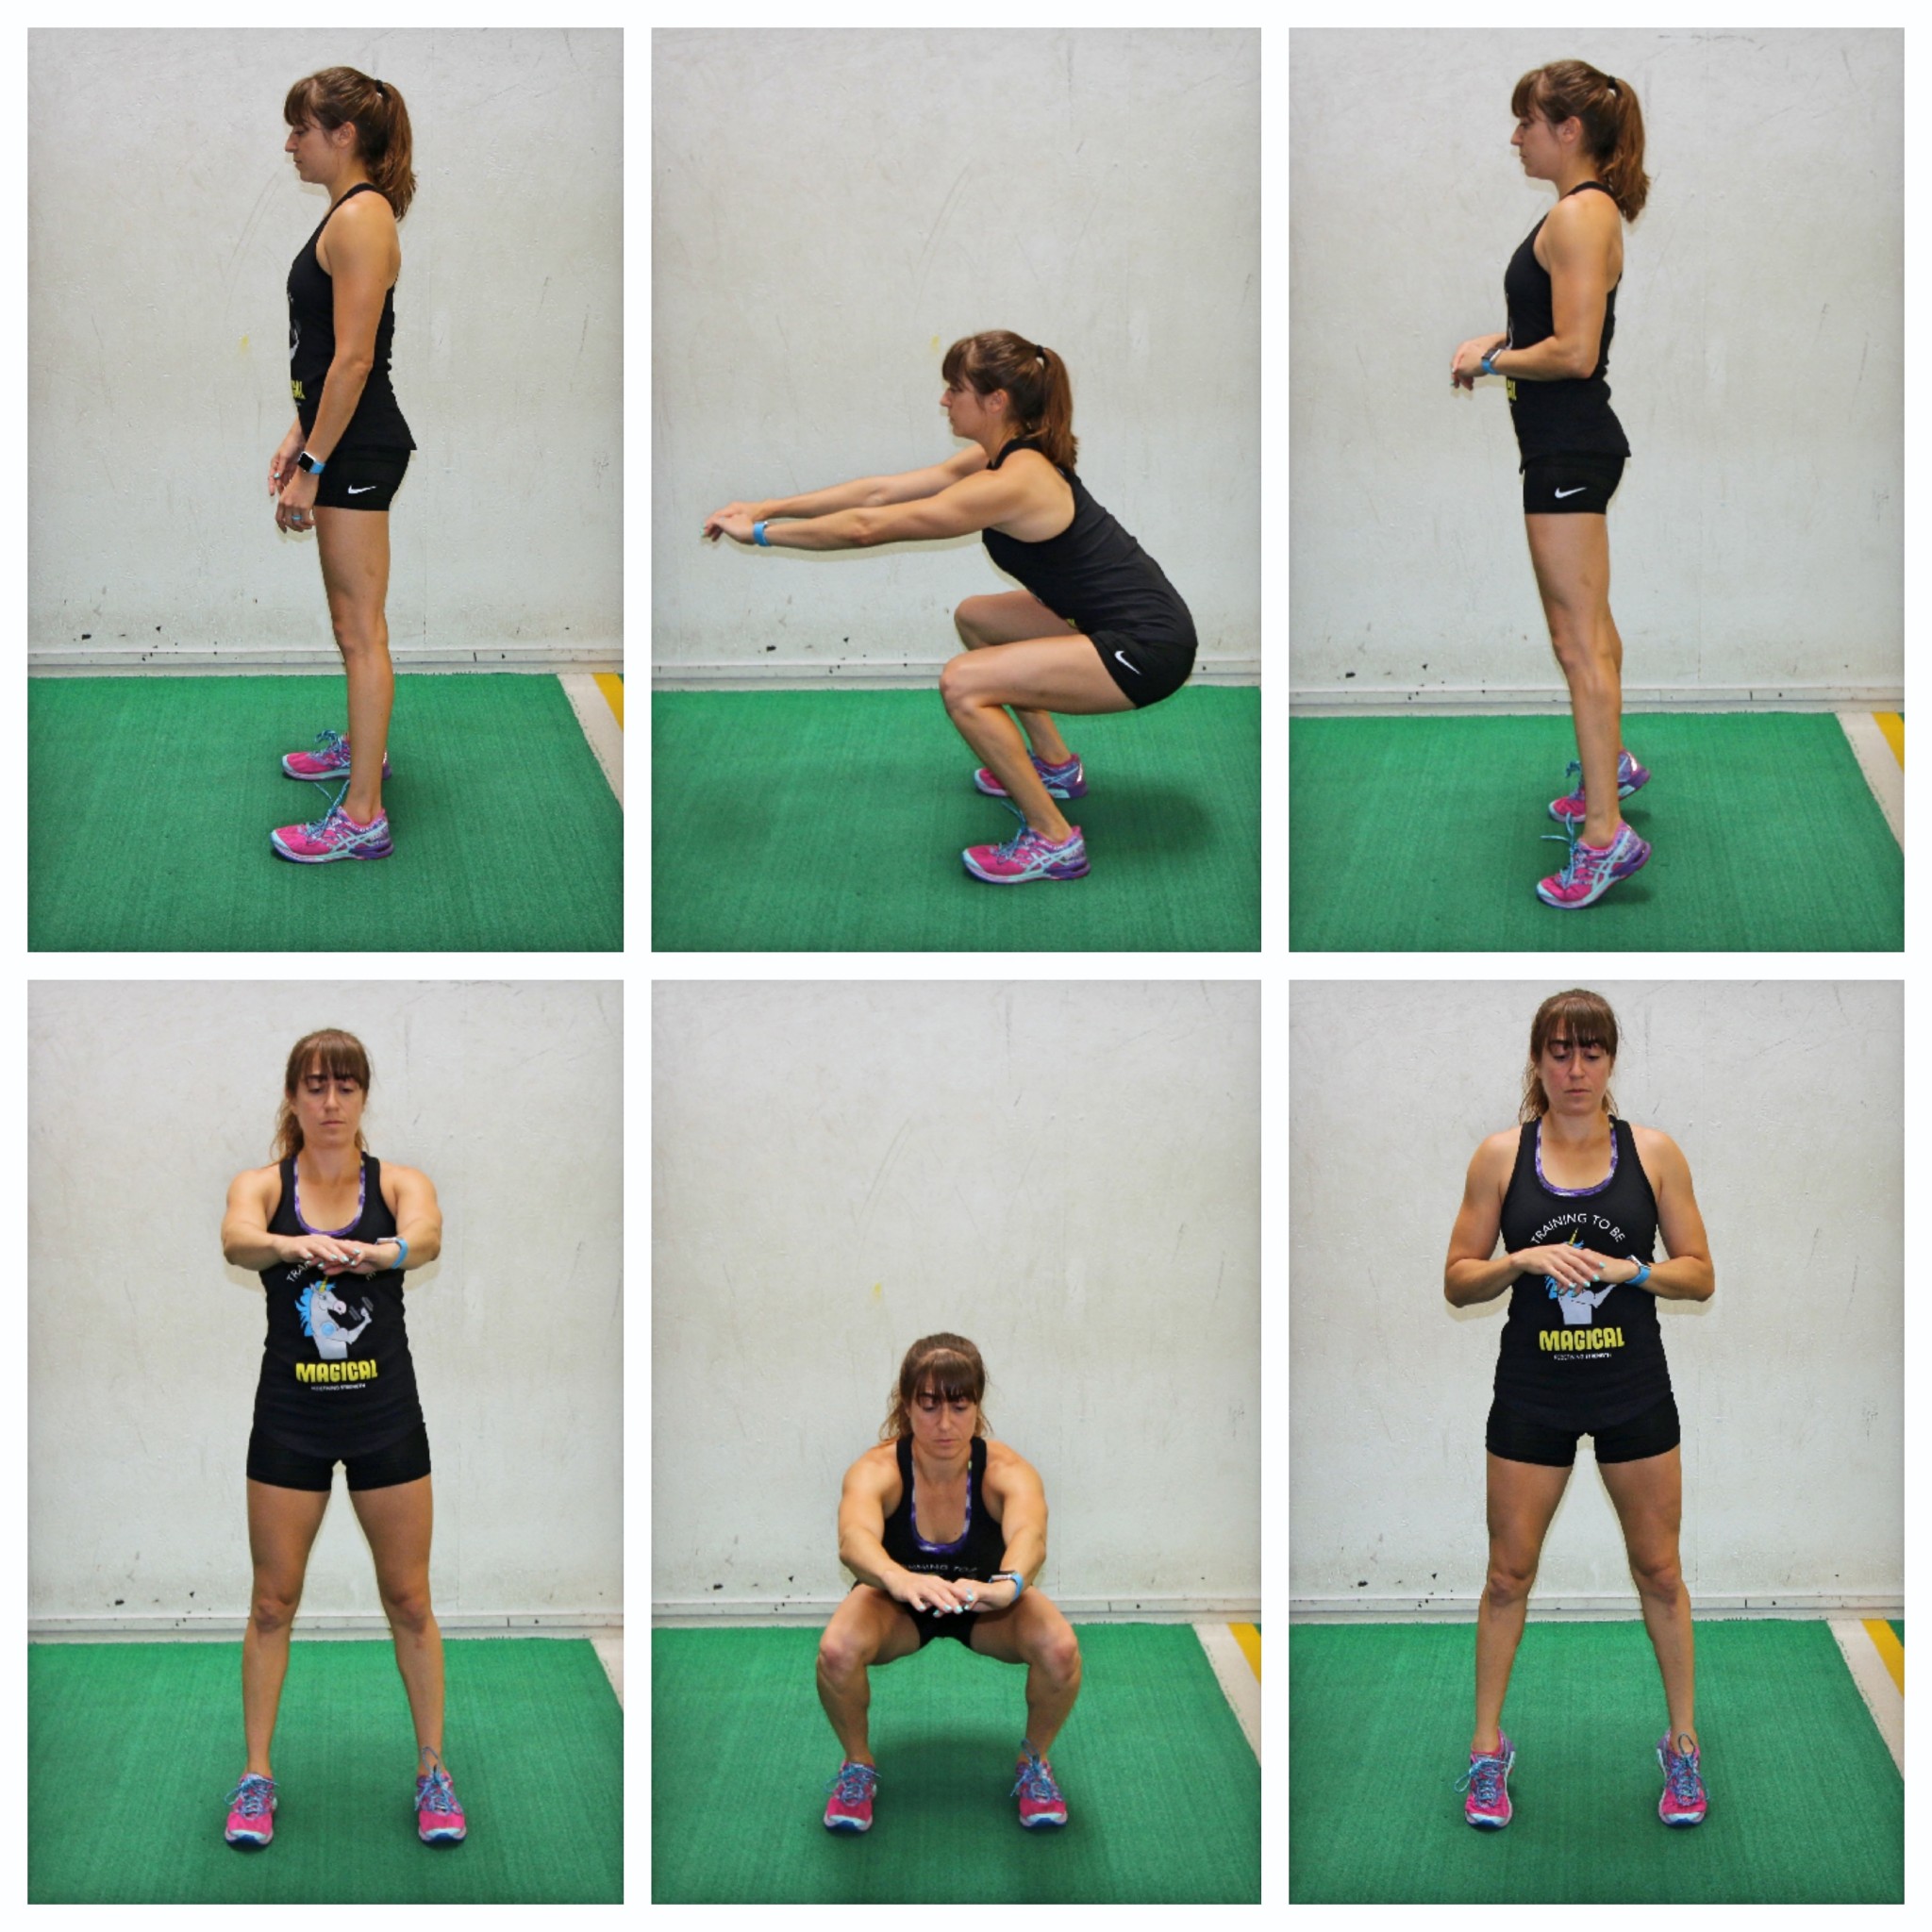
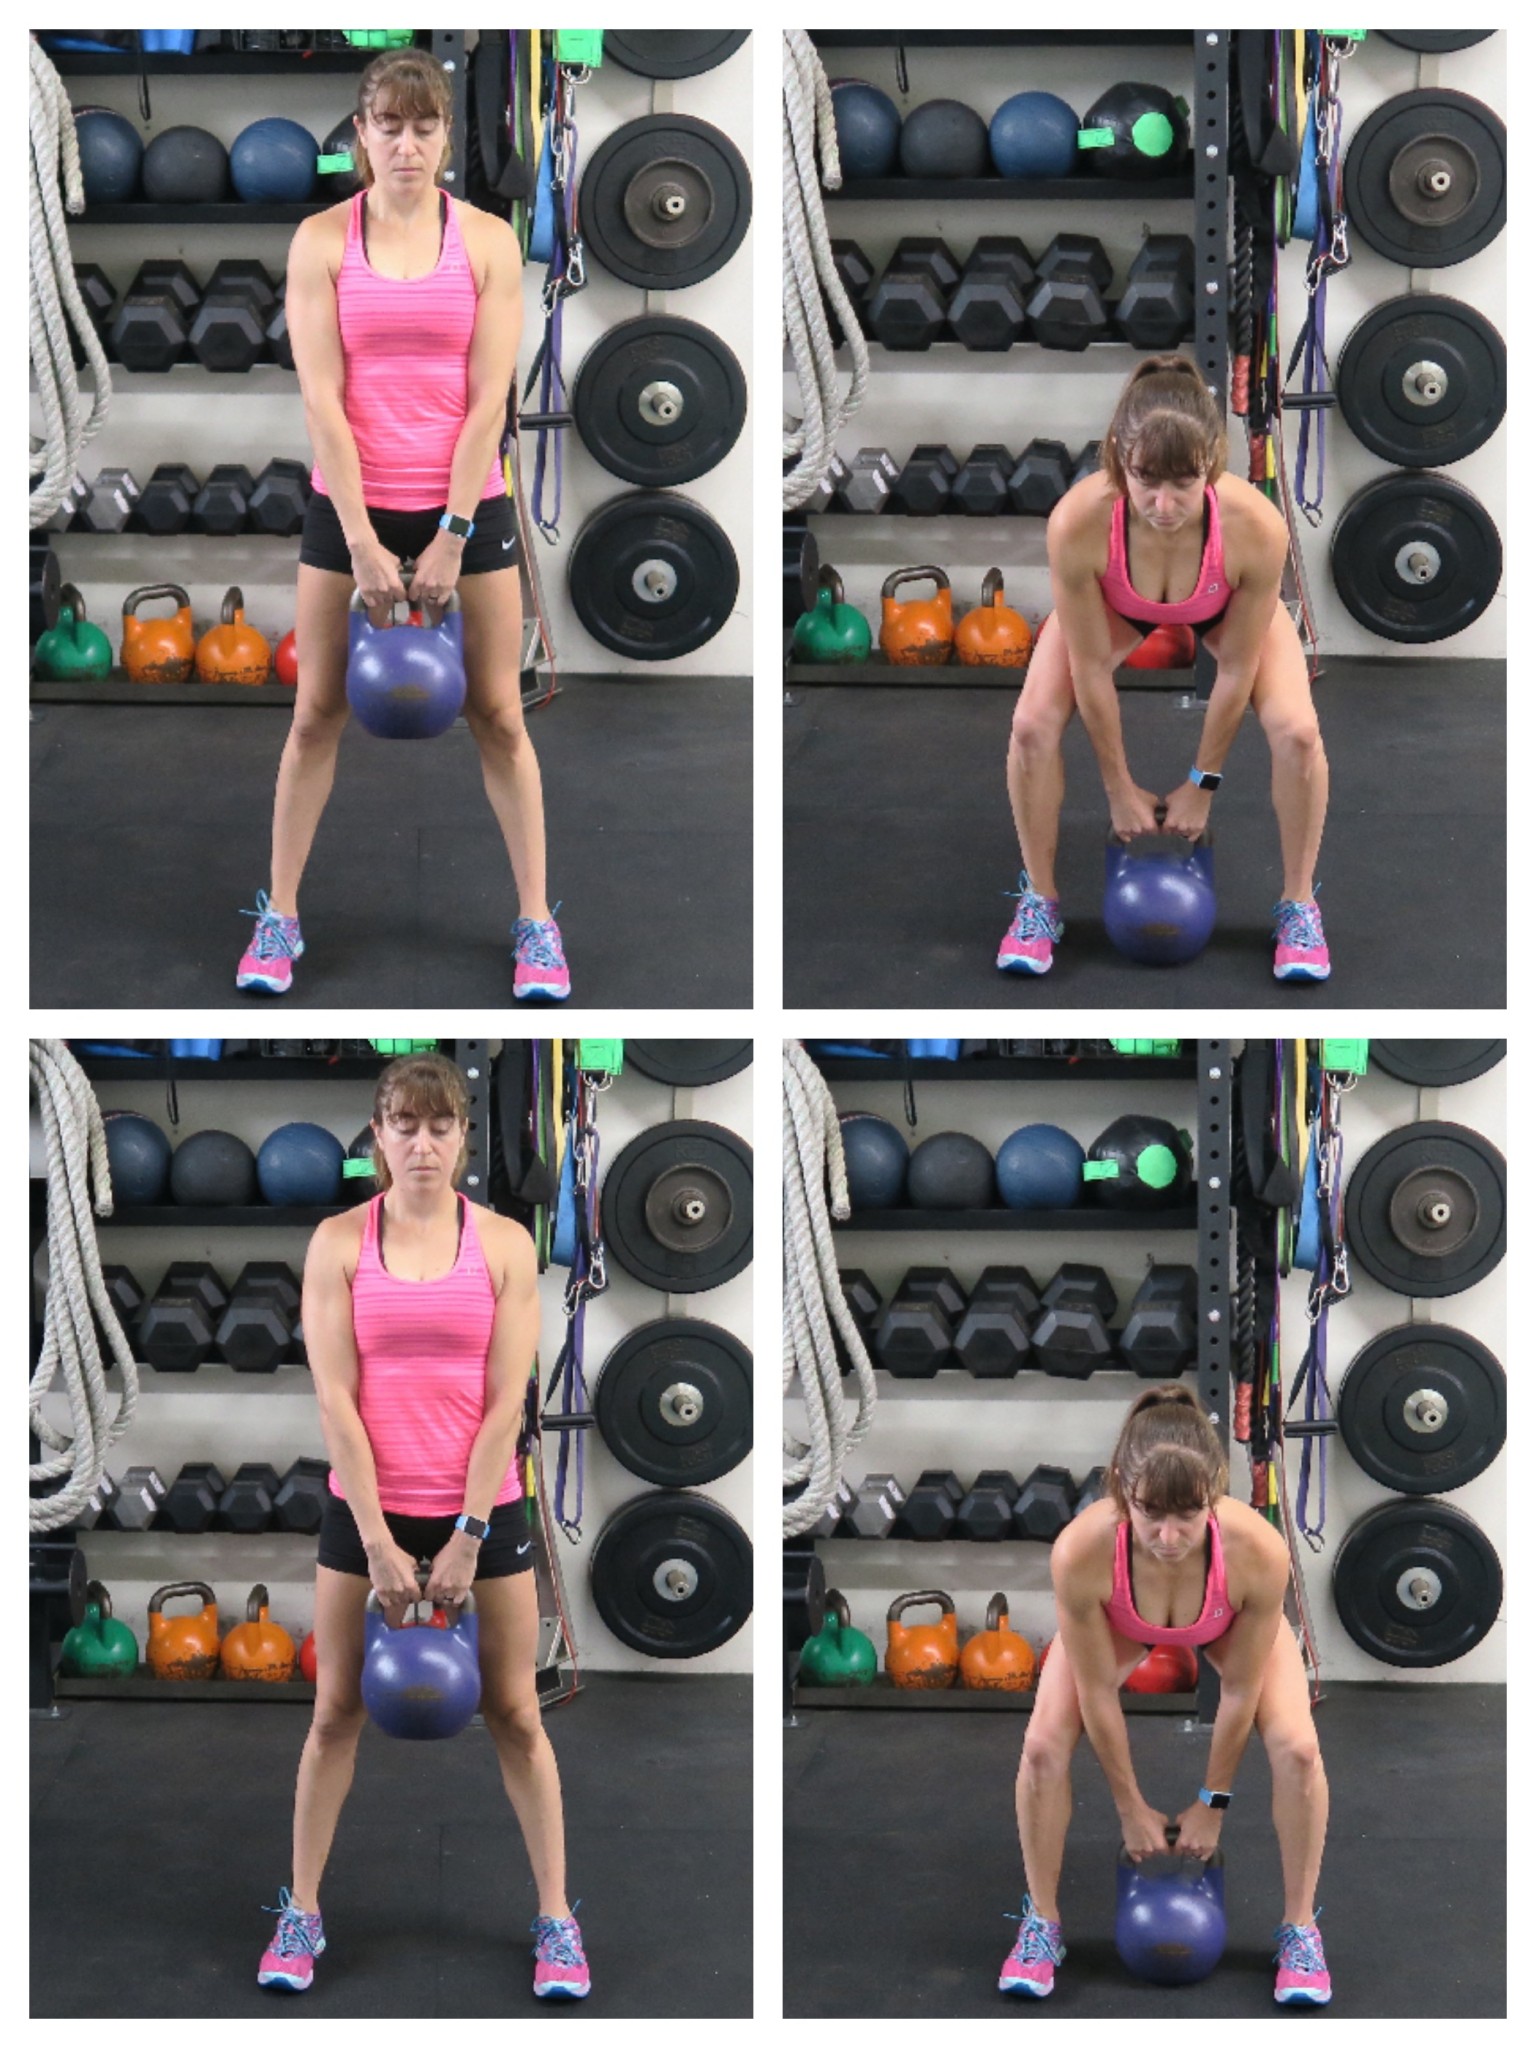
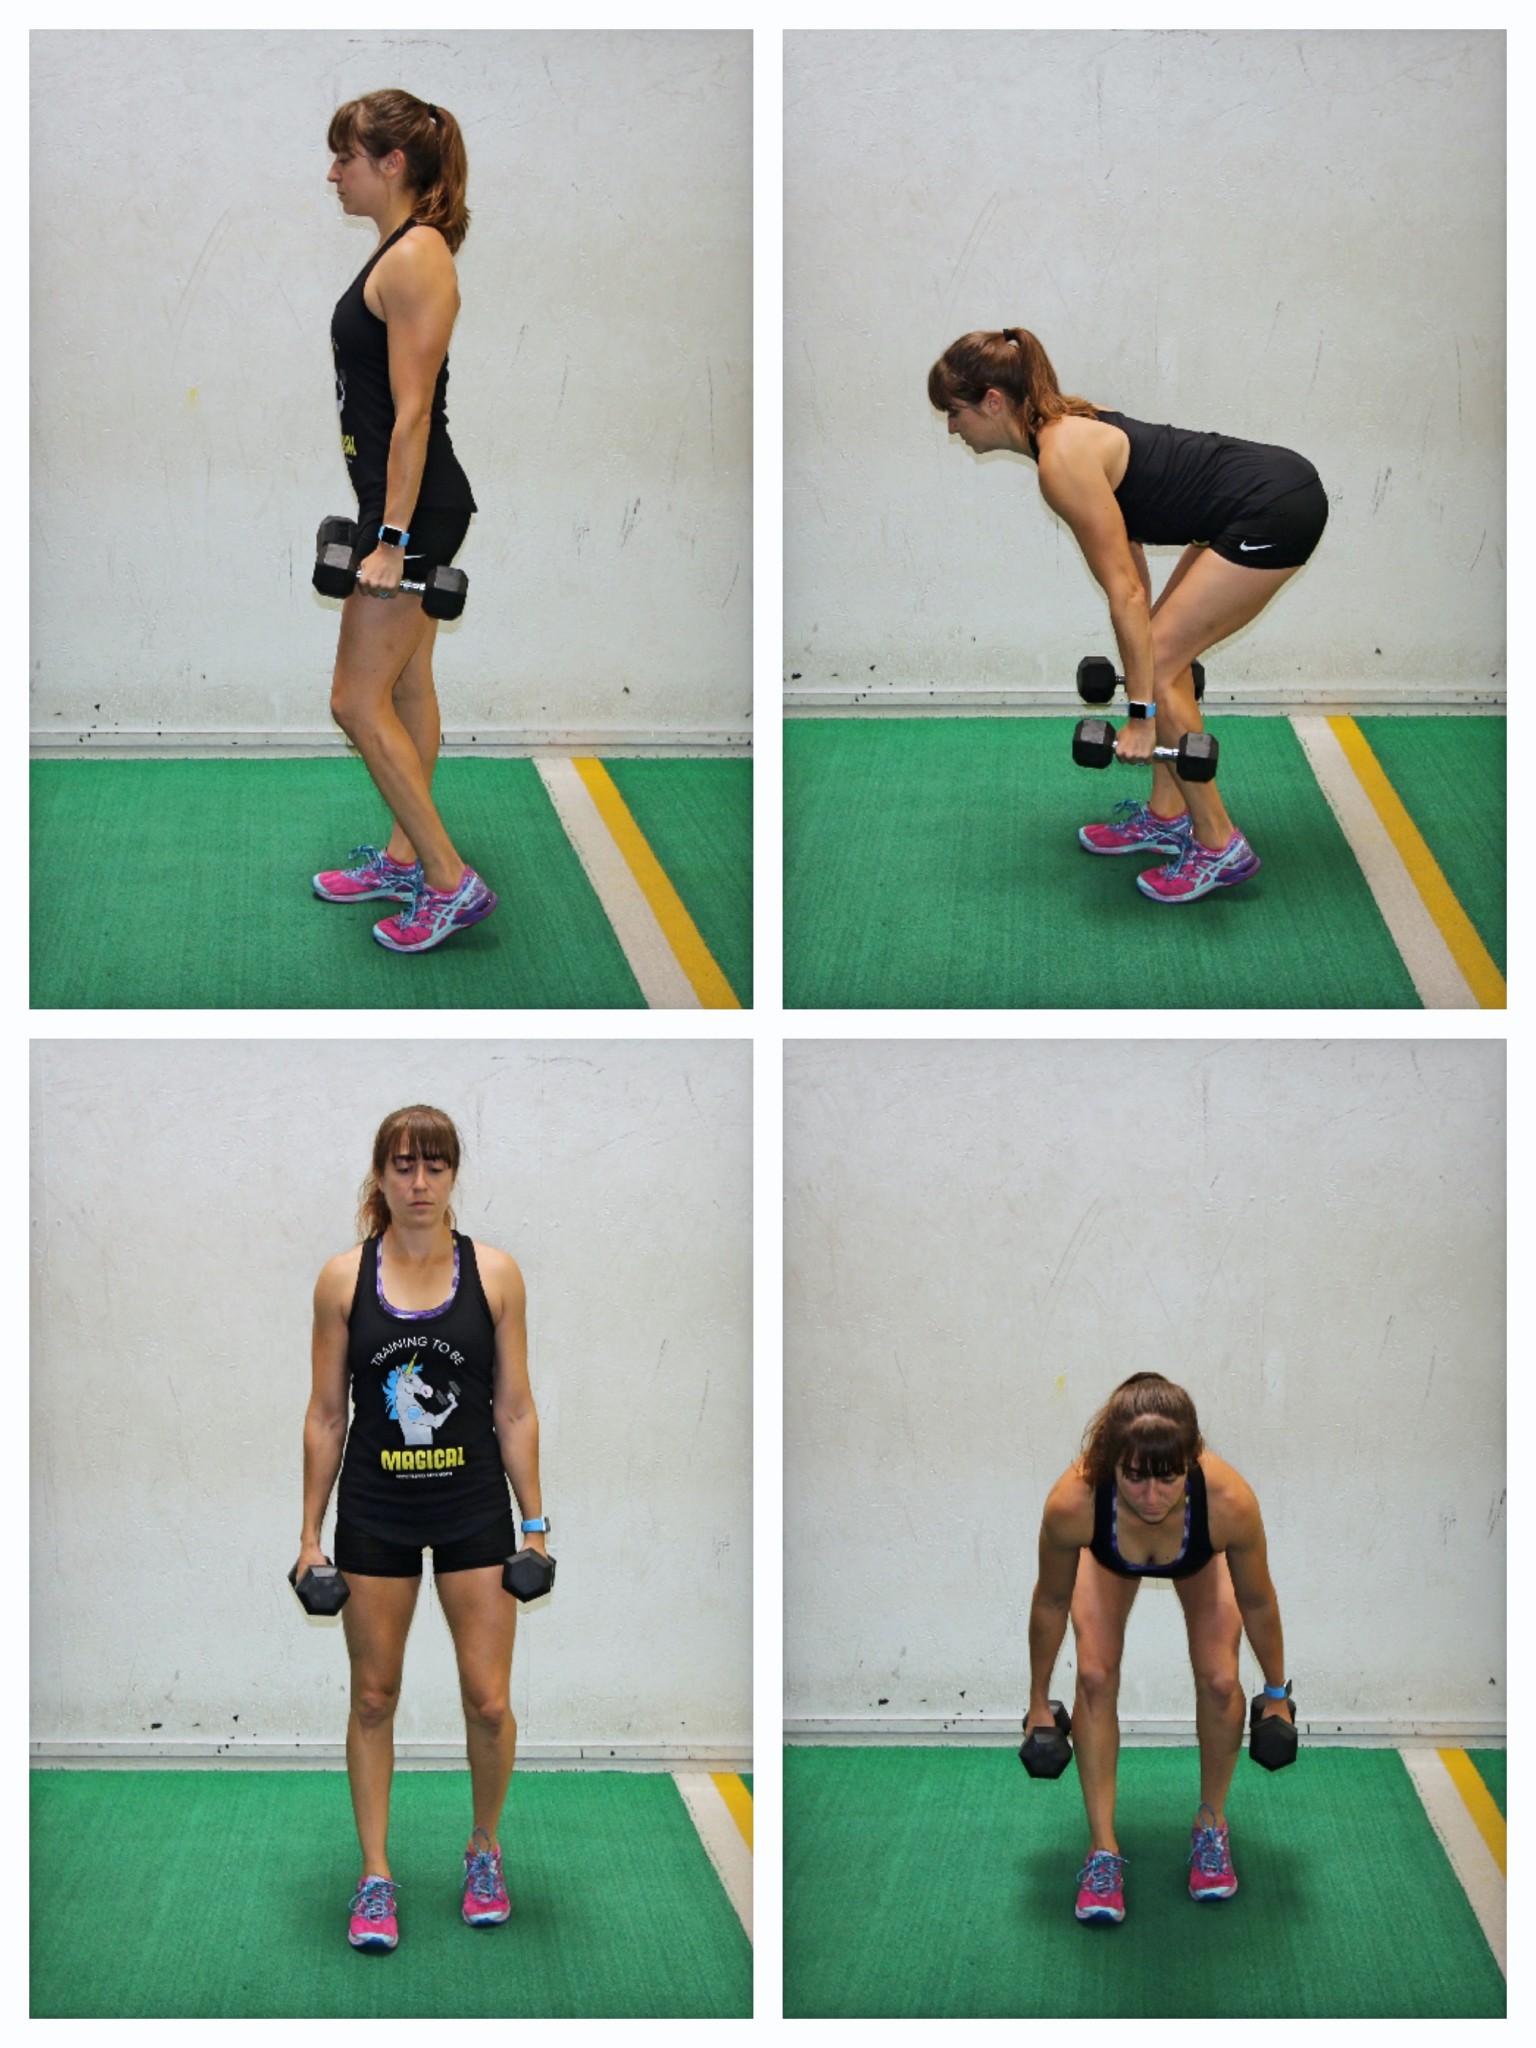
Then tip #4: Focus on what you feel working! Don’t just rush through!
Establishing that mind-body conenction to make sure we’re moving WELL is key.
We’re laying that foundation off of which we will build our future training.
This is an opportunity to make sure this foundation is extra strong.
Not to mention, the better we are able to activate muscles, the stronger and more powerful we will be.
This focus on muscle activation will also help us ultimately see better muscle gains more quickly!
So as you start back, stay intentional with the moves. Ask yourself, “What do I feel working?” doing each exercise.
Don’t just go through the motions. Just don’t rush through.
And if you don’t feel the correct muscles working, modify the movement. Swap in a different variation. Regress to progress.
Even assess if other mobility work, especially in your warm up is key to help you get the correct muscles working, especially ones that may be underactive from previous injuries or your desk job posture.
Which is why tip #5 is to prioritize your warm up.
Too often we want to skip our warm ups to get to the “good stuff.”
We focus just on the calorie burn and muscle building benefits.
But our training sessions are a time to learn to move well and even address postural distortions we have from previous injuries and our desk job postures.
Especially when we’re just starting back, we want to build that strong foundation.
We don’t want to ignore cracks that will only add up more and more as we progress.
So especially as you’re starting back, prioritize that mobility work and get in the habit of a warm up that focuses on foam rolling, stretching and activation.
You want to foam roll to relax tight muscles and start to mobilize your joints. Foam rolling can even help you disrupt that mind-body connection to muscles that tend to want to take over when they shouldn’t, like your hamstrings for your glutes in bridges.
You then want to include dynamic stretching to further mobilize your joints and improve your muscle flexibility, stretching out tight muscles.
This dynamic stretching also begins to activate underactive muscles before you finish your warm up with activation exercises.
These activation moves isolate muscles to help you really feel them working.
This mind-body connection then allows you to better activate these muscles in the compound exercises you use in your workout.
Like say for instance doing a fire hydrant in your warm up to activate your glutes before then having reverse lunges in your workout. You’ll be surprised by how much more you really feel your glutes working and see better muscle and strength gains faster because of it!
But your mobility work doesn’t stop at your warm up.
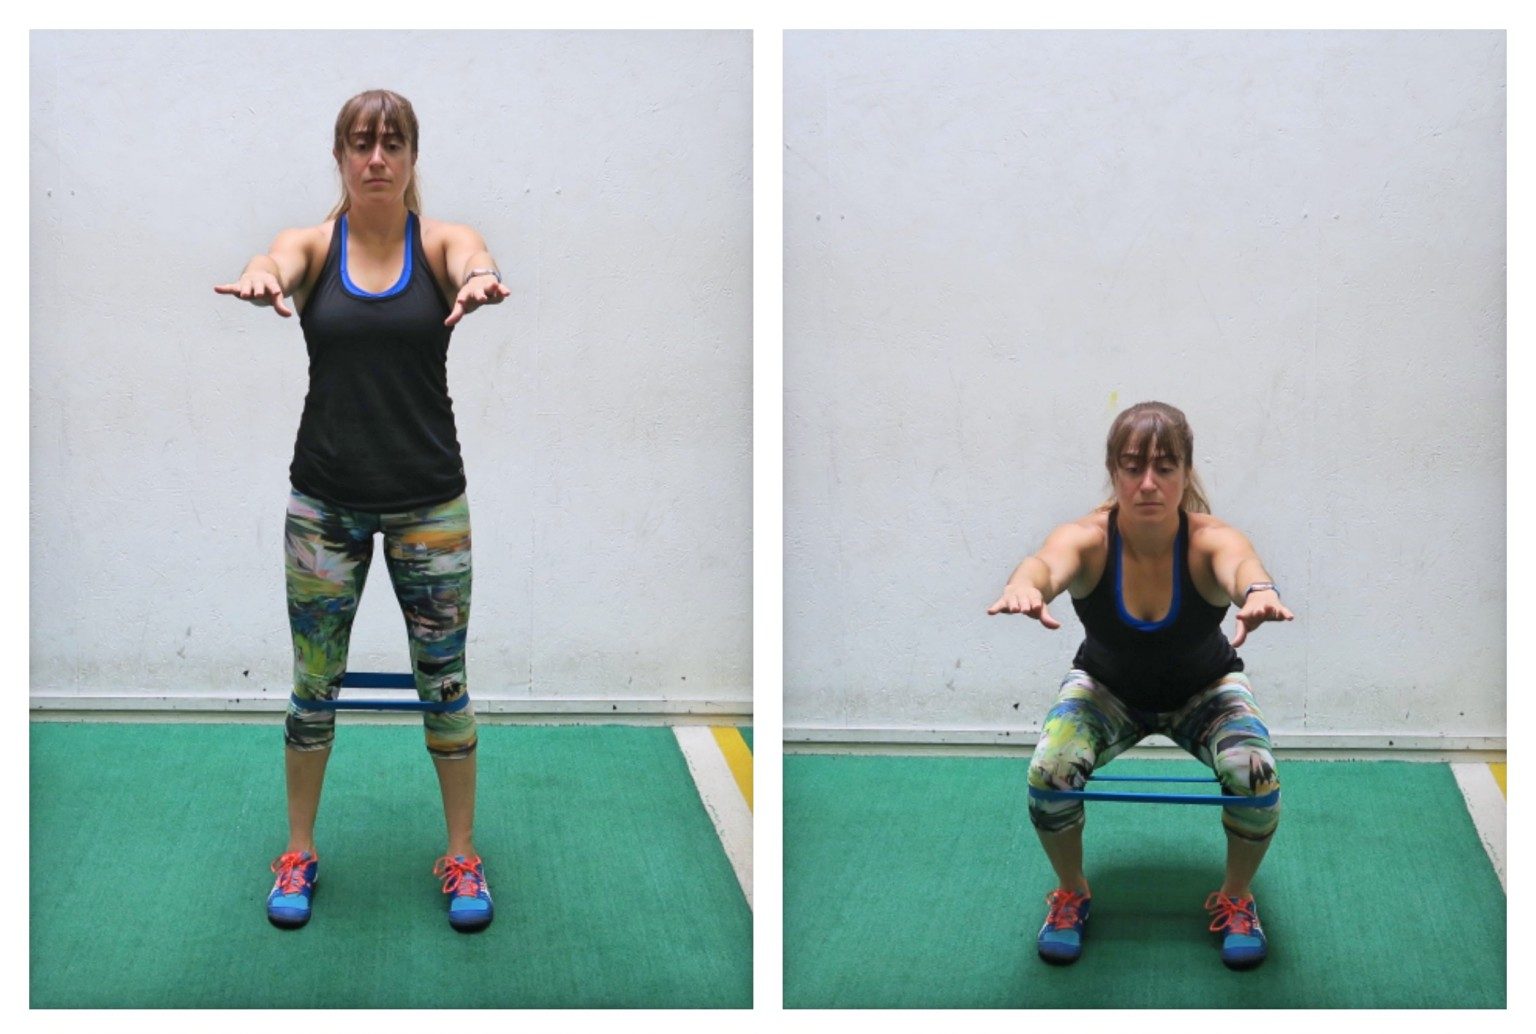
Not only do you want to then include moves to strengthen through a full range of motion, but you also want to make sure your workouts include exercises that move you in every direction!
Often when we start back we include those fundamental movement patterns which are key, but we also get stuck moving in really only one plan of motion.
This ultimately can fight against us truly improving our mobility and stability but also hold us back from becoming functionally more fit and building muscle as quickly as possible.
The more directions we press and lunge and pull in, the more we are hitting every aspect of a muscle group and really using a joint through a full range of motion.
And sometimes these simple tweaks in posture and direction can make a basic move harder.
You may find by including a side lunge, you feel your glutes and adductors more while improving your hip stability…all while even using lighter loads than maybe you could for something like a reverse lunge.
With a focus on moving in different directions we will also improve our core strength, including rotational and anti-rotational moves.
All of this is key to building back more quickly while creating that solid foundation from the get go!
It can also allow us to challenge ourselves with less volume and loads to truly address any weak links we may have!
And with all of this…tip #7…Stay consistent!
It is tempting when starting back to get distracted by all of the options out there and to want to try all of the different moves and tools.
Don’t.
Stay focused on your goals. Have a clear plan in place.
Avoid jumping around too much as this can lead to injury and results not building…not to mention you constantly feeling sore and like you aren’t progressing!
While you don’t want to repeat the same moves every single day, you do want to have a weekly schedule you repeat for even 3-8 weeks straight.
This will help you slowly progress moves week over week and be able to track your progress.
You will also find your body adapts more quickly so you can ultimately see changes faster.
We have to remember that we get good at what we consistently do…and this applies to our training and movements too!
So if you’re starting back to training, focus on meeting yourself where you are at, progressing moves with intention and purpose while following a clear plan that keeps you consistent and earning every move you do!
For more workouts designed to help you rock those results no matter your fitness level, check out my Dynamic Strength program…
–> Learn More