FHP 334 – 4 Tips To Build Muscle Without Gaining Fat

FHP 334 – 4 Tips To Build Muscle Without Gaining Fat

Gaining muscle can be HARD. There are also those of us that tend to struggle more than others.

And it only gets harder as we get older because we can become anabolic resistant and we don’t utilize protein as efficiently or effectively (just another reason increasing our protein and tracking our macros is key!). 

That’s why I want to share 4 tips to help you dial in your diet and your training to get the best results as fast as possible.

Now note, I didn’t say rush results, because gaining muscle, especially if you don’t want to gain a ton of fat, is a slow process.

Because both our diet and our workouts need to work together. 

While we may be able to lose weight without training, training is KEY to drive muscle hypertrophy.

So here are 4 tips to help you dial in your routine to get those muscle gains!

4 Tips To Improve Those Muscle Gains:

Tip #1: Don’t Fear Carbs

You want to make sure you have more energy available, more instant fuel when you train, to help build muscle more efficiently and aid in your recovery process.

That’s why increasing your carbs may be key.

They help your muscles repair and rebuild.

So consider a slightly higher carb ratio during a muscle gaining workout progression.

OR if you find you just don’t do well with higher carb ratios, really focus your carb intake around your workout with some protein.

You just want full glycogen stores so you can really push heavy weights and perform your best. 

Because you have to really push progression in your training to force your muscles to rebuild stronger.

You also want to replenish those stores right after your training to make sure you’re able to efficiently rebuild!

If you are scale sensitive, recognize you may find you fluctuate more during this process as you can gain weight just from fuller glycogen stores and the water weight you retain as you store glycogen. But this is a key part of the process and not fat being gained!

Tip #2: Create a SMALLER surplus

To often we go a bit crazy with the surplus and use “I’m trying to gain muscle” as an excuse to eat whatever we want.

And not only do we eat far more calories than we need but our food quality also tends to dip.

Don’t use this as an excuse not to track. 

Also don’t use this as an excuse to create an extreme surplus. A little goes a long way.

Because you just need enough to repair and fuel the new muscle and increased resting metabolic rate.

And that doesn’t increase as quickly or as much as we often eat like it does.

The bigger the surplus you create, the more fat you’re later going to cut.

And when cutting, unless you go slow, you’re risking losing some of the muscle you worked so hard to gain.

Better to dial in that smaller surplus while tracking your macros to start to focus on more pure muscle gains…aka less fat gain as you “bulk.”

And if you’d really like to avoid gaining fat, you may even choose to start eating at maintenance calories instead of a surplus.

Because that may be enough of an increase since a diet high in protein, even while eating in a deficit, has even been shown to allow for gaining muscle as you lose fat!

Tip #3: Stop Turning Your Strength Workouts Into Cardio (TAKE THE REST)

Many of us have heard we should cut out cardio if gaining muscle is our focus. 

And that does make the process easier.

However, often we then create these strength workouts that eliminate all rest and ultimately end up being CARDIO.

You do not need to be lying in a sweaty heap on the ground to build muscle. Actually, you may find you get better results if you DON’T do this.

You may find you include MORE rest between rounds or sets or moves.

Because rest allows us to recover so our 100% intensity stays more at 100% intensity.

To build muscle, we want to be able to progress movements as much as possible, even working down in reps as we increase loads.

While we can create more metabolic strength routines if our goal is to gain muscle while avoiding gaining fat, we do want to be conscious of the rest we include and our ability to progress with loads, tempos or movement variations.

Whether you go higher reps, with what will be lighter loads or lower reps with heavier loads, no weights should also ever be light.

If it challenges you, it will change you. But you always want to feel like you’ve “maxed out” at the reps you’ve stopped at while giving yourself time to recover to push as hard the next round!

Tip #4: Use Training Frequency To Your Advantage

Studies have shown that actually training a muscle group more frequently over the week may be super key to better muscle gains.

But to do this, you often have to do LESS each session and even mix up how you drive muscle growth.

You can’t seek to be sore and beaten down from each session.

You may have to adjust the volume of your workouts and even the types of moves and tools you include.

There are 3 drivers of muscle growth:

  • Muscle Tissue Damage
  • Mechanical Tension
  • Metabolic Stress

While muscle tissue damage type movements like traditional barbell squats and deadlifts are key, they can make you more sore and create more muscle tissue damage. 

You may not be able to do them as often during the week.

However you can still work your legs and glutes more frequently during the week by using those other drivers of muscle growth.

Focusing on those mini band moves or squat pulses or hip thrusters can allow you to add in multiple training days without just constantly beating yourself down so you’re sore while even getting you better results because you’re using all three drivers of muscle growth.

But just remember ever session doesn’t need to, nor should, leave you feeling destroyed.

You want to focus on increasing that training frequency over doing more in a single session. It allows even for more QUALITY work over the week.

And then create a clear progression so your body can adapt and not be sore. This will allow you to actually create more clear progression to see those results add up.

If you just constantly randomly string things together, you’re putting yourself at more risk to constantly be sore since NEW alone can make us sore.

SUMMARY:

If you’ve been struggling to really see the muscle building results you want, make sure you’re implementing these three tips.

And if you need help dialing in your training and your macros to match your needs and goals, check out the link below to my Macro Hacks!

–> Macro Hacks

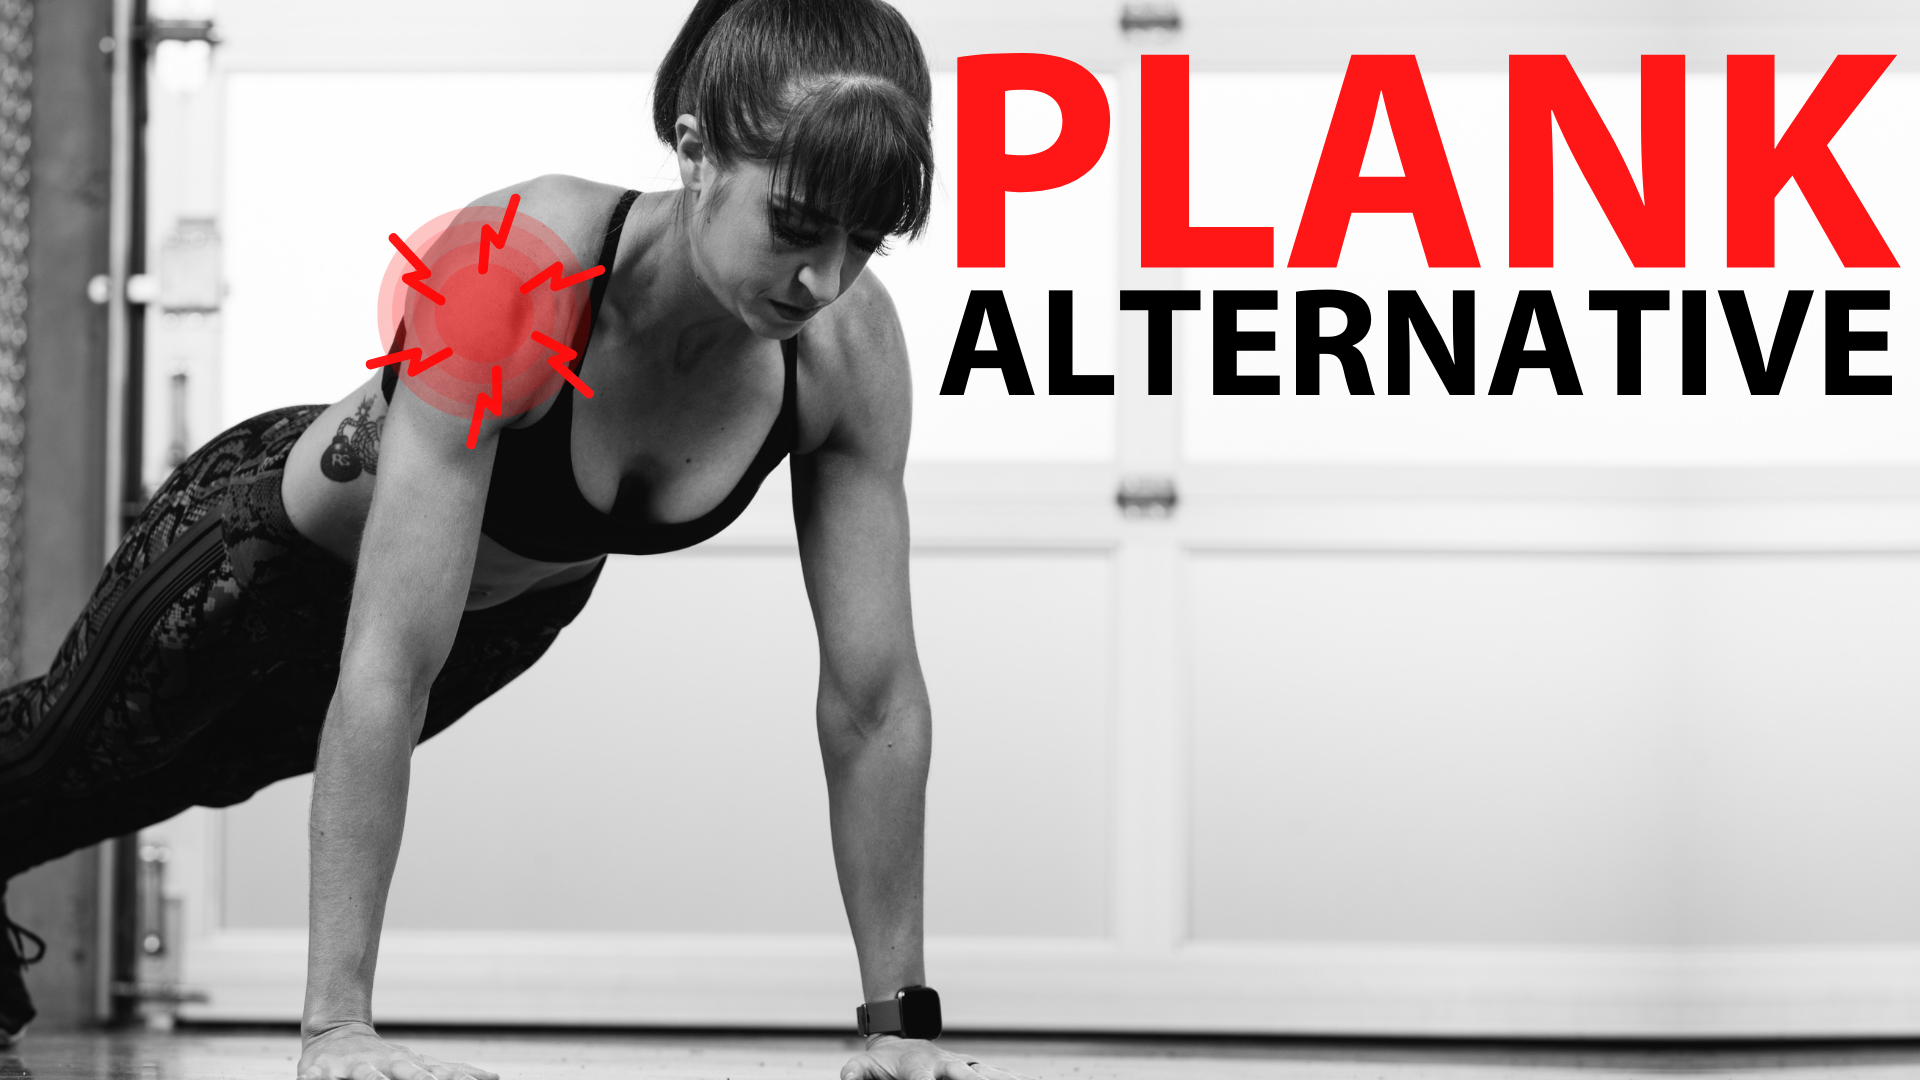
Shoulder Pain With Planks? Try This!

Shoulder Pain With Planks? Try This!

Planks are a basic, but fundamental core move. They are a great way to establish that mind-body connection and really focus on what you feel working.

They are a great anti-extension and ant-flexion movement so you learn how to brace. 

But what if you have shoulder aches and pains that don’t allow you to do even a modified version of the plank?

What can you do to still get the amazing core benefit of a plank in a way that allows you to work around your pain?

Before I go into one of my favorite core isometrics to use to modify the plank around shoulder pain, I want to discuss a key tip to help you modify any moves you find don’t fit your needs or goals. 

Because it can feel overwhelming to come up with variations when you’re injured or need to regress a move to get more out of it!


How To Modify Moves: Ask Yourself This Key Question

When I’m considering how to modify a move for a client, I’m not only thinking about what the injury or restriction is and the muscles we were planning to work, but also the GOAL of including the movement in the first place.

I think so often we just think – “I want to work my abs.”

But you really want to assess WHY you’re including this specific move. Do you want the anti-flexion/anti-extension core benefit?

Is it about the hold to be able to assess what you feel working as you do it so you can improve that mind-body connection?

Is this about building up toward another specific movement?

Or is it training your body through a specific movement pattern?

You always want to ask yourself…What is your goal for the movement?

We want to think about the purpose of the movement and not just the muscles we are trying to work because that then allows us to modify in a way to get the same benefits.

In the case of the plank, maybe it is learning to brace those abs correctly while having time to focus on that mind-body connection to hold harder. 

Maybe it is those anti-extension or anti-flexion benefits.

Maybe it’s using it as part of your warm up to activate your core and establish-that mind-body connection.

But based on your goal for the movement, you can then select the best modification to help you reach that result!

When it comes to the plank, to get that same isometric benefit while working the same muscles in a very similar way while avoiding the shoulder loading, I like to use the Banana Hold or Hollow Body Hold.

This move for me hits on all the same “goals” I’m often trying to achieve with the plank while also allowing me to then regress or progress as needed based on the clients fitness level all while avoiding shoulder irritation!


Tips To Use The Banana Hold:

The Banana Hold is a very challenging core isometric movement. 

And it’s a key move to include if you want to learn how to brace better to protect your spine while also improving your pull ups, push ups and even handstands.

It’s also as close as you can get to a SUPINE version of a plank.

To do the Banana Hold, lie on your back with your legs out straight together. Reach your arms overhead. If you find that reaching your arms overhead irritates your shoulders, you can keep your arms down by your sides, reaching toward your feet.

Tilt your pelvis, tucking your hips up toward your ribs to engage both your abs and your glute max.

Then squeeze your glutes and flex your quads as you lift your legs up off the ground. The higher up you raise them, the more you will modify the movement, which can be key to help you make sure your abs are working and your lower back isn’t taking over.

As you hold your legs out as close to the ground as possible, make sure you don’t lose that posterior pelvic tilt. And don’t just let your legs rest there. Flex your quads hard. Squeeze your glutes and even think about using your adductors to hold your legs glued together.

Whether your hands are reaching toward your feet or your biceps are up by your ears reaching overhead, crunch your shoulder blades up off the ground. Keep your head in line with your spine and do not tuck your chin.

If you feel your neck straining, you can put your hands behind your head to help. But you also want to think about slightly stacking your chin as if making a double chin to hold.

Focus on feeling that tension all through your core to hold here. Run through flexing your abs more, lifting your shoulder blades up slightly higher. Squeezing your glutes. Engaging your quads. Assess what you feel working and try to engage harder to create that soakage as you hold.

If you find you can’t control this version and you feel your lower back taking over, raise your legs up higher or even bend your knees. 

You can even do one leg at a time, bending one knee in toward your chest as you hold, to perform a shorter hold on each side.

Do not get ego in the variation you use and try to use a harder variation just because it’s harder. 

EARN that more advanced hold and instead focus on really getting everything to work correctly.

The more advanced you are, the more you should even be able to use that mind-body connection to even engage everything quicker and harder during a more modified variation.

So if you’ve been worried you’ll be missing out on the benefits of planks because of shoulder pain, give this isometric move a try!

And remember, there is always a way to modify moves to fit your needs and goals. Just remember your GOAL for the movement you’re including!

FHP 333 – Is It Possible To Find Balance?

FHP 333 – Is It Possible To Find Balance?

There never really is “balance.”

Life is a constant balancing act.

We are always learning how to improve things and I think there will always be times we steer too much in one direction.

We’re human after all.

But part of mastering “balance” is realizing it will be a continual work in progress.

So how can you help yourself strike more of a balance over going to extremes…which…..let’s face it, is far easier especially when it comes to our diet and exercise routines?

Well that’s why I want to share these 4 tips to help!

#1: Focus on your current lifestyle.

It is easy to claim we’re an all or nothing person. It’s easy to go to those extremes in an attempt to get faster results. 

We cut out any “bad” food.

We set a workout routine that is 6 days a week with two-a days.

It’s easy to take that initial motivation and do as much as possible.

But that’s also often why nothing works….long term.

We never find that balance!

That’s why it’s key we stop just restricting or trying to rush results. Instead when we make changes, we need to stay focused on what is realistic for OUR current lifestyle.

What does your schedule actually allow for so that you can base your training off of that?

What foods do you want to enjoy long-term so you can find ways to map them in?

The more we actually consider our needs and goals when making changes, the more we can actually find a balance that will work…not lead to us working really hard only to fall off in weeks or months when the motivation fades.

#2: Add slowly.

Often when you add too much all at once onto your plate, you overwhelm yourself, which can ultimately lead to you not even truly getting started…or at least sticking with things long term.

Change itself is hard.

So as much as we want instant results, the slower we can make the changes the more we will truly allow ourselves to create new habits.

Motivation fades. The reason we ultimately keep moving forward is because things have become natural.

The smaller the adjustments, the quicker they just become part of our routines.So to build momentum, start with small, easy changes. Even if they feel ridiculously easy or even silly to start.

The more you do, the more you do. So start adding slowly to build those changes. 

#3: Take time to step back.

It’s easy to get caught up in the moment and even ignore all of the progress we’ve made. This can lead to us doing MORE, which unfortunately can ultimately backfire.

It’s key we take time at points to step back and reflect on how everything is going. To reflect on the progress we’ve made and the changes we’ve implemented.

By taking that bird’s eye view of things, we can see more changes we’d like to make while recognizing the progress we’ve already made as well. Because often we ignore those results as they build because we aren’t “there yet.”

Recognize your hard work as it builds. 

It will help you strike that balance and even accept there will be ups and downs…times you’re more or less motivated.

Everything goes in seasons, and that is a-ok! We can let ourselves have times we just maintain over always driving forward. It will help us move forward more long-term!

#4: Constantly assess. 

With taking that step back at times, don’t be afraid to assess.

I know it can be hard to take an honest look at how we are doing, and even recgonize our flaws, but that hard look at everything can help us avoid going to extremes.

It can help us see if we are being as consistent as we feel we are….or if we’re actually working harder over smarter.

It can even help us tweak as our needs and goals change. 

Nothing in life stands still…and neither should our nutrition or our training!

SUMMARY:

Life is a constant balancing act.

Progress will never be linear but the more we try to go to extremes, the more we hold ourselves back from creating a sustainable lifestyle.

3 Moves To FIX Hip Pain – The Ankle-Butt Connection

3 Moves To FIX Hip Pain – The Ankle-Butt Connection

Suffering from hip pain?

Frustrated because you feel like you’re doing all the proper rehab work, foam rolling and stretching the muscles around your hips while activating your glutes, but nothing seems to be adding up?

What if that’s because the original culprit of your pain, the area that lead to the overload, is not anywhere near your hip?

What if you keep overloading the same muscles because of a mobility restriction or instability at your foundation?

What if it’s even the result of an ache or pain from over a decade ago?

Like say that ankle sprain you never really did anything about and just rested until it felt better?

What if the whole cause of your hip pain is due to that Ankle-Butt Connection?!

Before I discuss how to improve your ankle mobility and stability to alleviate and prevent your hip aches and pains, I want to discuss that ankle-butt connection and why it’s so important.

The Importance Of The Ankle Butt Connection:

Your feet and ankles are your foundation.

Immobility or instability there can create movement compensations up your entire kinetic chain, resulting in not only hip but even knee, lower back and SI joint aches and pains.

Especially immobility or instability due to a previous injury.

When we get injured, there is a disruption to our natural recruitment patterns or our mind-body connection.

We often aren’t able to call on muscles as efficiently or effectively as we once could, unless we take time to rebuild.

Also, we often compensate as we avoid using the area to rest it, limping around or using crutches, and then, when we first get back to training, we all too often just jump right back in as if nothing happened.

But there have been changes potentially to our ankle range of motion and our ability to stabilize that we can’t ignore, even if there is no longer pain.

It’s why an ankle injury from years ago we’ve forgotten about can later lead to hip pain.

Without knowing it, we’ve created a crack in our foundation that is now affecting our entire structure.

It’s why you NEED to make sure to re-establish that proper mind-body connection.

And in the case of previous ankle injuries and issues, that means addressing not only your ankle mobility and stability but also the impact that ankle injury had on your GLUTES!

A 2006 study found that subjects with chronic ankle sprains had weaker hip abduction strength on the involved side. (1)

We have to remember that everything is connected. And perpetual overuse builds up to issues over time.

So while you may be wishing you could go back in time right now and address the injury when it happened, it’s still not to late to do the prehab work you need!

What are 3 moves you can do to improve your ankle mobility and stability so all of your glute activation work actually pays off?

3 Ankle Mobility And Stability Moves:

Move #1: Peroneal Foam Rolling:

Peroneal tightness can be linked to flat feet and ankle mobility restrictions which can lead to your knee collapsing in during exercises like the squat.

This compensation can lead to your TFL becoming overloaded and overworked and your glute medius activation work not paying off!

It is an important muscle to pay attention to because if just one side becomes short and overactive, which is why foam rolling is so important for this muscle, it can lead to a functional leg length discrepancy (you may “think” one leg is shorter when it is actually muscle tightness causing the symptoms) and a weight shift during bilateral, or two-legged, movements.

To roll out your Peroneal, a ball or small roller works best although you can use a larger foam roller.

Take a ball and place it on the ground with the side of your lower leg on top, starting just below the outside side of your knee.

Press your lower leg down into the ball with your hand.

Hold and relax. You can even circle your foot and ankle to help the muscle relax and release.

Then move it to another spot slightly lower down on your lower leg.

Move #2: Bear Squat To Foot Stretch:

What we often don’t realize is that even our BIG TOE can get “locked up.”

And that lack of mobility can not only impact our lunging but even our walking and running.

That’s why the Bear Squat to Foot Stretch is so key to include.

It will stretch our your toes and improve your calf flexibility and ankle mobility, improving specifically your dorsiflexion (your ability to bring your toes closer to your shin).

This stretch can even help you SQUAT deeper if you’ve felt like your range of motion when squatting is limited.

To do this stretch, start kneeling on the ground with your feet flexed. Sit back on your heels. Rock side to side to stretch your feet.

Then lean forward and place your hands down on the ground. Push your butt up into the air, driving your heels down to the ground.

Relax your calves and try to get your heels down to the ground. You can pedal your feet to focus on each side independently.

Pause then lower your knees back down to the ground and sit back on your heels.

Make sure that as you drive your butt up, you are pressing yourself back so that your driving your heels down.

You can walk your hands in just a little bit closer to your knees to help you feel the stretch a little bit more too.

If you can’t sit back on your heels from that kneeling position, you can do a version of this against the wall barefoot. Place the ball of your foot on the wall to extend your toes.

Then drive your knee forward toward the wall keeping your heel on the ground. Pause then relax out and repeat.

Move #3: Calf Raise Circles:

When you do the basic calf raise, have you ever noticed you tend to rock out on your feet? Or maybe you slightly rock in?

These compensations can result in there still being instability, or even overworked muscles, in your lower leg.

That’s why I love Calf Raise Circles.

This variation is a great way to make sure you’re improving your ankle stability while addressing each aspect of your lower leg.

To do Circle Calf Raises, start standing with your feet about hip-width apart. You can face a wall or table or hold on to a pole if you need a little help balancing so that you can really focus on circling.

Don’t get ego in this move and end up rushing through just because you’re trying not to hold on.

Then start to circle by rocking to the outside of your feet. Slowly come forward toward your pinky toe. Then come up onto your toes slowly circling from your pinky toe toward your big toe.

Come up as high onto your toes/balls of your feet as you can.

Then reach your big toe and circle in toward the inside of your feet as you lower your heel down.

Then come back up, this time starting with the big toe and circling out toward your pinky toe before coming down on the outsides of your feet.

Repeat circling back up and in.

To progress this move, try extending the range of motion, performing it off a plate weight or step.

But really focus on feeling each part of that circle!

SUMMARY:

Create a solid foundation by using these 3 moves to improve your foot and ankle mobility and stability. It can help you prevent the overload perpetuating your hip pain!

For a great 5 minute foot and ankle mobility series using these 3 moves, and some other bonus ones, check out this series – The 5-Minute Foot And Ankle RStoration Series.

FHP 332 – You Are What You Believe

FHP 332 – You Are What You Believe

I think most often we hold ourselves back.

Plain and simple.

It’s not that we didn’t have the ability. It’s not that we couldn’t learn the systems. It’s not that we weren’t strong enough, smart enough…insert the “enough” here….

Honestly…Most of our limits are truly self imposed.

And I think part of that comes out of fear of failure.

Out of fear of judgement from others.

But if you want to achieve a new and better result, you’ve got to believe in yourself. You’ve got to push past any limits you foresee

You’ve go to stop the self limiting beliefs….

The question is HOW?!

That’s why I wanted to share 3 “secrets” I think will help you not hold yourself back in the face of something new….that will help you believe in you more.

Because you are what you believe you are!

#1: Act As If.

This is not the same as fake it till you make it. Because with Act As If, you are doing the habits that are required to be the person you want to be. You aren’t just telling yourself something you don’t believe.

So if you know there are habits or actions you would need to take if you were a person that was accomplishing the goal you set out to hit?

Simple DO THEM!

To often we simply never get started. Or we believe we can’t do something. Instead of just being the person that reaches that goal by putting the habits into place.

Sure is there going to be a learning process? YUP!

But the person who succeeds at that goal doesn’t care about other’s judgement. They recognize they have to suck at something in order to get better.

Because practice makes BETTER!

So focus on acting as if you are the person you want to be instead of limiting yourself with your own beliefs!

#2: First ask yourself WHY. Then realize you don’t know until you’ve tried!

I think sometimes just being honest with yourself about WHY you aren’t taking action is key.

And that means often asking yourself WHY you are making certain excuses.

Often it boils down to we don’t want to fail publicly in front of others.

We don’t want to be judged as not being good enough.

So we stop ourselves before we even start.

But I think facing these facts and then telling yourself you’ll never know if you can actually accomplish that goal until you try?

Well it can help you leap over that self imposed limitation.

It’s sometimes that little epiphany you need to get yourself to move forward.

Because as much as you may “guess” you won’t succeed, you really don’t know until you’ve tried! 

#3: Embrace failure.

This goes hand in hand with the fact that you won’t know until you’ve tried…

But even if you do succeed ultimately? I will GUARANTEE there will be failures along the way.

Because failure isn’t the opposite of success…it’s a part of it.

So our fear of failure? Well it’s valid because it’s going to happen.

Anyone who’s succeeded knows this and won’t judge you for those setbacks. They’ll celebrate you trying.

So anyone who does judge you, well, they’ve probably always limited themselves and held themselves back from trying. And more than likely, they’re jealous of you for trying.

I think facing failure head on. Saying to yourself “I’m going to fail but it is the only way to succeed.” Can help you embrace the setbacks along the way and keep going.

SUMMARY:

So much of success is just never giving up. In believing we will find a way forward and acting as if we are the person who would succeed at that goal.

There are no guarantees in life, but you truly won’t know until you’ve tried.

If you’ve been struggling to take that first step forward, ask yourself WHY! Are you holding yourself back?

Stop those self limiting beliefs – Remember you are what you believe!