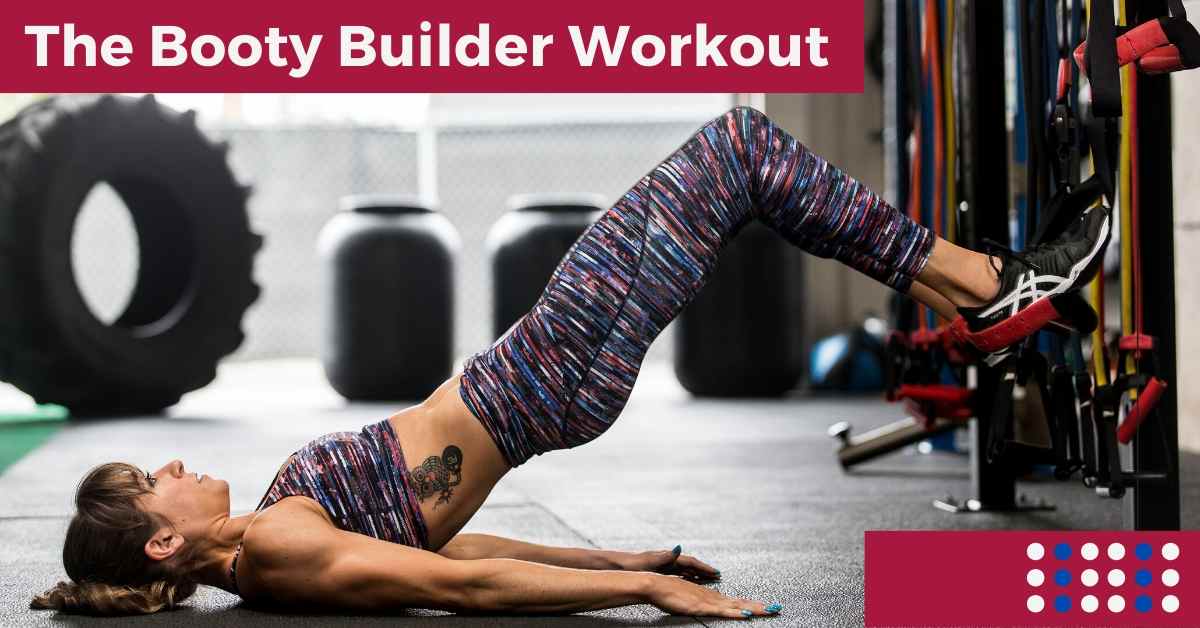
FHP S2:E1- The Fitness Hacks Podcast: Do You Need To Be Sore For Results? No Pain, No Gain?
In this episode I discuss whether or not you should really seek to get sore from your workouts and what being sore really means! Because all too often these days we fee like we didn’t work hard enough if we aren’t sore, when soreness really isn’t an indicator of effort or results!
SUMMARY:
- Why Can You Get Sore? Simply from doing something new, exceeding the capacity of your muscle to recover, creating a ton of muscle tissue damage, improper recovery, improper nutrition, GENETICS
- Soreness is NOT an indicator that you worked hard enough!
- Soreness can interfere with your results from other training sessions.
- Focus on tracking progression.
- If you want to build muscle, don’t you need to be sore? Doesn’t muscle tissue damage drive muscle growth and can’t that make you sore? Muscle tissue damage may NOT be the most important driver of muscle growth.
4 KEY TAKEAWAYS:
- Stop seeking to be sore.
- Track your numbers to focus on progressive overload to get results.
- Focus on your recovery.
- Don’t go overboard with the variety – create progressions.
RS PROGRAMS:
- The 21-Day RStoration – 10-minute mobility and recovery series.
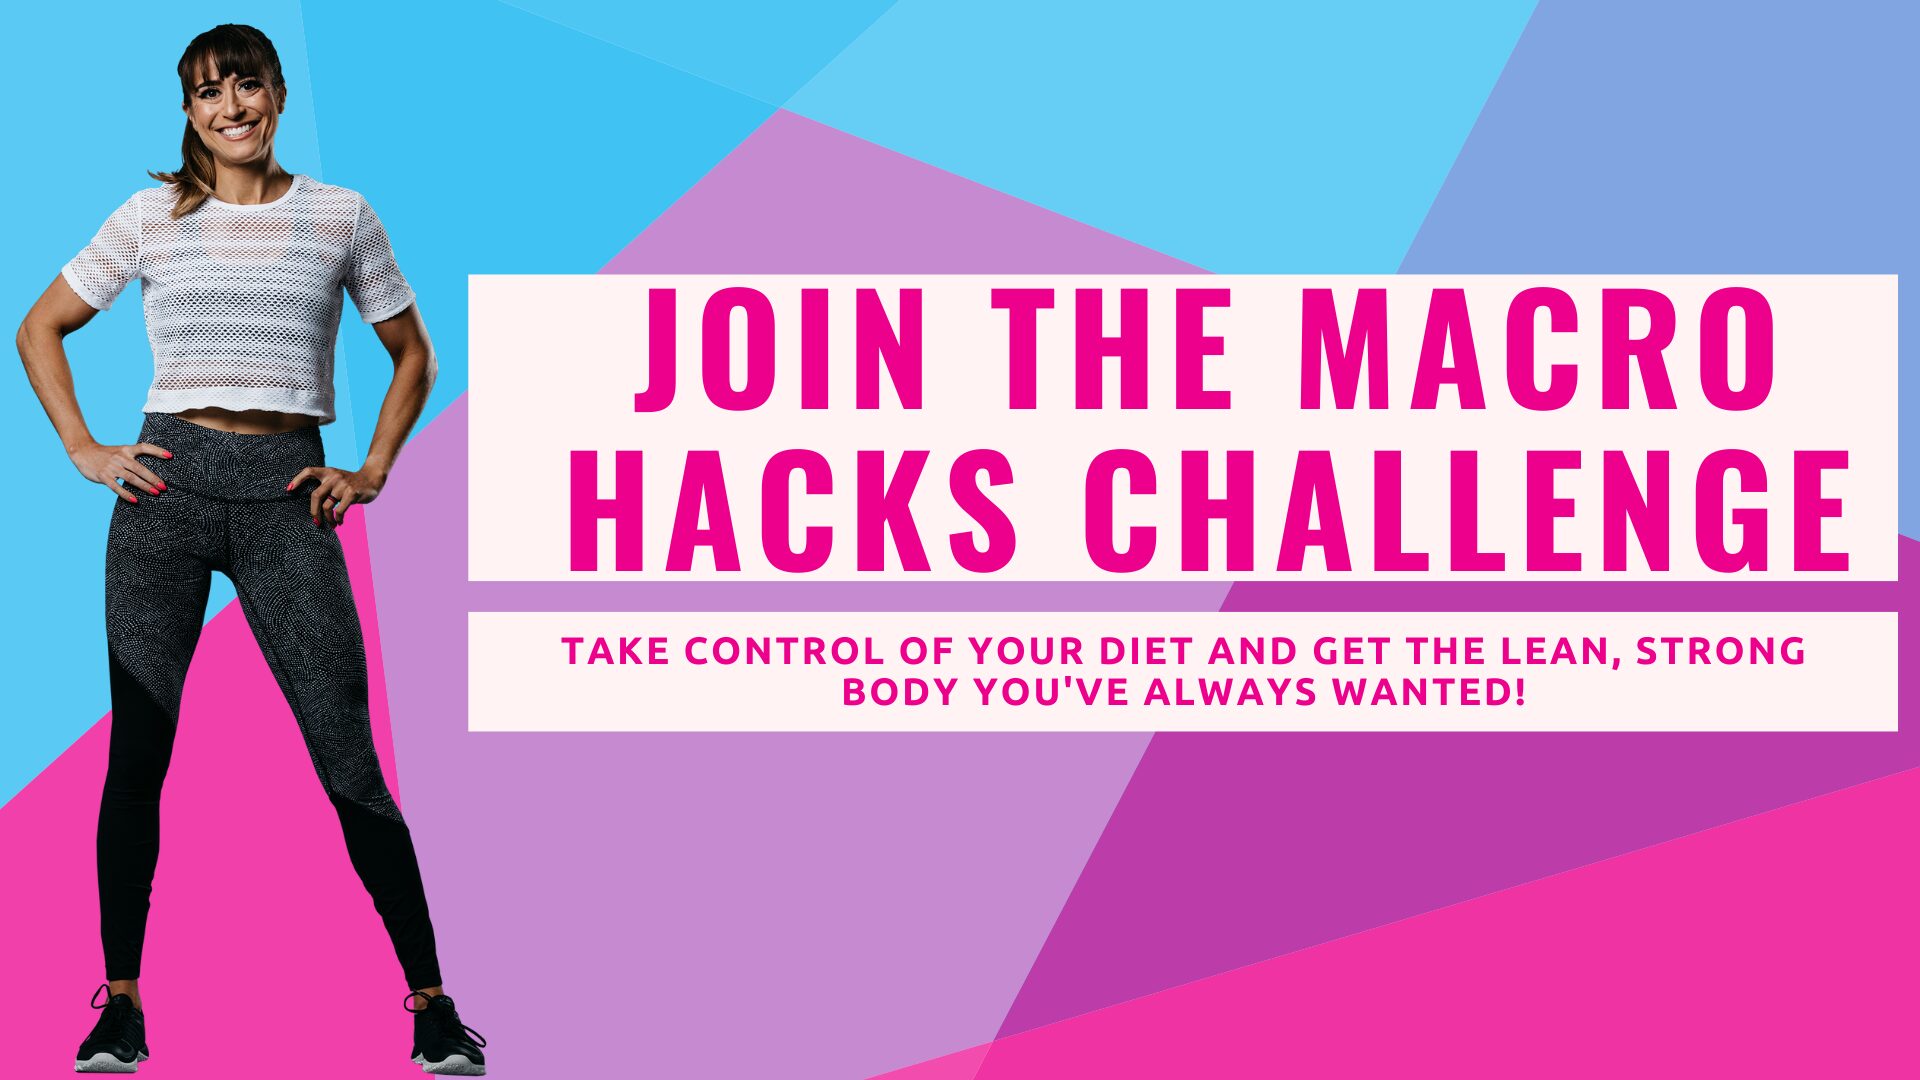
- The Macro Hacks Program – The best results happen when our diet and workouts work together.
STUDIES:
- Muscle damage and muscle remodeling: no pain, no gain? Feb 2011 – “The results of this study suggest that muscle rebuilding – for example, hypertrophy – can be initiated independent of any discernible damage to the muscle.” – https://www.ncbi.nlm.nih.gov/pubmed/21270317
- The development of skeletal muscle hypertrophy through resistance training: the role of muscle damage and muscle protein synthesis. 2018 – “Furthermore, RT protocols that do not promote significant muscle damage still induce similar muscle hypertrophy and strength gains compared to conditions that do promote initial muscle damage. Thus, we conclude that muscle damage is not the process that mediates or potentiates RT-induced muscle hypertrophy.” – https://www.ncbi.nlm.nih.gov/pubmed/29282529
- Neural and morphological changes in response to a 20-day intense eccentric training protocol. 2010 – Negatively impacts recovery – “The persistent decrease in strength, despite an increase in muscle activation, suggests that the recovery interval was inadequate to allow complete repair of muscle damage. Intense eccentric training performed every 2nd day leads to a prolonged impairment of muscle strength in previously untrained individuals.” – https://www.ncbi.nlm.nih.gov/pubmed/20495928
- Pain-related fear predicts reduced spinal motion following experimental back injury. 2012 – Reduce the activation of a muscle – “The findings suggest that initially pain-free individuals with high pain-related fear adopt avoidant spinal strategies during common reaching movements shortly after injury is sustained, which may comprise a risk factor for future pain and disability.” – https://www.ncbi.nlm.nih.gov/pubmed/22377437
- Leucocytes, cytokines and satellite cells: what role do they play in muscle damage and regeneration following eccentric exercise? 2012 – Reduce the force capacity of a muscle – “We suggest using the term ‘muscle damage’ with care. Comparisons between studies and individuals must consider changes in and recovery of muscle force-generating capacity.” – https://www.ncbi.nlm.nih.gov/pubmed/22876722
Transcript:
Hey guys, this is Cori from Redefining Strength. Welcome to the fitness hacks podcast. If you want to catch the videos of this, make sure to tune in on Facebook. You can get the audio everywhere else. If you enjoy the podcast, make sure to leave a review as well. Only good ones of course. But today I wanted to take some time to talk about muscle soreness. Is it really no pain, no gain? And the simple answer is no. Muscle soreness is not the best indicator of how hard you worked or whether or not you’re gonna get results from your workouts. I know we’ve gotten into this attitude of feeling like if we’re not sore from our workouts, we’re not going to get the results we want. But that’s just not the case. And always striving to be sore may actually be holding you back from getting the results that you want.
So what is sorenessReally? It’s a sign, yes that you created some muscle tissue damage. It can be a sign that you worked hard because it’s a sign that you push your muscles to a certain extent and actually overloaded them and they weren’t able to repair quick enough. Okay? So it is a sign that you pushed hard. However, it doesn’t mean you’re gonna get better results because part of it can be simply that you didn’t have proper recovery. Part of the soreness can be that you did something new, so you might find when you start a new program, you get more sore and that as you adapt, you get less sore. So it’s remembering that it’s something new. It’s potentially, yes, working hard but not necessarily a sign that you’ve progressed. And it can also be due to not having proper recovery. if you didn’t stay hydrated enough,
If you didn’t get enough sleep, you know, maybe you worked out too close together, the same muscle group, you could be sore for all of these different reasons. So none of these really are proving that we’re going to get better results from our workouts. So we don’t want to strive to be sore. It’s not bad If you do get sore and you will find that when you’re first starting back to working out and you’re doing something new, there’s a greater chance that you’re going to be sore from those workouts. Anytime I change up a progression or have clients start a new program, they are going to be sore and yes, we want to try and manage that soreness as much as possible because we don’t want it to hinder future workouts in the week. But it’s okay to know that it’s okay to be sore,
It’s just not what we should be striving for. We want to think about our workouts and the progress we’re making each week, which means we need to track what we’re doing. So as you do your workouts, create little logs where you can track how many reps, how many sets, the loads you’re using, how even movements felt, and then each week you repeat these workouts. You want to see improvements in the numbers. Maybe you’re able to eek out an extra rep with the same weight even as last week. Maybe it just feels less intense or you can feel the muscles working in a better way. So it’s really key that we track our progress because soreness isn’t an indicator and we might actually be making better progress without even getting sore from our workouts simply because we’re not doing too much and we’re not doing new things all the time.
So it’s really key that we create that progression. We also have to remember that soreness can have a negative impact on future training sessions. Okay…So studies have actually shown that training a muscle, while it’s still sore can reduce the activation of the desired muscle. It can the force capacity of the muscle by up to 50% and it can even negatively interfere with the recovery process. What that means is that if we’re training when we’re really sore, we can actually be doing imperfect practice or we can be hindering our results because we aren’t able to lift as much. If you are coming back from injury and you’re finding that you’re really sore when you’re training and then you go try and train again when you’re still sore and you’re really trying to get your glutes activated because they haven’t been in the past, you might not actually be able to activate that muscle as well.
So trying to do squats and lunges a couple of days later when you’re still sore, if you’ve already struggled to get your glutes engaged, it can be a really bad idea because it could lead to those compensations that led to the injury in the first place. So it’s really key that when we think about our workouts, we think about these workouts as practice, right? We want to perform proper movements and if we’re not able to, because we’re not able to use muscles effectively and efficiently, we’re going to be practicing imperfect movements, which can lead to overload and injury. If you think about in terms of training for a race, even if you’re constantly running, when you’re sore and you’re slowing your pace down to train extra times or create more training volume, you might actually be training muscle slowness. So you’re training slowness, right? If you’re running a slower mile pace than you did the week before because you’re sore, that’s not training you to run faster, it’s training you still to do the distance but potentially at a slower pace.
So you do want to consider your recovery so that your practice is really optimal and you’re getting the results that you want. Okay. I want to talk a little bit about too about muscle tissue damage and soreness because there’s some really interesting studies on this. So we often relate soreness, even DOM, so delayed onset muscle soreness to muscle tissue damage. And so we often associate, you know, soreness with muscle growth because muscle tissue damage drives muscle growth. First off, soreness is not the best indicator that we’re going to drive muscle tissue damage and drive hypertrophy that way, So muscle growth, because you can actually have DOMS from running and we know that we’re not necessarily gonna be building a ton of muscle sometimes from that activity. And steady state running can even be catabolic to muscle tissue. Okay, so we don’t want to associate directly “Oh, I’m sore, I created more muscle tissue damage, I’m going to get more muscle growth. “
It’s also key that we realize that simply trying to create as much muscle tissue damage for our workouts is not necessarily going to drive growth either. I thought it was super interesting that in recent studies they’ve actually shown is muscle tissue damage and muscle remodeling, Really “no pain, no gain” going to benefit us? So this study in February, 2011 actually showed and the results of the study were that suggesting that muscle rebuilding, for example, hypertrophy, which is muscle growth can be initiated independent of any discernible damage to the muscle. Therefore, muscle tissue damage and even striving to be sore from that isn’t going to necessarily be the best way to drive growth. A 2018 study the development of skeletal muscle hypertrophy through resistance training ‘The role of muscle damage and muscle protein synthesis’ also found that resistance training protocols that do not promote significant muscle damage still induce similar muscle hypertrophy and strength gains compared to conditions that promote initial muscle damage.
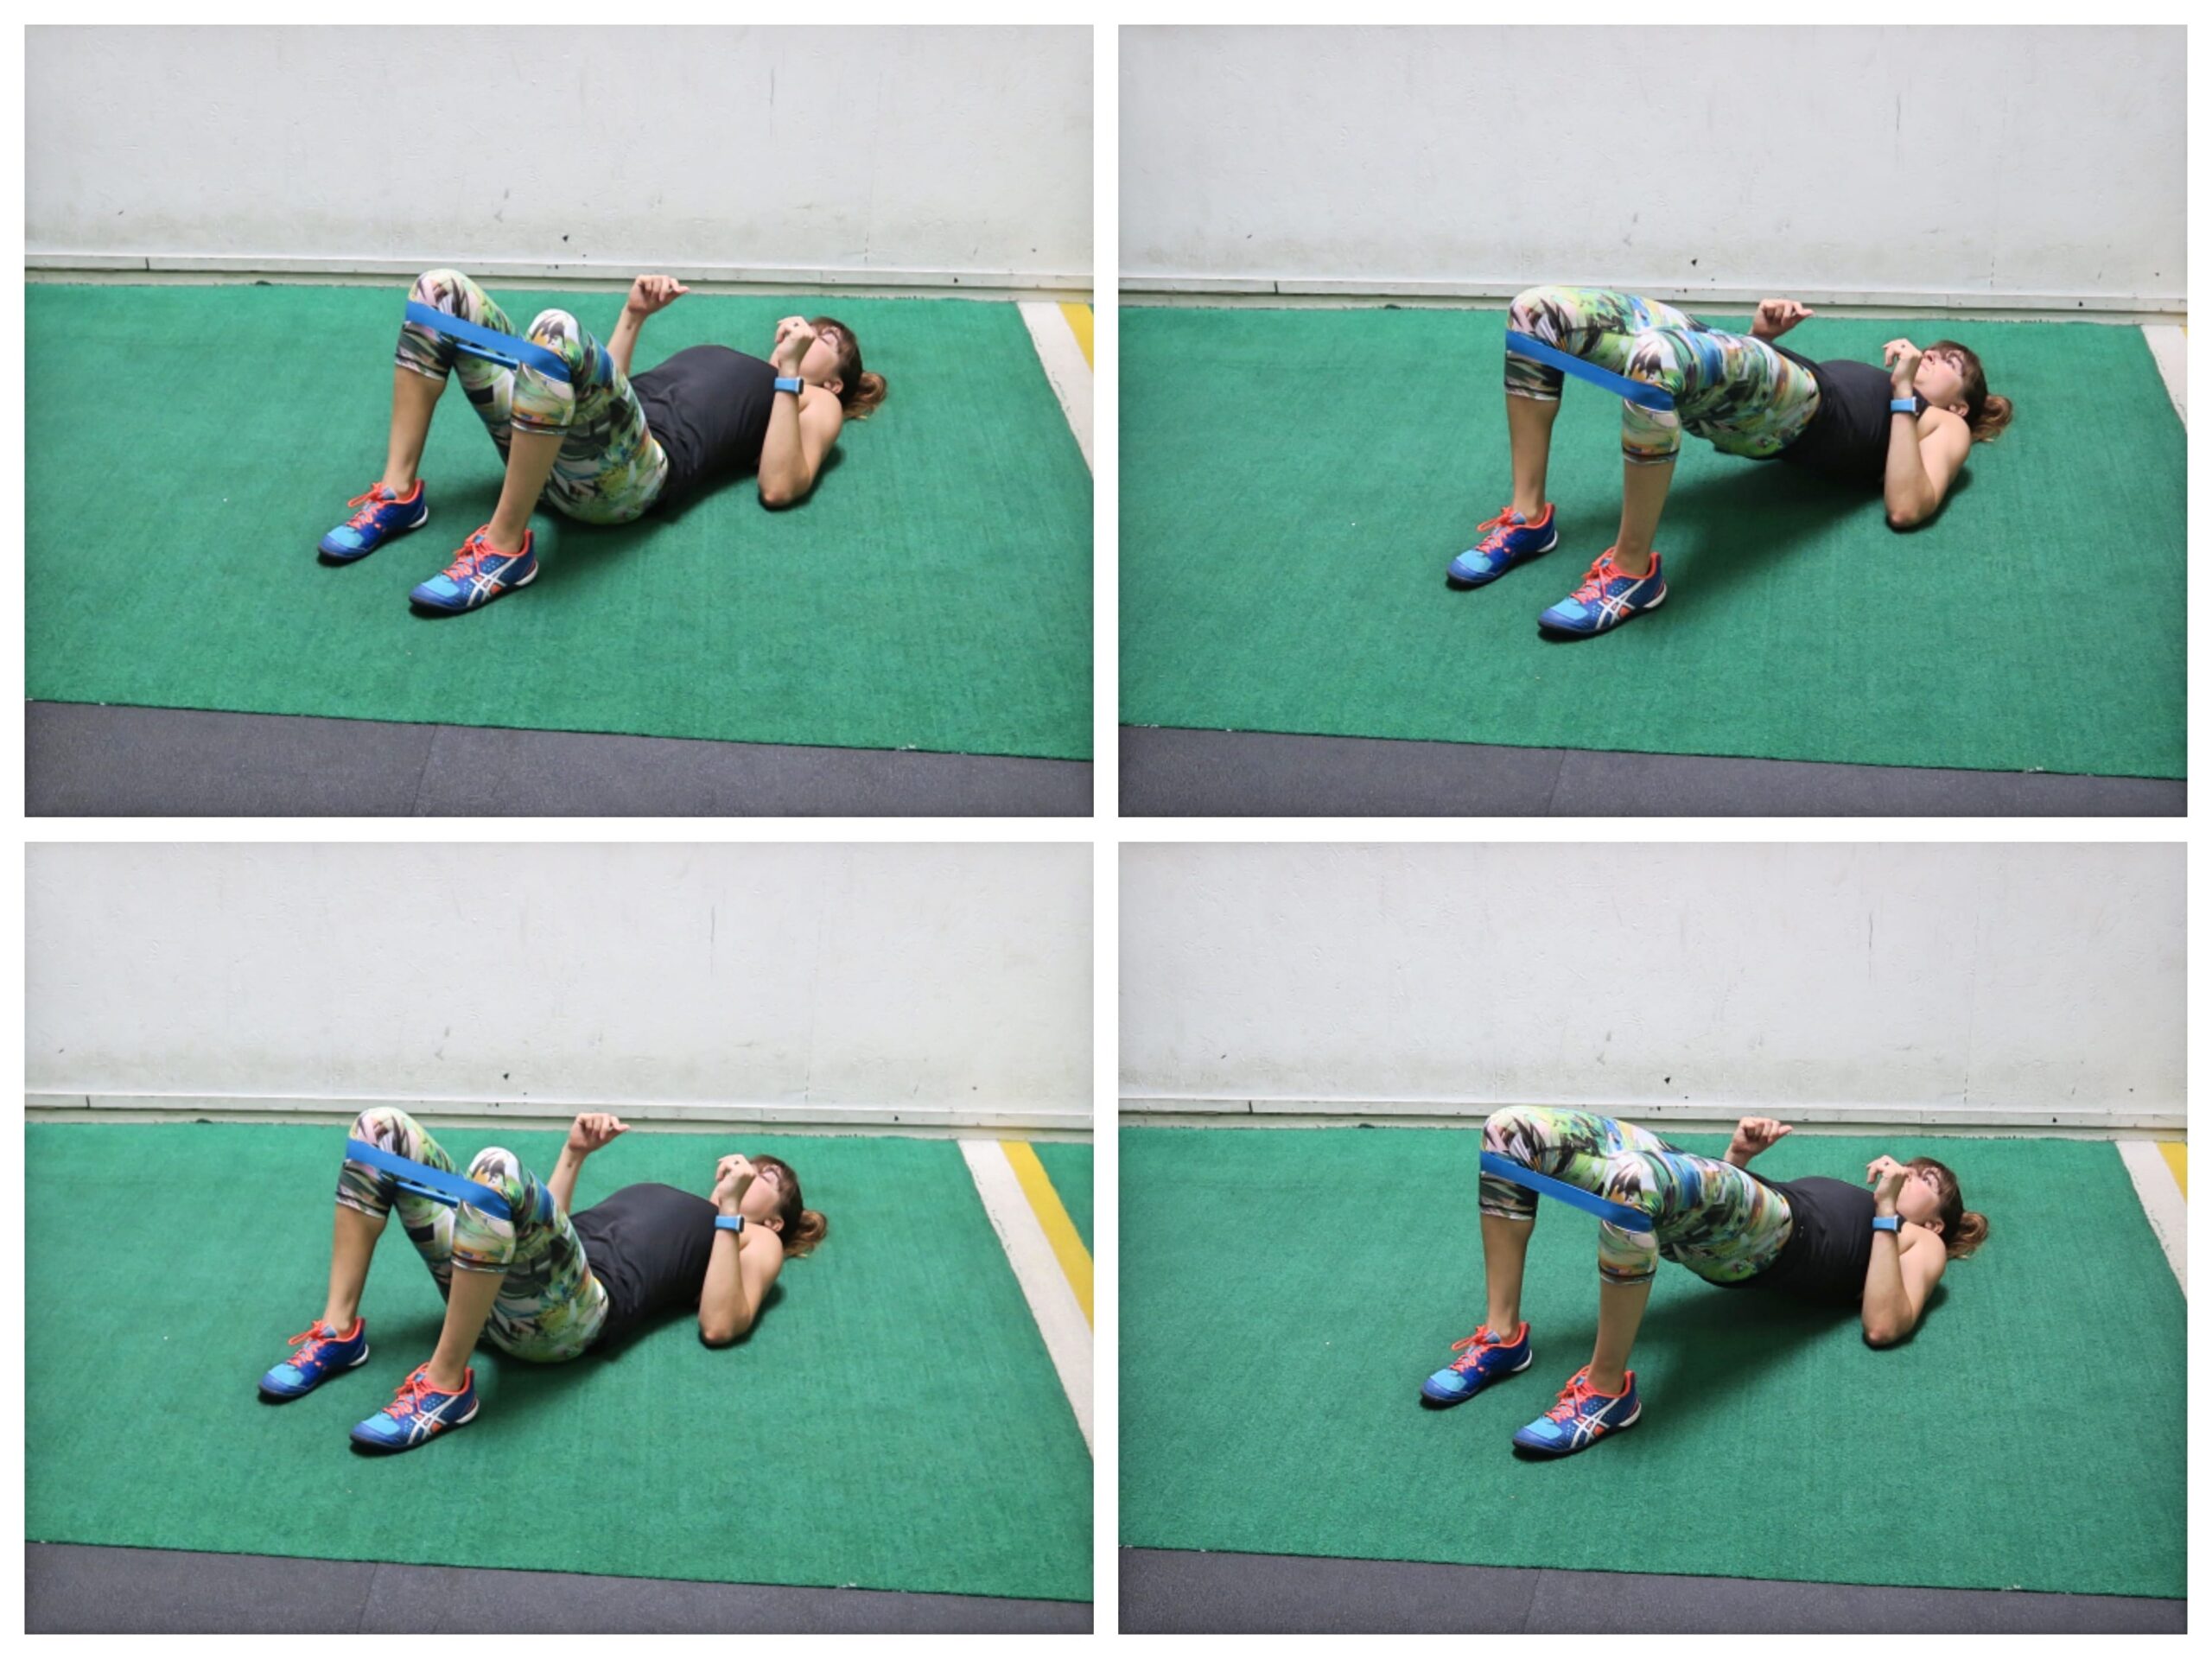
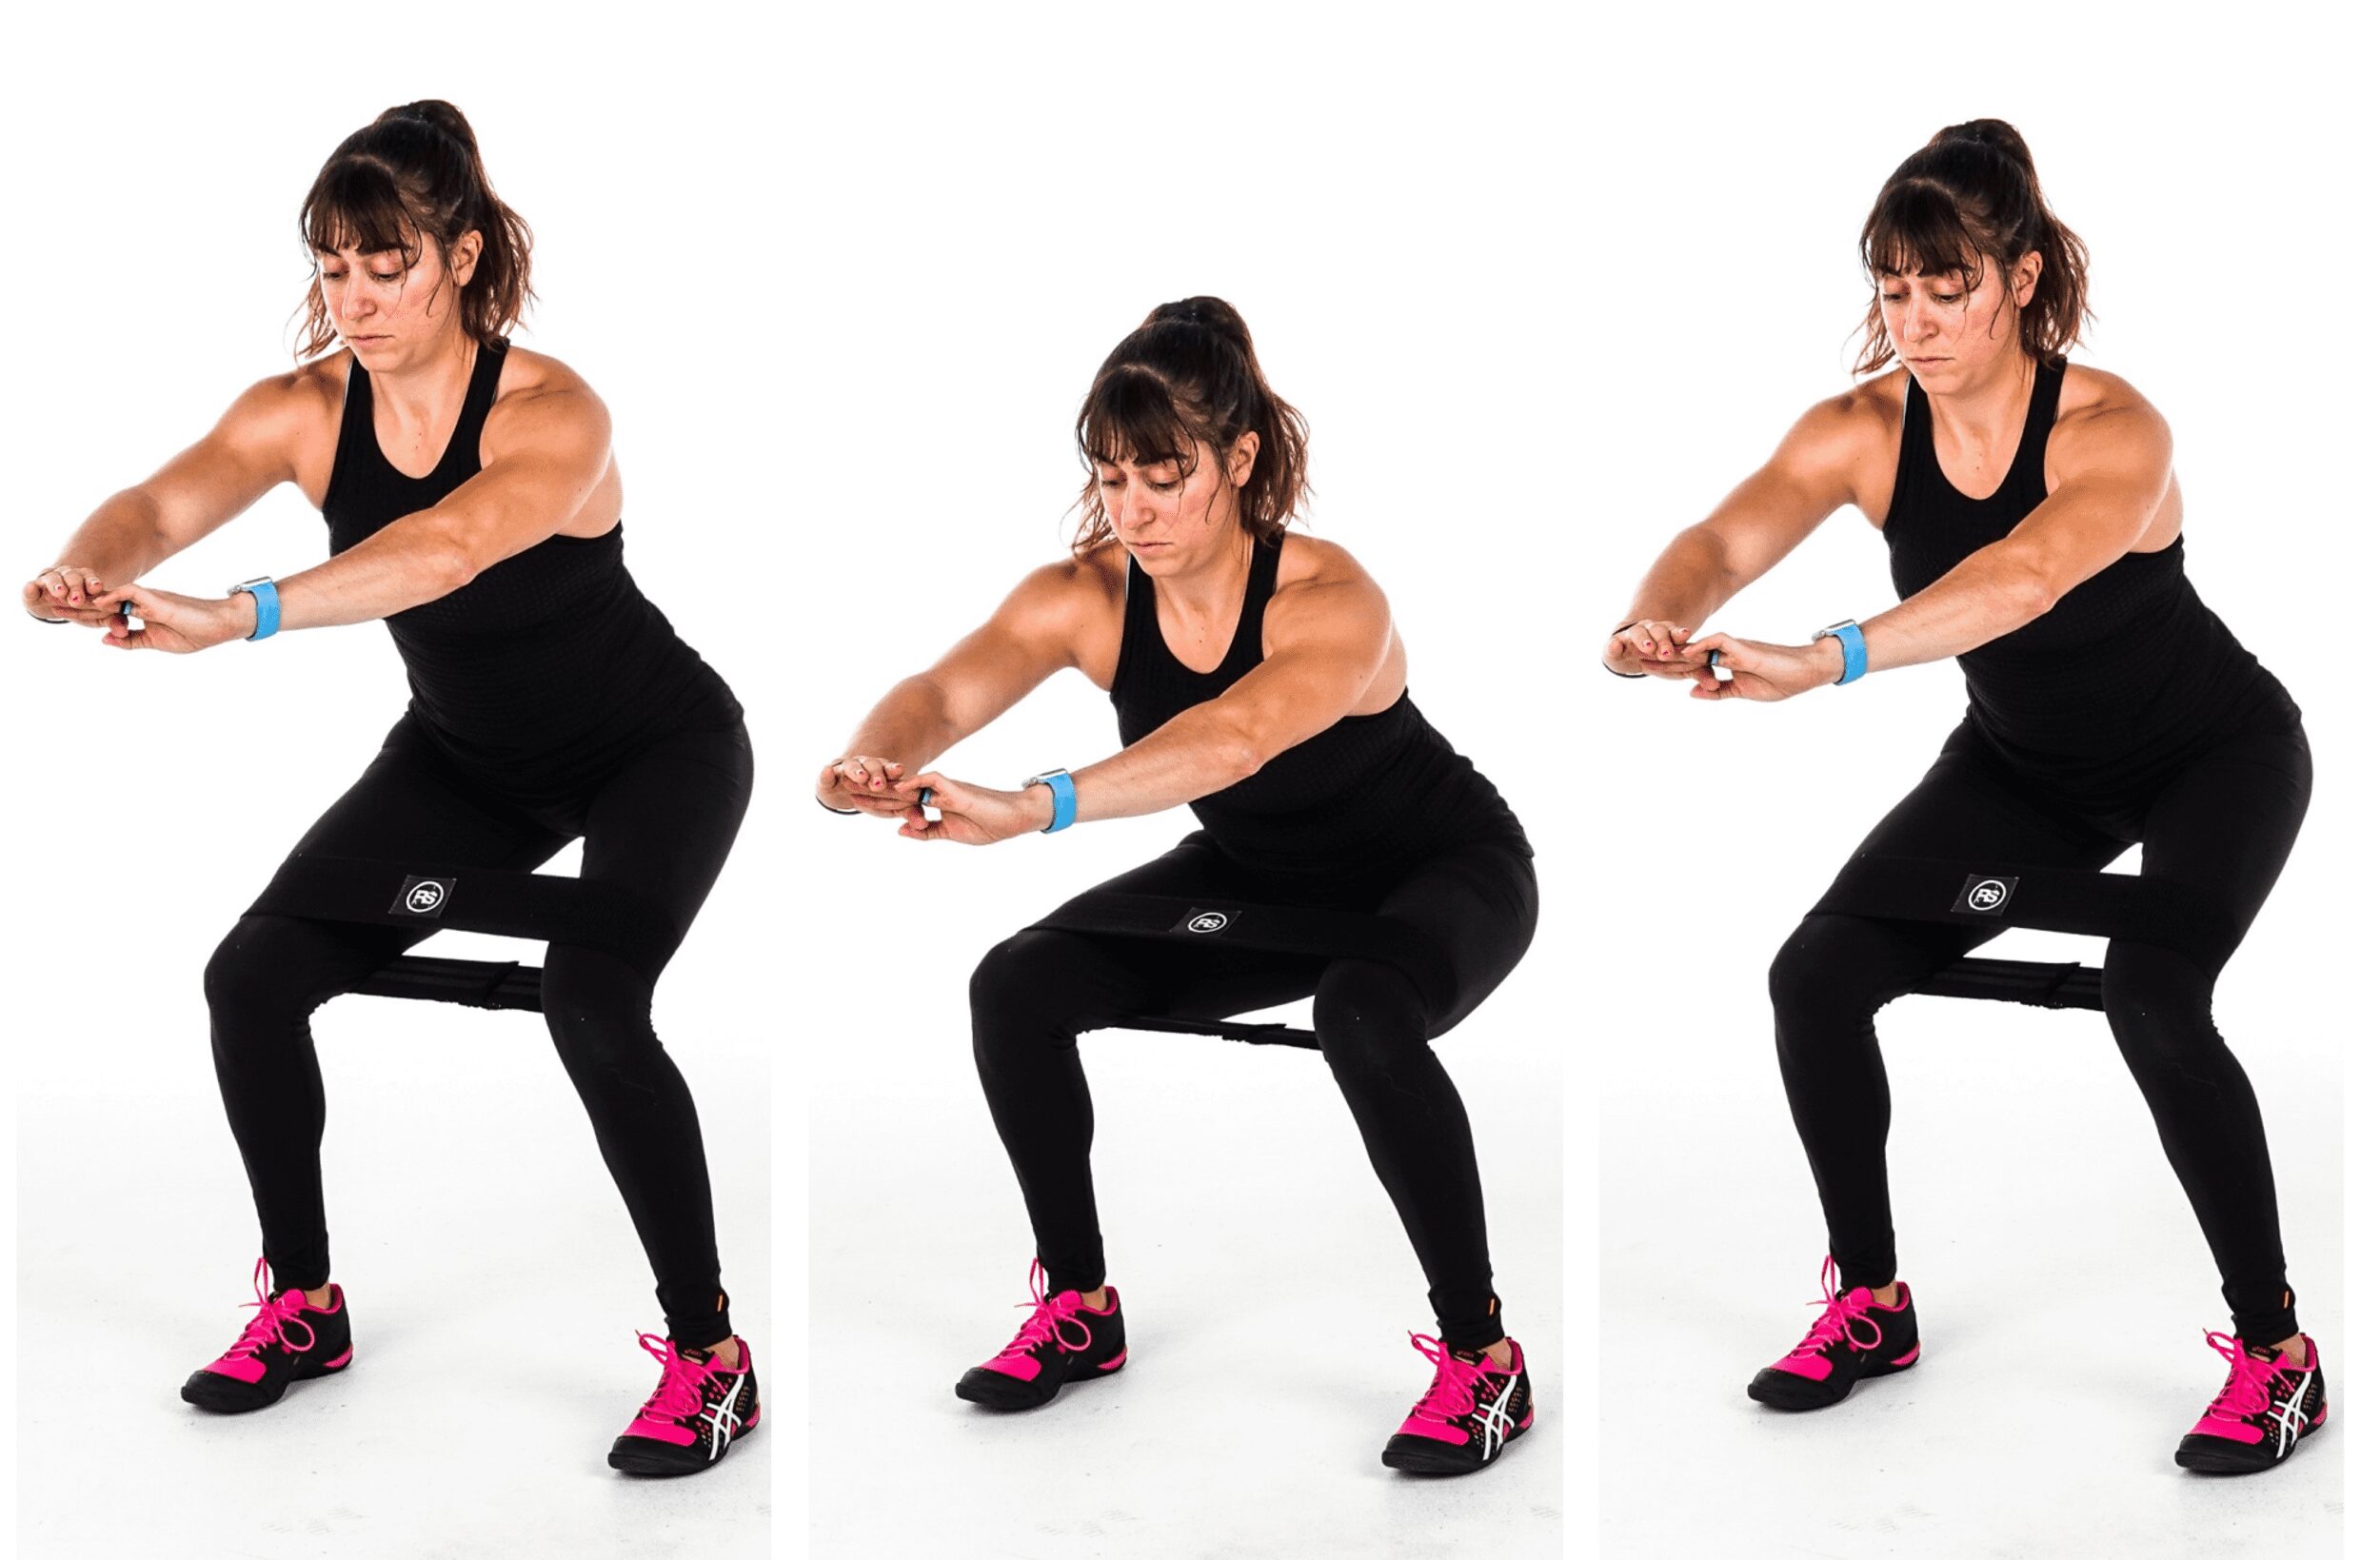
Thus we concluded that muscle damage is not the process that mediates or potentiates resistance training induced muscle hypertrophy. Therefore, just trying to use movements that create a ton of muscle tissue damage make you super sore aren’t necessarily gonna mean that you’re gonna get better muscle gaining results. So it means that even using some of those movements that we think are a little silly, like the resistance band pumper movements, mechanical tension movements, you know like hip thrusters, different things like that are also going to drive muscle growth and they might not lead to the same soreness that some of the more muscle tissue damaging moves like the deadlift because you’re putting more strain and stress on the muscle when it’s elongated or they have, you know, more focused on the eccentric that caused more muscle tissue damage, caused more soreness. They’re not necessarily being needed, basically. You want to use them.
I’m not talking about not using compound movements, but basically what it all comes back to is you do not want to use soreness as your gauge for whether or not your workouts are going to help you grow your muscles or get you results. So some key takeaways from this, okay? And I want to go over four different things. Stop seeking to be sore. Soreness, you know, sometimes you can enjoy it, yes, but you should not seek for each workout to make you sore because if you’re getting sore after each workout, it might mean that your recovery is not as good as you think it is. It might mean you’re doing too much and actually not rebuilding. So not going to be getting the muscle gaining results that you want. And it can even mean that you’re simply doing new things all the time and so you’re not actually tracking any progress or are going to know if anything works.
Okay. Also, guys, genetics play a role in this, okay? So you might have genes that make you sore all the time or you might have genes that never make you sore. So using soreness as an indicator is definitely not what you should be doing. Okay? You also want to track your numbers. When you do workouts, create a progression for yourself. It’s not that you have to repeat the exact same thing for 12 weeks. Okay? You can have some deviations and some change in there. I personally really like using three week progressions with my clients because that’s enough time to see progress, but also enough time to mix things up so we don’t get bored. But track your workouts, track the weights you’re using, tracks the reps, track the sets, track how things feel so that each week you can make some improvement on that because that’s really going to be the best indication of whether or not you’re getting results.
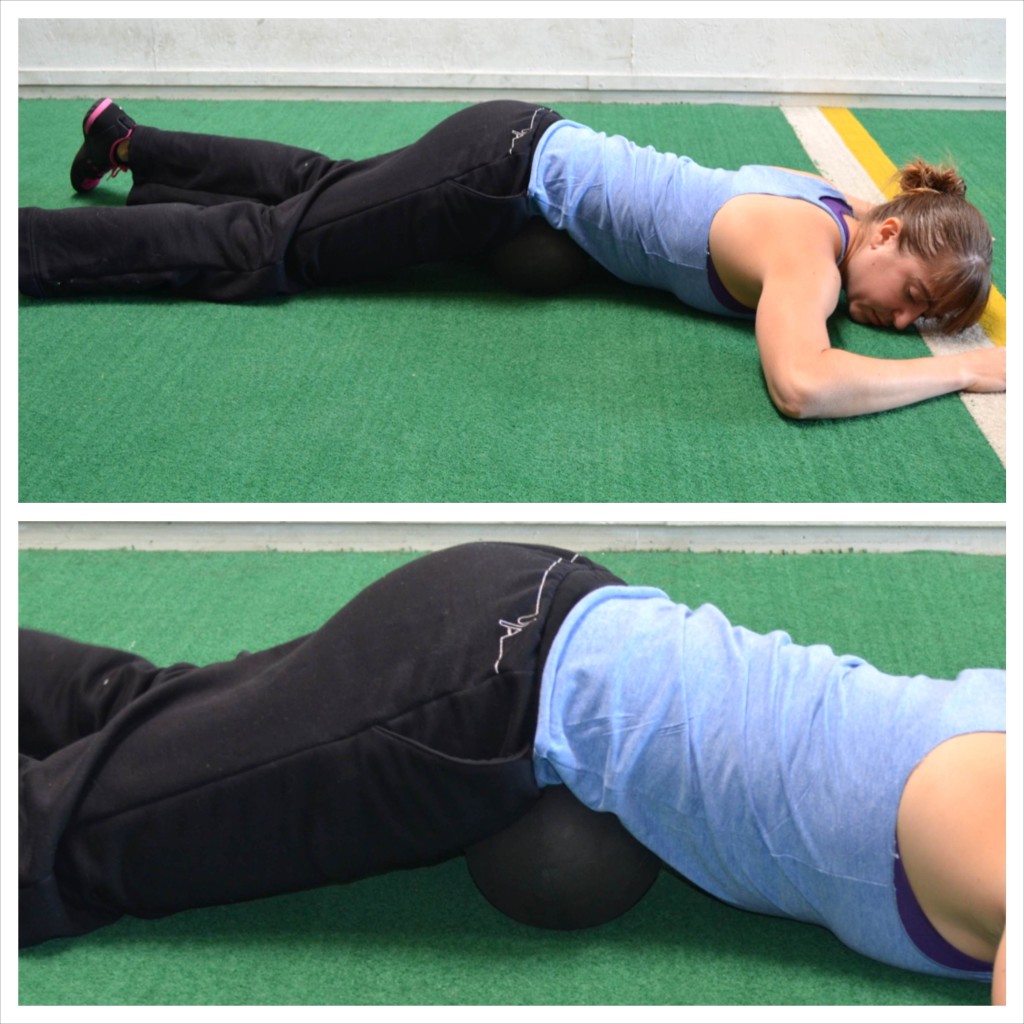
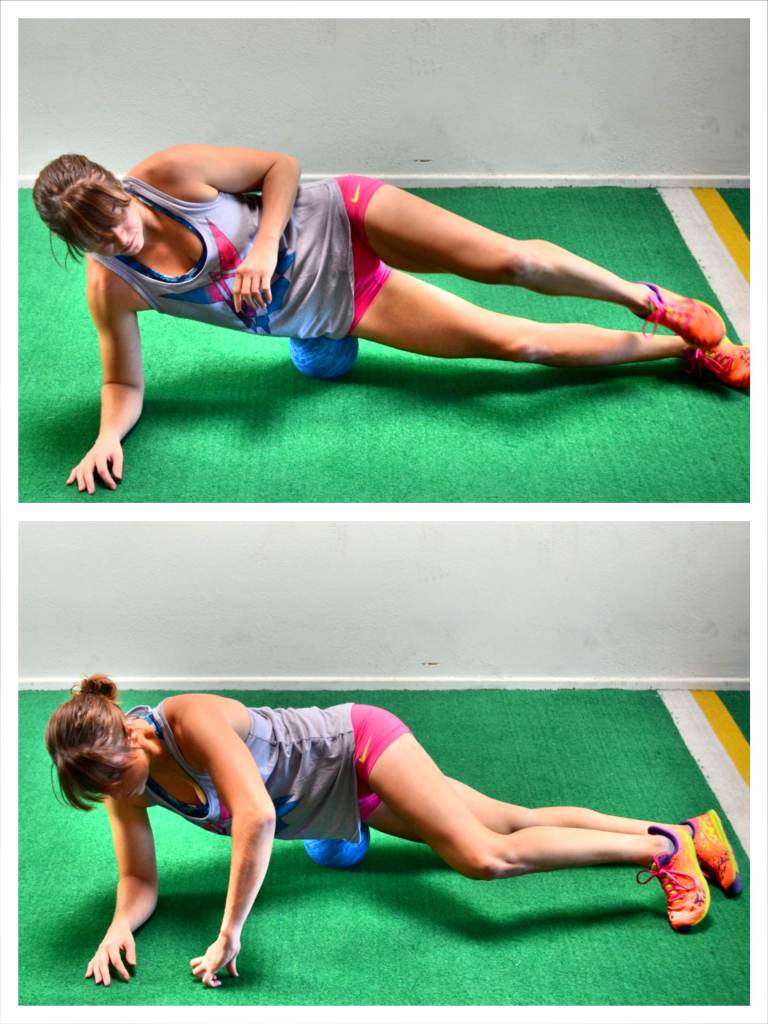
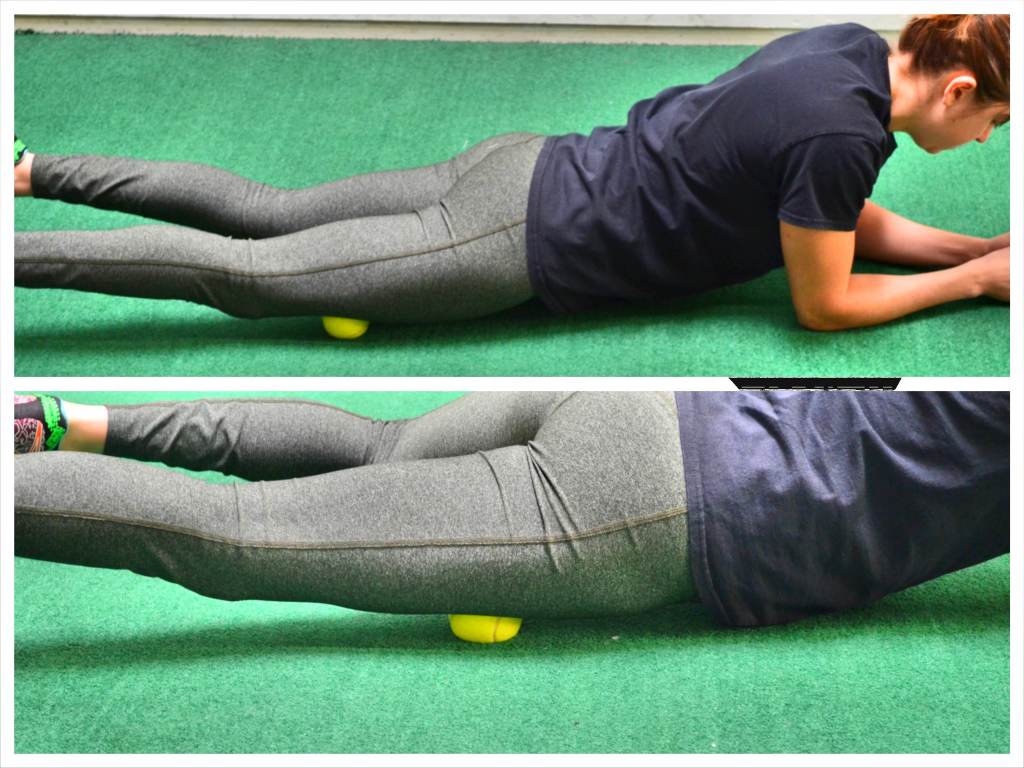
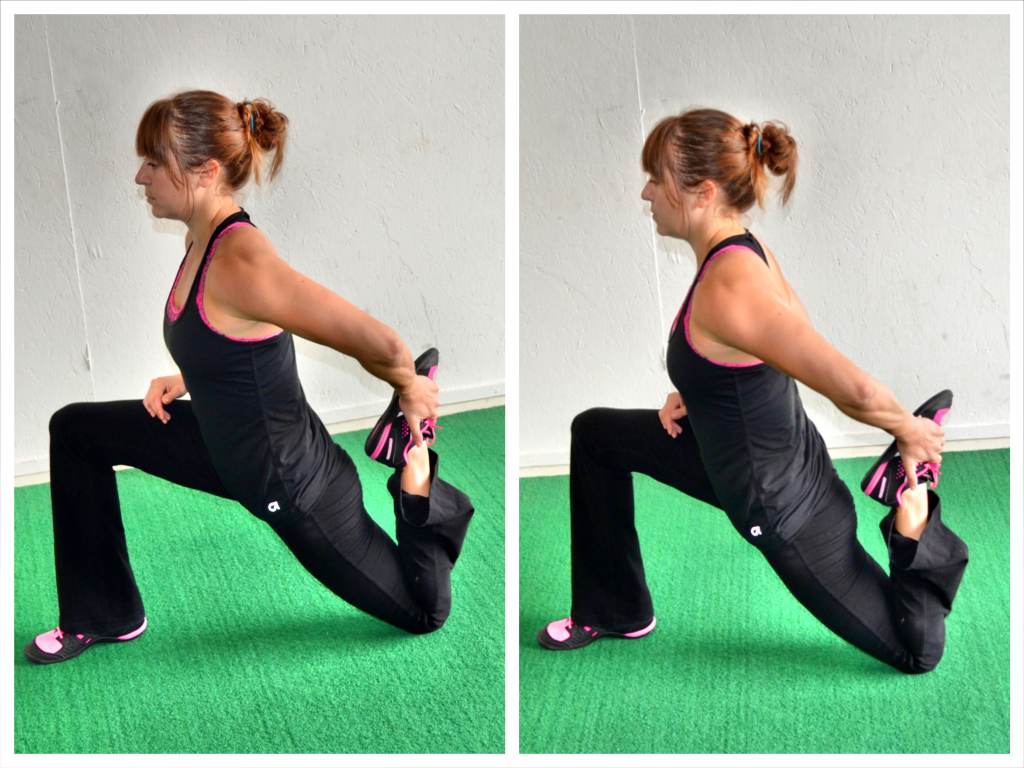
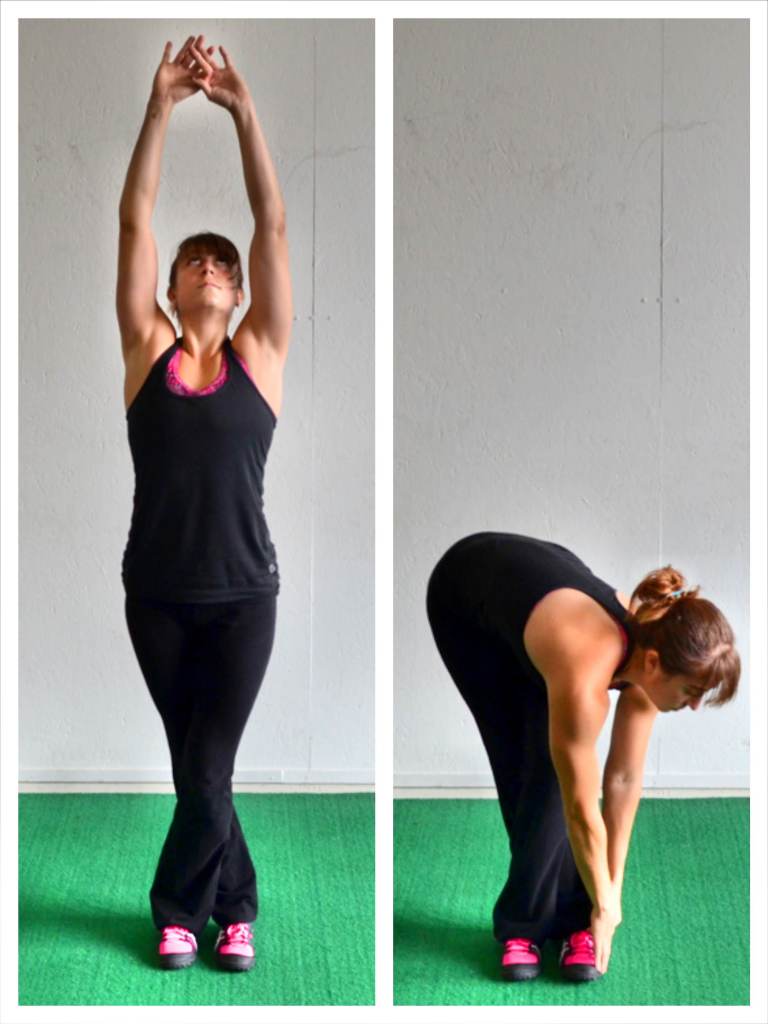
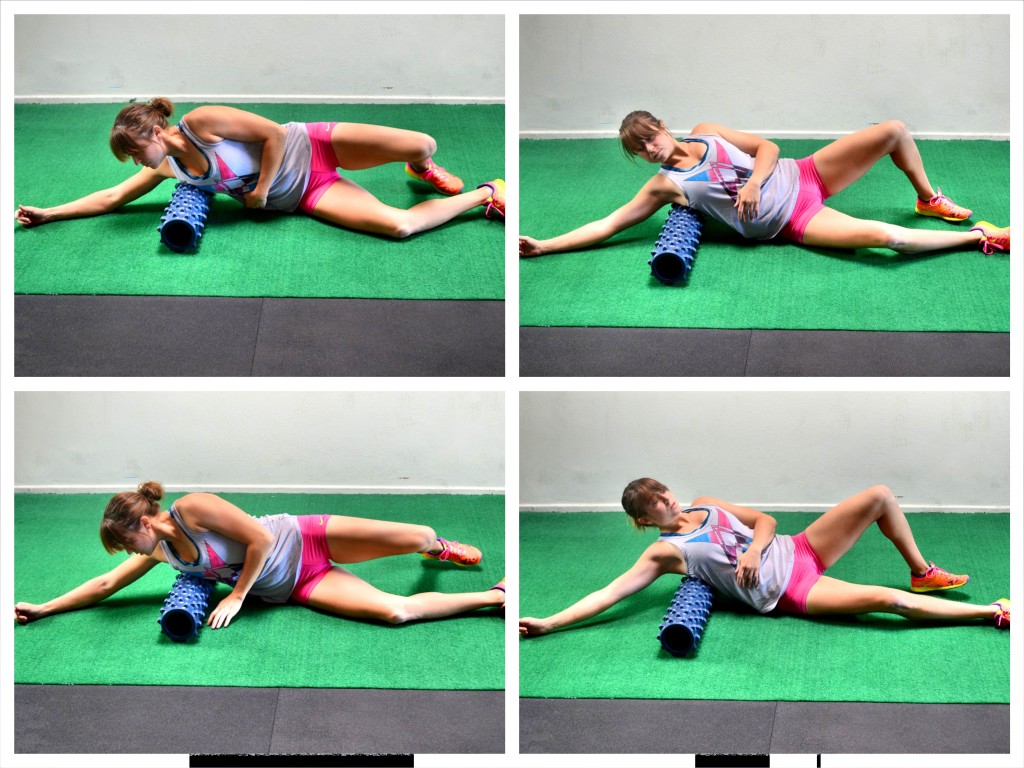
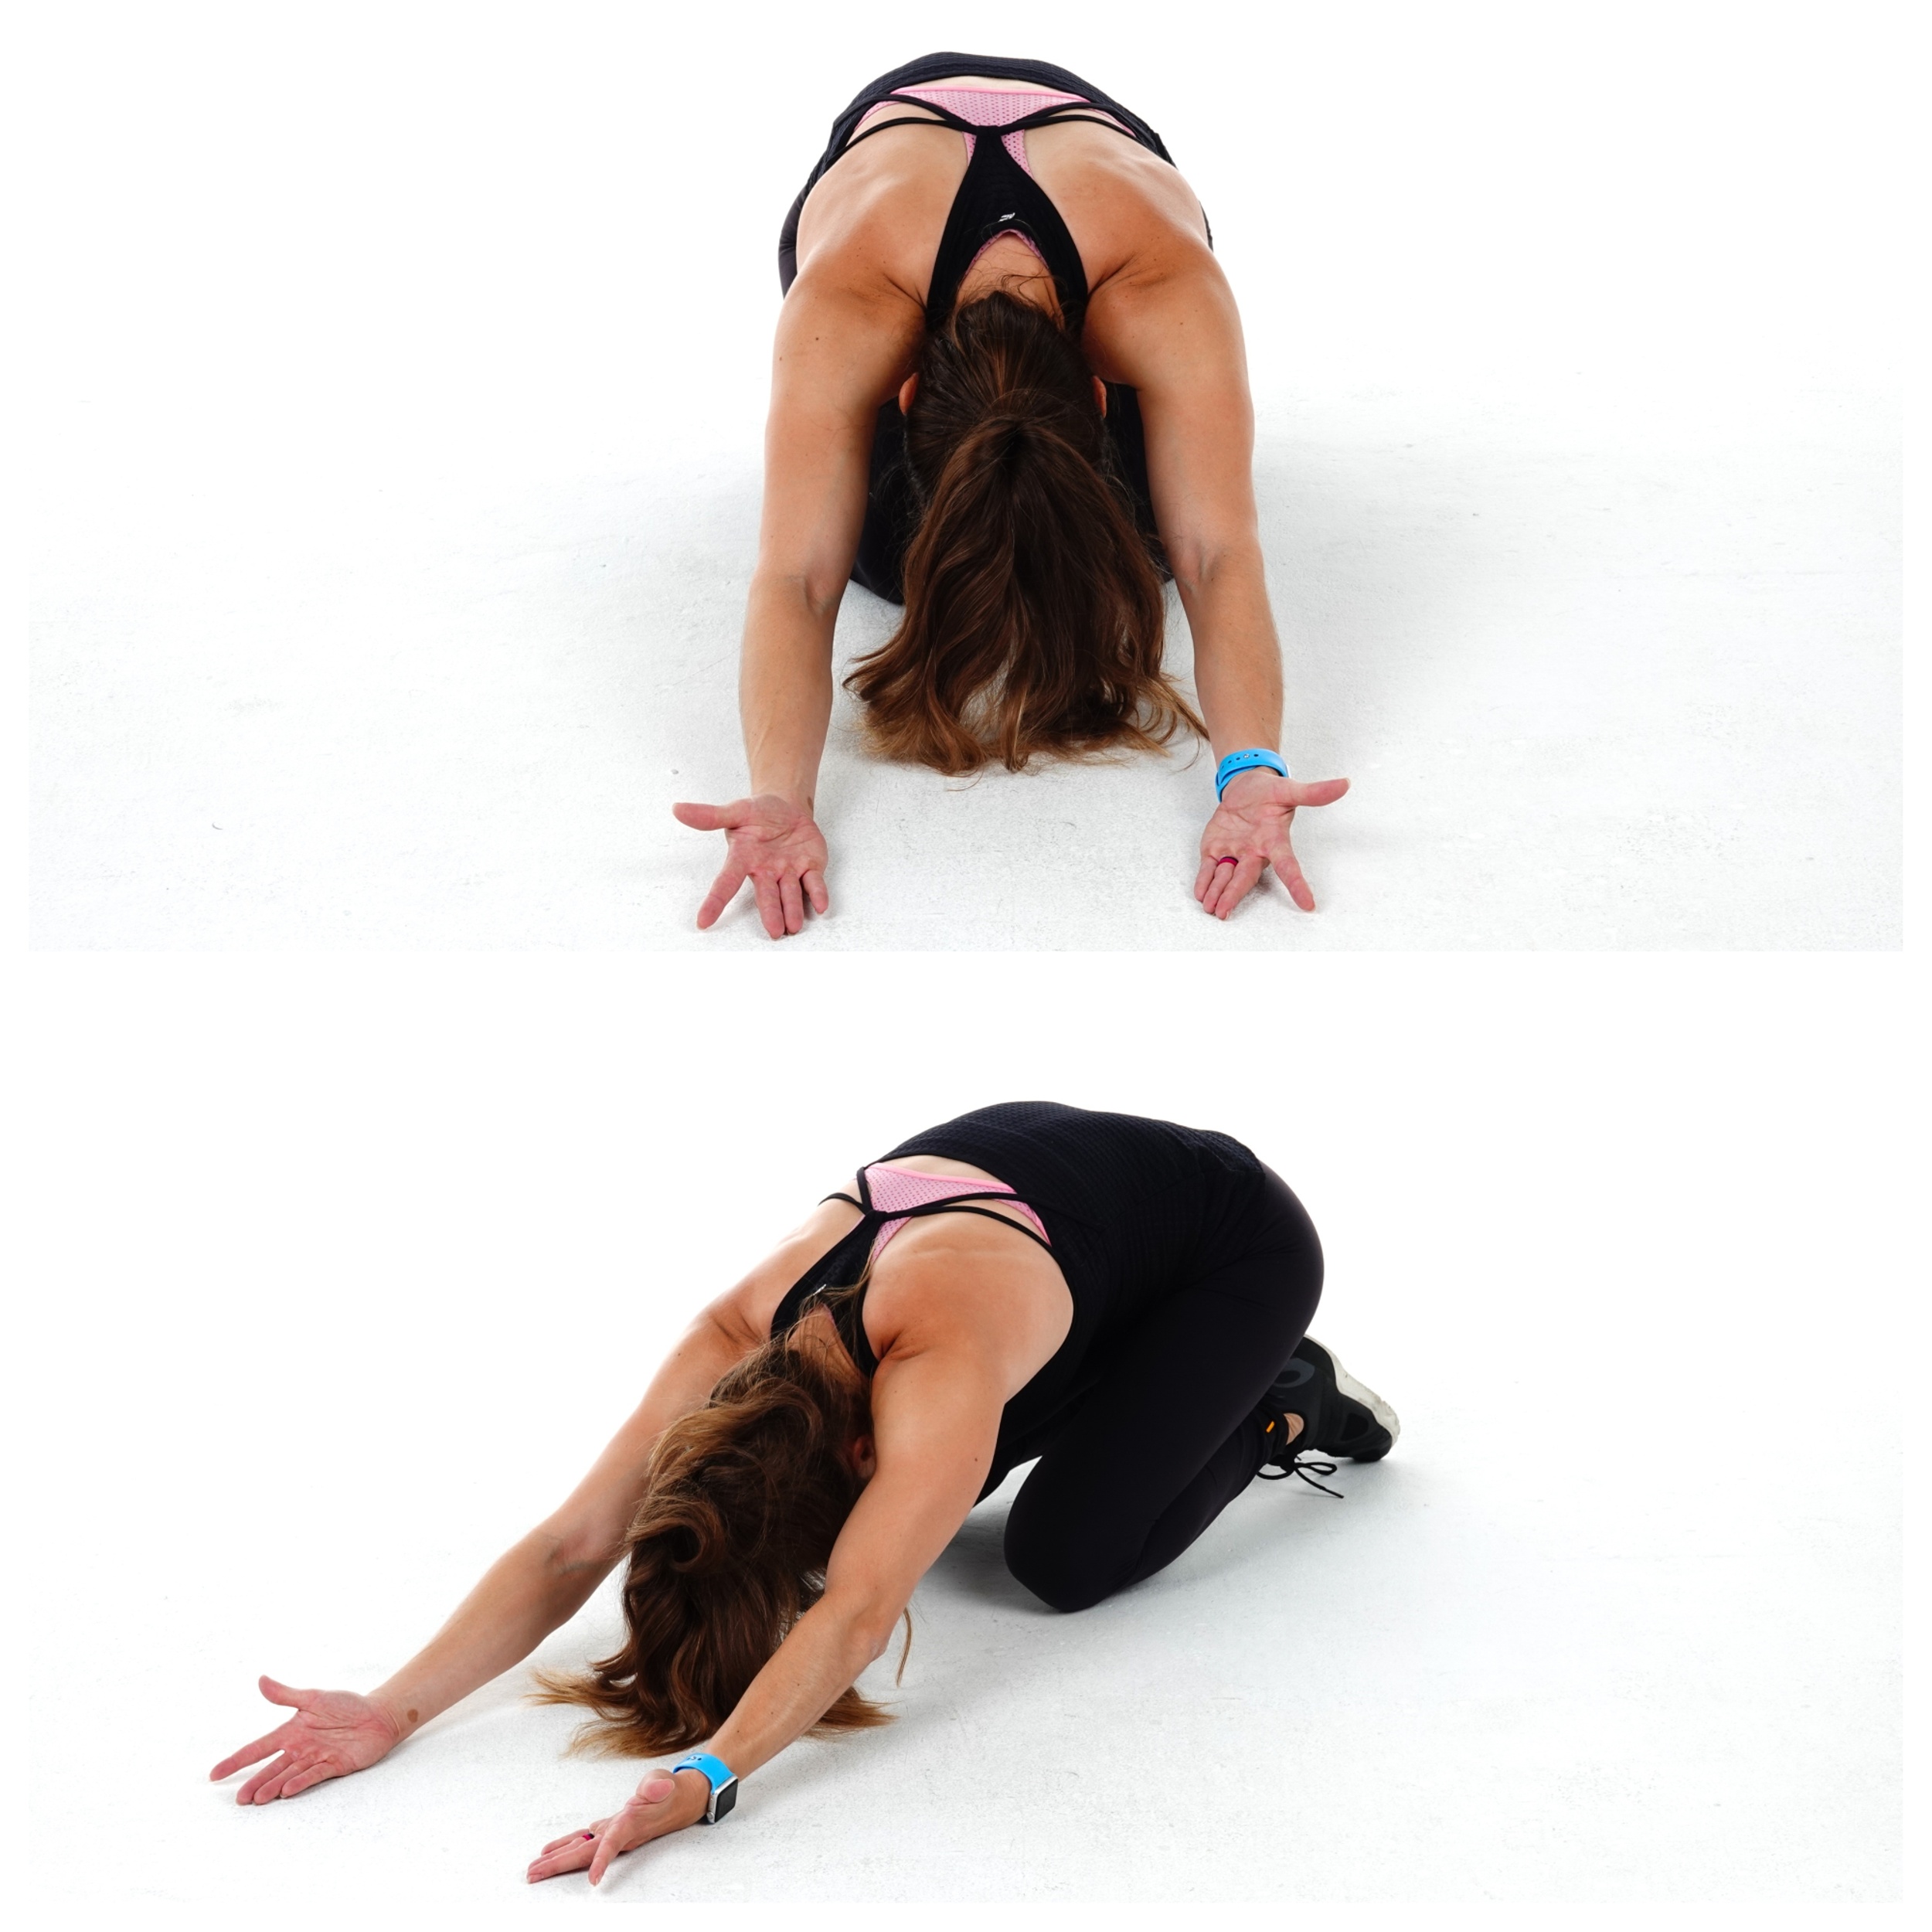
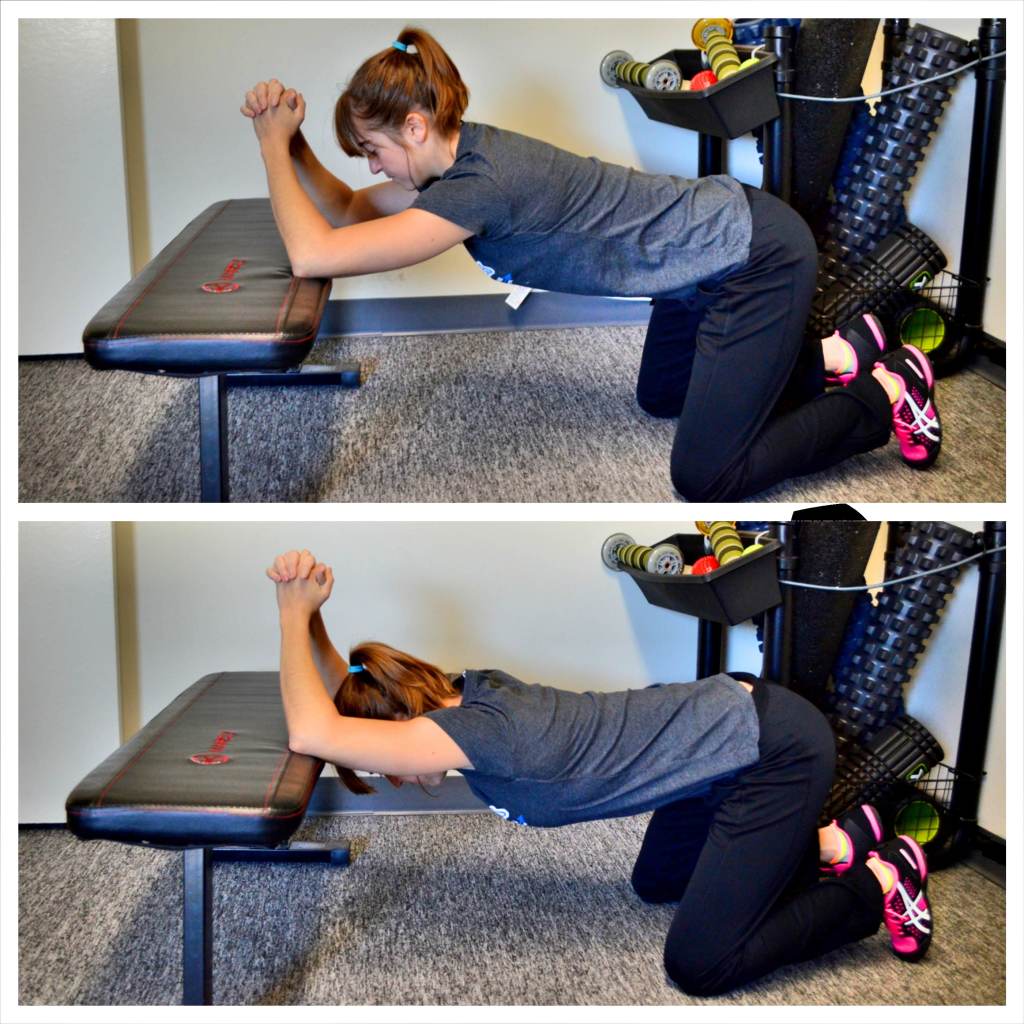
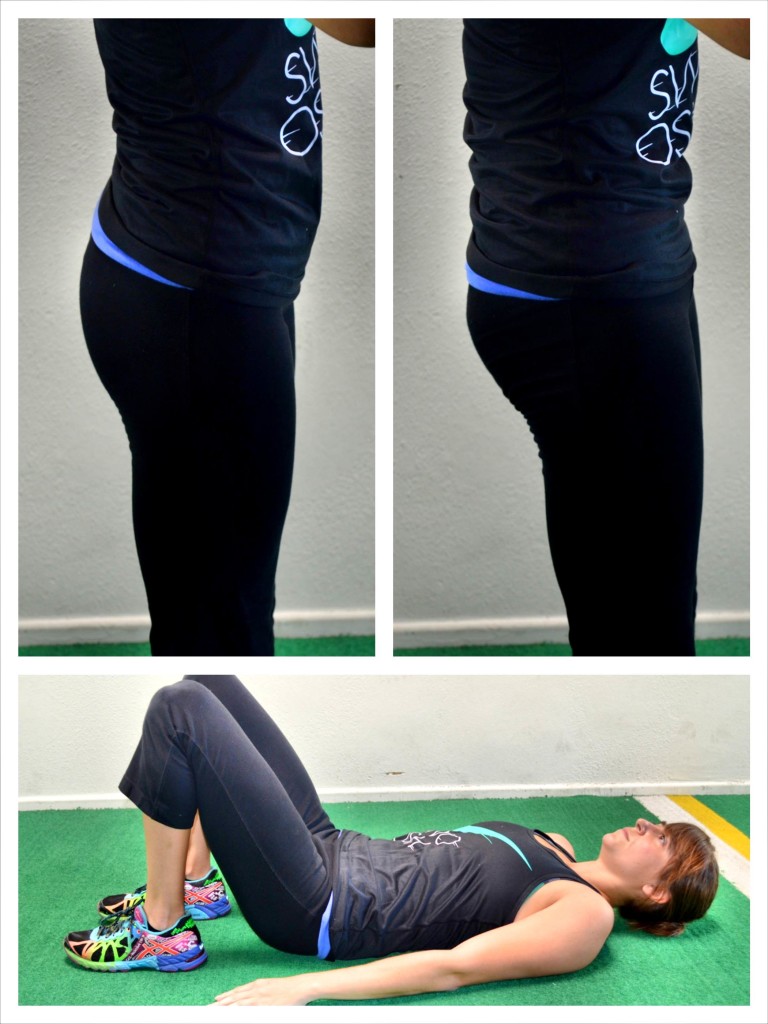
Is your performance getting better? Are you feeling stronger? Are you seeing that you’re getting stronger? Not just feeling. Cause sometimes you know how we feel about it can also depend on our mood that day. So are you seeing those numbers improve? Are you seeing the results? Focus on your recovery. Instead of seeking to be sore? Focus on trying to make yourself not sore from that training session. So the next one that you do, you can be functioning optimally and you can get into that perfect practice, have proper form, recruit muscles efficiently, have that full force output. Okay, so you don’t want to train slowness in your runs. You want to lift heavy and you want to have proper recruitment patterns. So focus on your recovery and make sure that you’re warming up correctly, foam rolling, stretching it and activating, even using some foam rolling post-workout to help with your recovery the next time.
Fueling properly getting your protein in, making sure you’re eating enough, even if you’re dieting, you still want to make sure you’re getting sufficient calories and staying hydrated. And that means also getting enough electrolytes, not just water, but there’s some, you know, debate as to whether or not foam rolling can help with delayed onset muscle soreness. But guys, just that mobility routine in general is going to help you get proper recruitment patterns, help you get more out of your workouts, help you stay mobile and prevent injury. So make sure you’re dialing in your recovery this week. And don’t go overboard with the variety and the progressions. I know I share a lot of fun moves and I know that you want to try them. I love experimenting myself, and it doesn’t mean that each workout has to be exactly the same each week, but do try and create some progressions.
so you can track those numbers, especially if you want to work on pull-ups, especially if you want to see increases in lifts, especially if you’re training for a race. You want to know what’s working and what’s not, and the best way to do that is to have stuff written out that you can track your progress on, make notes on as to how you feel, and even adjust as you go. Hope you enjoyed this podcast and make sure that you’re not focused on no pain, no gain. Soreness is not the be all and end all of whether or not you got a great workout.