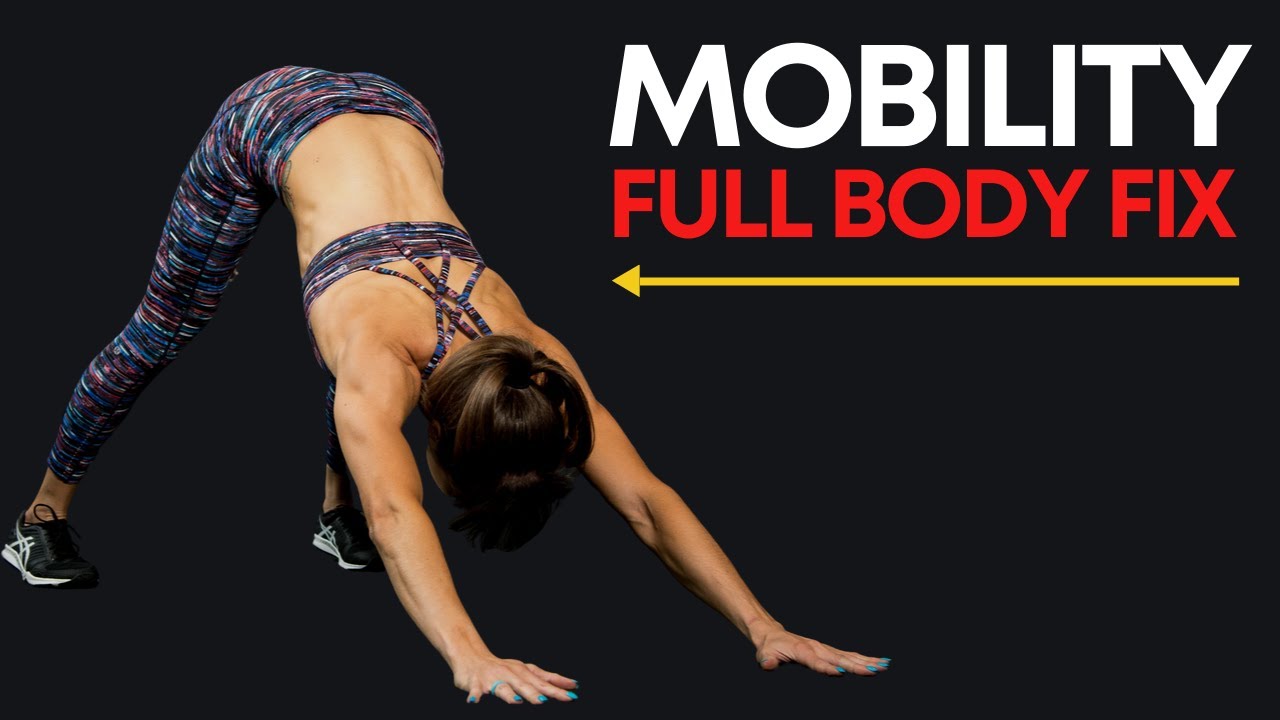
The Perfect Mobility Routine (FULL BODY FIX!)
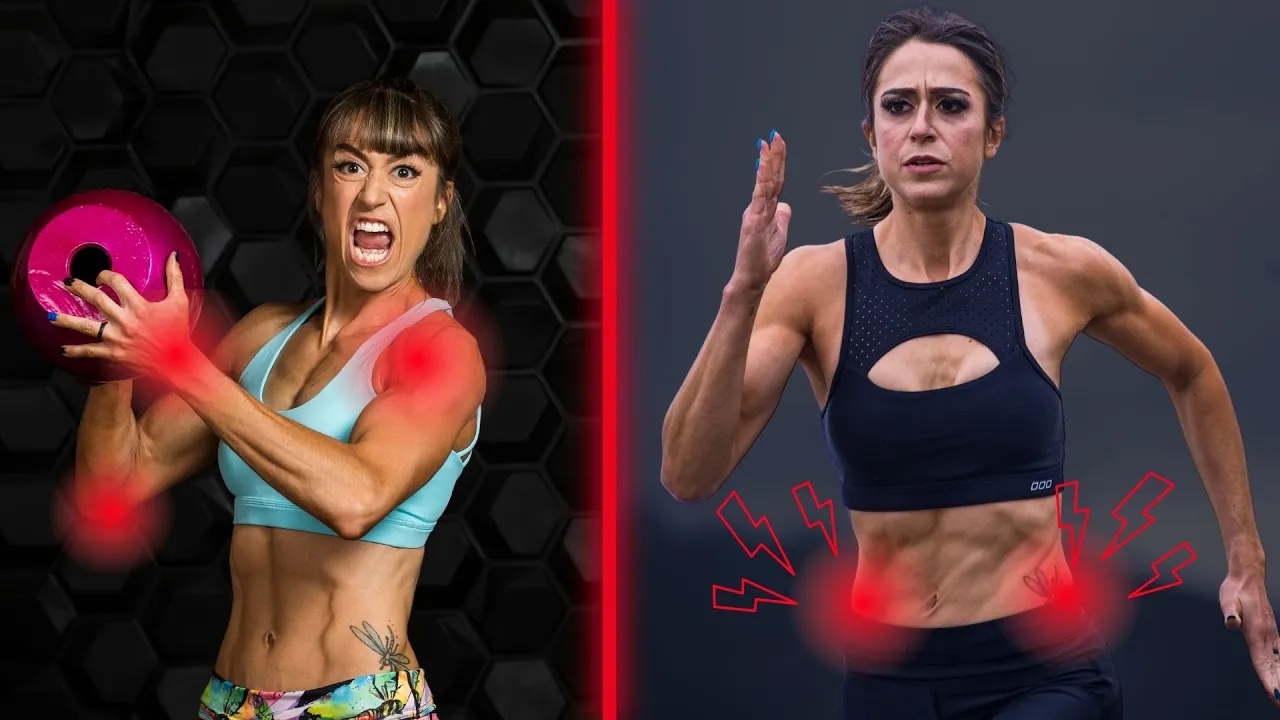
Feel like it would take you hours to address ALL of the little aches and pains you have?
Like your age is just making you creakier and creakier?
This doesn’t have to be the case!
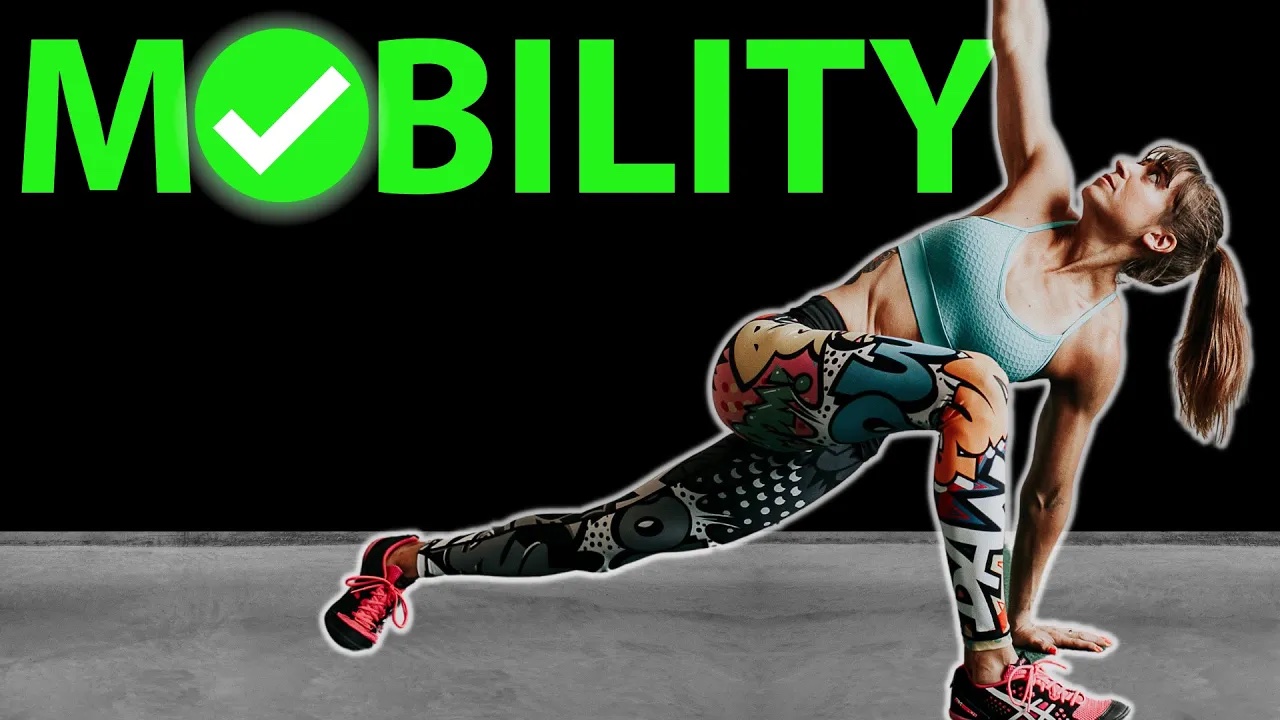
I want to share how you can use the 3-step prehab process to address aches and pains up and down your body and improve your mobility by targeting just 3 main key areas with 9 exercises.
These 9 moves include all 3 parts of the prehab process – foam rolling, stretching and activation – to have you feel like a well oiled machine.
And the best part?
They can be combined into a routine you use almost daily that takes just about 10 minutes!
Before I dive into the moves, I want to explain why the full prehab process is so key so you understand the benefits of combining these 9 moves in this specific order – foam rolling, stretching then activation.

And because this makes for even a perfect full body warm up, I’ve focused the stretches on dynamic stretches (ones with movement) over static stretches (where you just hold) to help make sure you improve your flexibility without any impact to your performance.
But you first want to foam roll to relax overactive or tight muscles. Foam rolling is like a massage and helps release knots and relax muscles so you can better engage weak or under active muscles and properly mobilize joints while stretching muscles.
This first part is key to getting everything to work better together.
Then you stretch to improve muscle flexibility but also joint mobility.
With stretching, you want to focus on the muscle driving the stretch, not just what is stretching. This helps you not only better stretch the muscle but begins the activation process – engaging muscles that are weak or often don’t want to work when they should.
Then with activation, you are continuing to mobilize but also stabilize joints. You’re strengthening weak muscles and almost “waking them up” to help them be primed to work during your workouts and more compound exercises and heavier lifts.
This process addresses all key components to injury prevention – mobility, flexibility AND stability.
And bonus, it not only helps you avoid injury, but helps you see better strength and muscle gains for improved body recomp from your workouts!
So now, let’s dive into the 3 areas you’ll want to target, including your:
- Shoulder blades
- Hips
- Feet and ankles
I focus on these 3 areas because if we address immobility or weakness in those places, you’ll be amazed at how even that knee or elbow pain lessens.
Everything is connected and that often where the pain is, isn’t where the initial problem started!
So let’s start with foam rolling, stretching and activation for your shoulder blades to improve scapular mobility and stability.
#1: Scapular Mobility And Stability
Have you ever had neck, shoulder or upper back aches and pains? Even elbow pain?
Addressing the movement of your shoulder blades may be the key to alleviating these aches and pains.
Too often we only focus on our shoulder mobility and forget how much the shoulders and shoulder blades really work together to power movements.
From pulling exercises to even pressing movements, we need to have proper scapular control if we want to use the correct muscles to power the exercises and prevent overload of smaller muscles like our rotator cuff.
To improve your scapular mobility and control, try including these 3 moves before your upper body workouts. It will help improve your pressing as well as your pulling!
The first move you want to include in that prehab or warm up process is Lat Foam Rolling.
While the lat more indirectly impacts your scapular movement, it can really contribute to that rounded shoulder posture, causing aches and pains.
Not so fun fun fact it can even create issues into your lower body because of its connection to your glutes through the thoracolumbar fascia.
And this muscle can often become tight, leading to us not efficiently engaging our backs.
To roll out your lats, a roller works best. Lie on your side with the roller at the side of your back behind your armpit. Reach your hand overhead with your palm facing up to stretch your lat as you roll.
Hold on any tight spots as you work your way down the side of your back, rocking back more as you go lower on your ribs.
Reach your arm overhead then lower it down in front of your chest as you hold on any tight spots you find.
The second move you want to include is a stretch to open up your chest as well as even mobilize your shoulders and shoulder blades – the Suspension Trainer Snow Angels.
Find yourself hunching forward a ton when sitting?
A tight pec minor contributes to anterior tipping of the shoulder blade while a tight pec major can contribute to that internal shoulder rotation – exactly that bad posture we want to reverse.
That’s why this stretch, especially before any overhead pressing, is key.
To do the snow angels, hold a handle in each hand, facing away from the anchor point and walk out so the suspension trainer is pulling back slightly on your arms as they are straight down by your sides.
Engage your upper back and feel your chest open up and stretch as you swing your arms out straight and open overhead from your sides.
By focusing on engaging your back to drive your chest open, you make sure you actually stretch your pecs instead of just seeking out more range of motion from your shoulders.
Feel your shoulder blades move as you raise your arms overhead and then lower them back down to your sides.
The third move you will want to include is an activation exercise – the Roller Serratus Anterior Extensions.
The serratus anterior is a muscle too often ignored and overlooked but it’s been linked to neck, shoulder and even upper back aches and pains as it is a primary scapular stabilizer.
So this activation move is key to create that strength and stability.
To do the serratus anterior extensions, place a roller under your wrists with your palms facing in toward each other at about eye height against a wall.
Walk your feet back so you’re angled into the wall and resting a bit of your weight against the roller just to be able to push into it as you extend up.
Brace your abs and roll your arms up, thinking about pulling your shoulder blades “out and around” forward on your rib cage as you slide up.
Then slide back down, pulling with your back. You want to focus on feeling around your rib cage as you reach out and your back as you pull back down.
Because everything is connected, you may be surprised by how using these 3 moves can even improve your spinal health and have an impact at your hips and pelvis.
But if you do have lower back, hip or knee pain, or have struggles with tight hips in general and hamstring strains, you’ll also want to address these 3 prehab moves to improve your hip mobility and stability next.
#2: Hip Mobility And Stability
Many of us have heard we’re spending too much time seated leading to hip flexor tightness. And this hip flexor tightness can create compensations and imbalances that lead to our lower back hurting during deadlifts or our knees hurting during lunging.
It’s why we want to use these 3 moves to relax those hip flexors, mobilize our hips and spine and even activate our glutes so they’re working properly when they should be.
This starts with relaxing a hip flexor and quad muscle, the rectus femoris, that can perpetuate lower back, hip and knee pain.
It is the only quad muscle that impacts joint movement at both the knee and the hip.
To roll out your Rectus Femoris, you can use a roller or ball. The smaller and harder the trigger point tool, the more it will dig in.
Find the middle of your thigh about half way down and lie over the foam roller or ball. As you hold, flex and relax your thigh to help the muscle relax and release.
You can move up higher or lower on the front middle of your thigh to find any tight spots and hold.
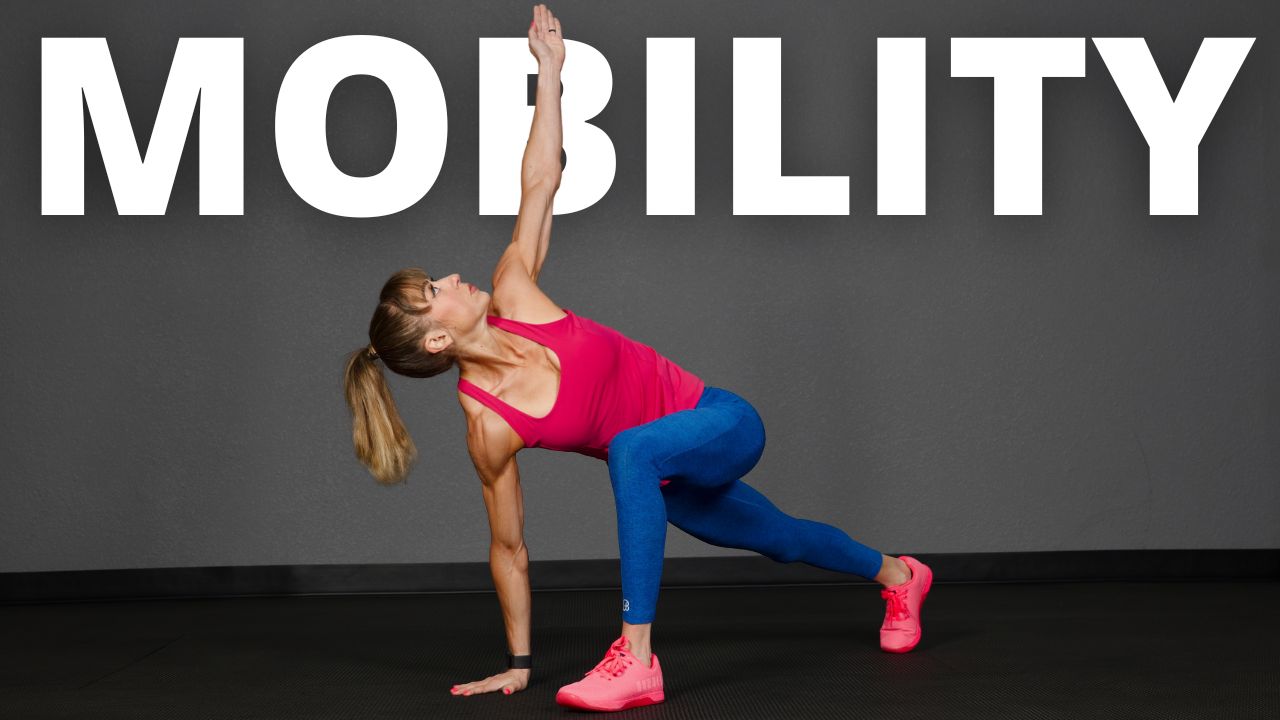
The second move to include is one that addresses not only your hips but also your spine. It’s a stretch that really has that far reaching impact and great when your short on time – the World’s Greatest Stretch.
This dynamic stretch will warm your body up and prepare everything to work, working on thoracic rotation while stretching your glutes, hip flexors, adductors and hamstrings.
To do this stretch, start in a high plank position with your hands then step one foot up and outside the hand on the same side. Squeeze your back glute to stretch that hip flexor.
Drop your elbow on that side down to the ground near the instep of your foot. Do not worry if you can’t touch the ground. Focus on not rocking out on your foot just to touch to make sure you’re really stretching your glute and adductor.
Reach that arm up toward the ceiling, opening your chest up toward that front leg and the ceiling. Focus on your back opening your chest up as you rotate.
Place your hand back down then drop your back knee to the ground to sit back on your heel, straightening your front leg out. Feel a stretch down your hamstring as you hinge, leaning over that front leg while pushing your butt back.
Then repeat the movement.
With this stretch, and all of the others I mention, focus on what is driving the stretch, not just on the muscle stretching.
This focus on what you feel working is also key as you do glute activation moves like exercise number 3 – the Side Lying Wall Lateral Raise.
You can do this move with bodyweight or progress it with a band.
Lie on your side a few inches from the wall with your back to the wall.
Lift your top leg up a few inches off your bottom leg and turn that top toe slightly down toward the ground. Drive your heel back into the wall behind you.
Slide your heel up the wall lifting your leg, feeling your glute working to push back and lift.
And last but not least, you want to address your feet and ankles. They are your foundation. Instability or immobility there can lead to changes in your movements up your entire body.
#3: Feet And Ankle Mobility And Stability
Far too many of us have also had ankle or foot aches and pains that we simply rested then went right back to what we were doing, never addressing the underlying culprit. This may be why we now have knee, hip or even lower back problems.
So taking care of our foundation is key with these prehab moves.
And one often overlooked muscle group of our lower leg are the peroneals, which is why peroneal foam rolling is so key!
Peroneal tightness can lead to what looks like a leg length discrepancy or even a weight shift during squatting. This muscle has a far reaching impact so it can’t be ignored in our prehab.
To roll it, place a ball on the ground and relax your lower leg onto the ball, pressing the outside of your lower leg down into the ball and hold as you even circle your foot.
You want to focus on the side of the meaty part of your calf, holding as you push down and tense and relax the muscle with the foot movement.
The second move to include, the Ankle Mobility And Groin Stretch, improves both the mobility of your ankles but also your hips, activating your glutes and stretching your adductors.
It is a great stretch if you’re struggling with knee pain or find you can’t squat down low.
To do this stretch, set up half kneeling and open your front knee out to the side so your foot and leg is perpendicular to your back kneeling leg.
Bring that front foot back so it is turned out but in line with your back knee and move that foot out so your knee is behind your ankle. Engage your glute then shift your weight, rocking that knee forward over the ball of your foot without your heel coming up.
Don’t lean forward as you rock forward or back. Adjust how far out that foot is from your back knee, shifting it closer for more of a focus on ankle mobility or further out to stretch your groin more.
Then the third activation move will help you strengthen through the range of motion while addressing the too often ignored soleus calf muscle.
By using a plate weight for the Seated Plate Weight Calf Raises, you are working this muscle through an extended range of motion.
The seated position helps you target the soleus over the gastrocnemius which we so often focus on with our calf raises.
Strengthening this muscle improves our gait mechanics which can help us walk and run more efficiently without pain!
To do Seated Plate Weight Calf Raises, sit on a bench with the plate weight on the ground in front of you and the balls of your feet on the edge of it.
Your heels should be on the ground aligned about under your knees so you feel a slight stretch in your calves.
Drive through the balls of your feet and toes to lift your heels up off the ground.
Pause at the top to feel your calves then make sure to lower all the way back down to use the increased range of motion.
Combine all 9 of these moves for a quick full body prehab routine.
Setting a timer for 30 seconds per move or per side and completing all foam rolling then stretching then activation can make for an amazing mobility series or warm up.
For this quick prehab routine written out, check the video descriptions.
But a little goes a long way when done consistently! Consider using this routine even 3-4 times a week! It takes under 10 minutes!
—-
Prehab Routine:
FOAM ROLLING:
30 seconds per side Lat Foam Rolling
30 seconds per side Rectus Femoris Foam Rolling
30 seconds per side Peroneal Foam Rolling
STRETCHING:
30 seconds Suspension Trainer Snow Angels
30 seconds per side Ankle Mobility And Groin Stretch
30 seconds per side World’s Greatest Stretch
ACTIVATION:
30 seconds Roller Serratus Anterior Extensions
30 seconds Seated Plate Weight Calf Raises
30 seconds per side Side Lying Wall Lateral Raise
For mobility work included with EVERY workout, check out my Dynamic Strength program:
–> LEARN MORE